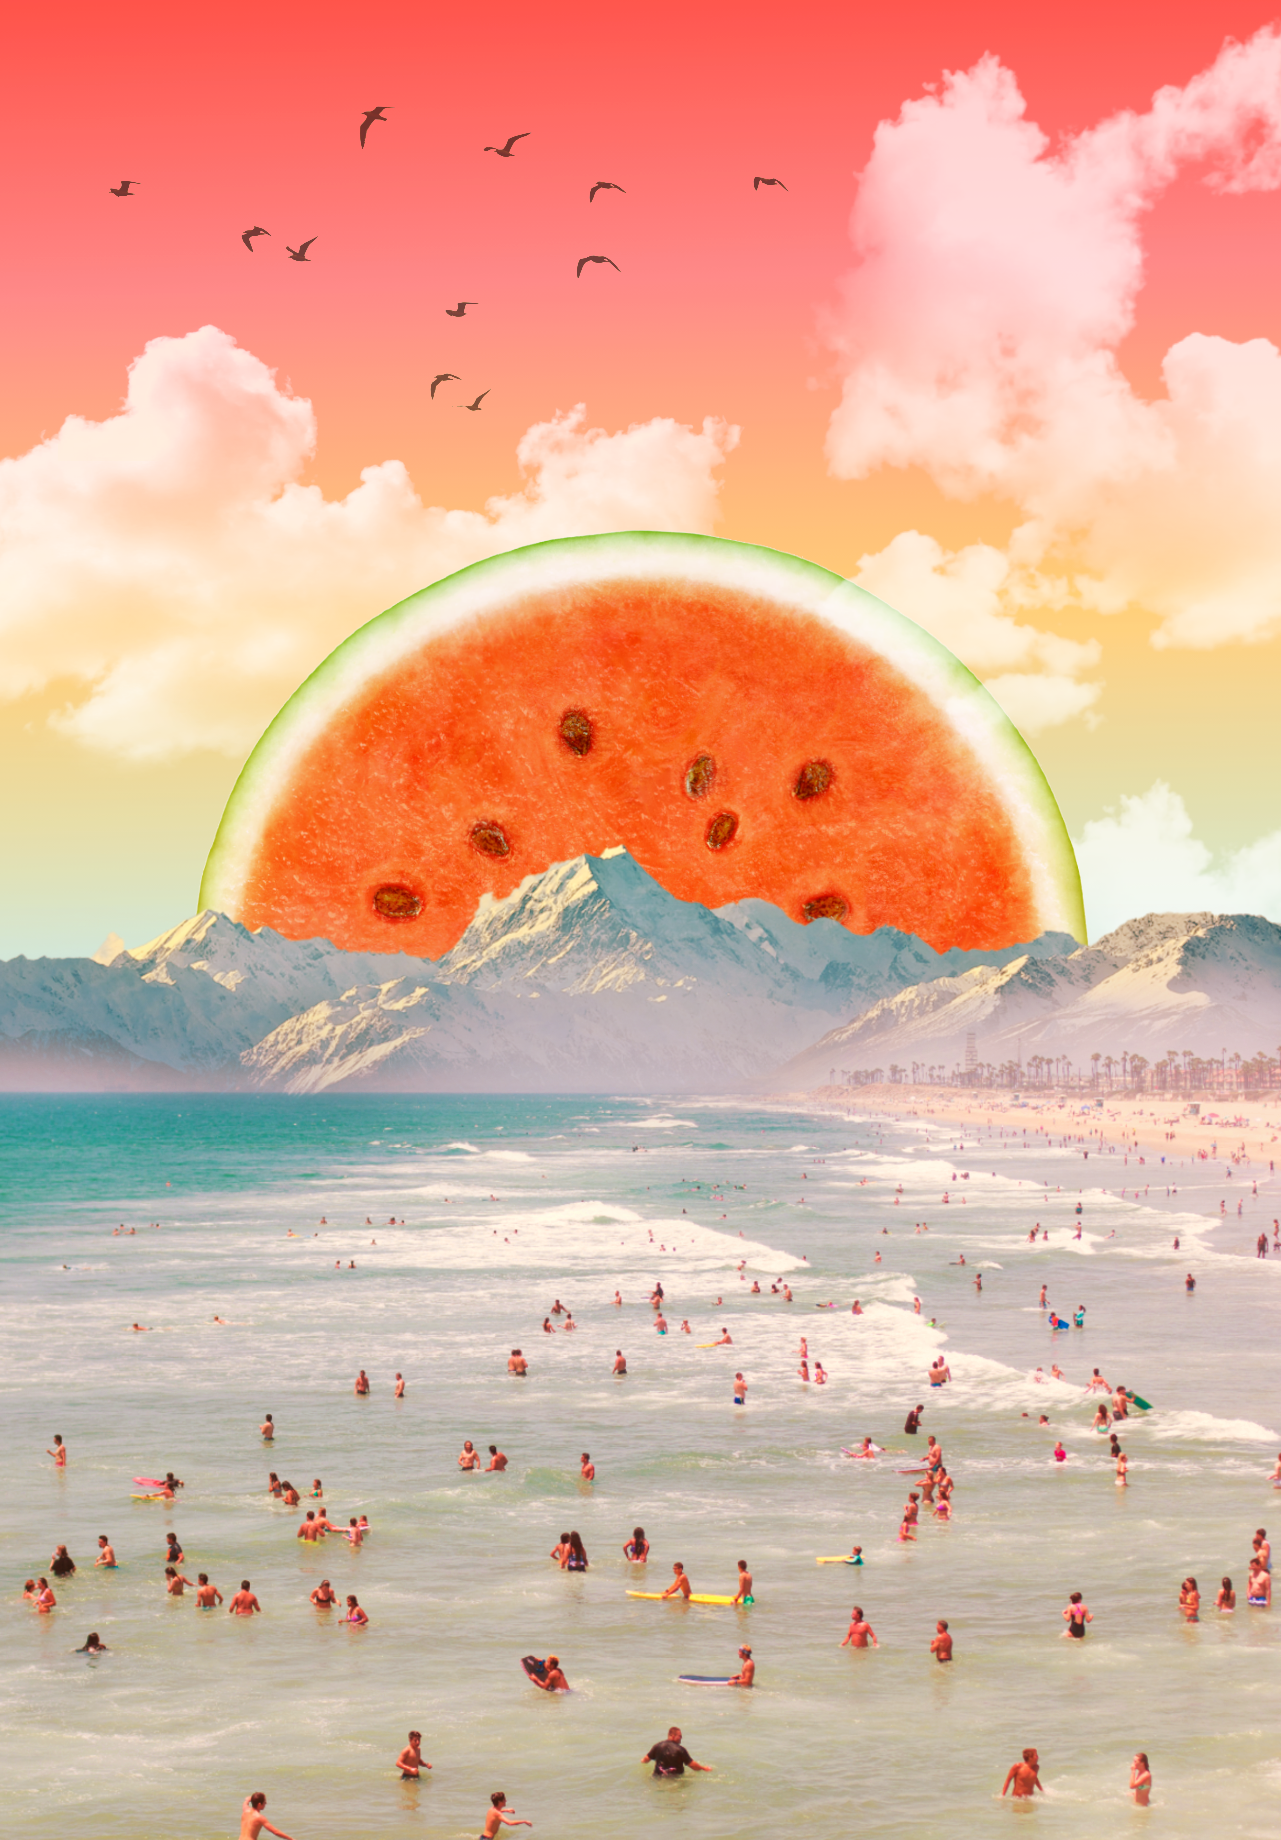
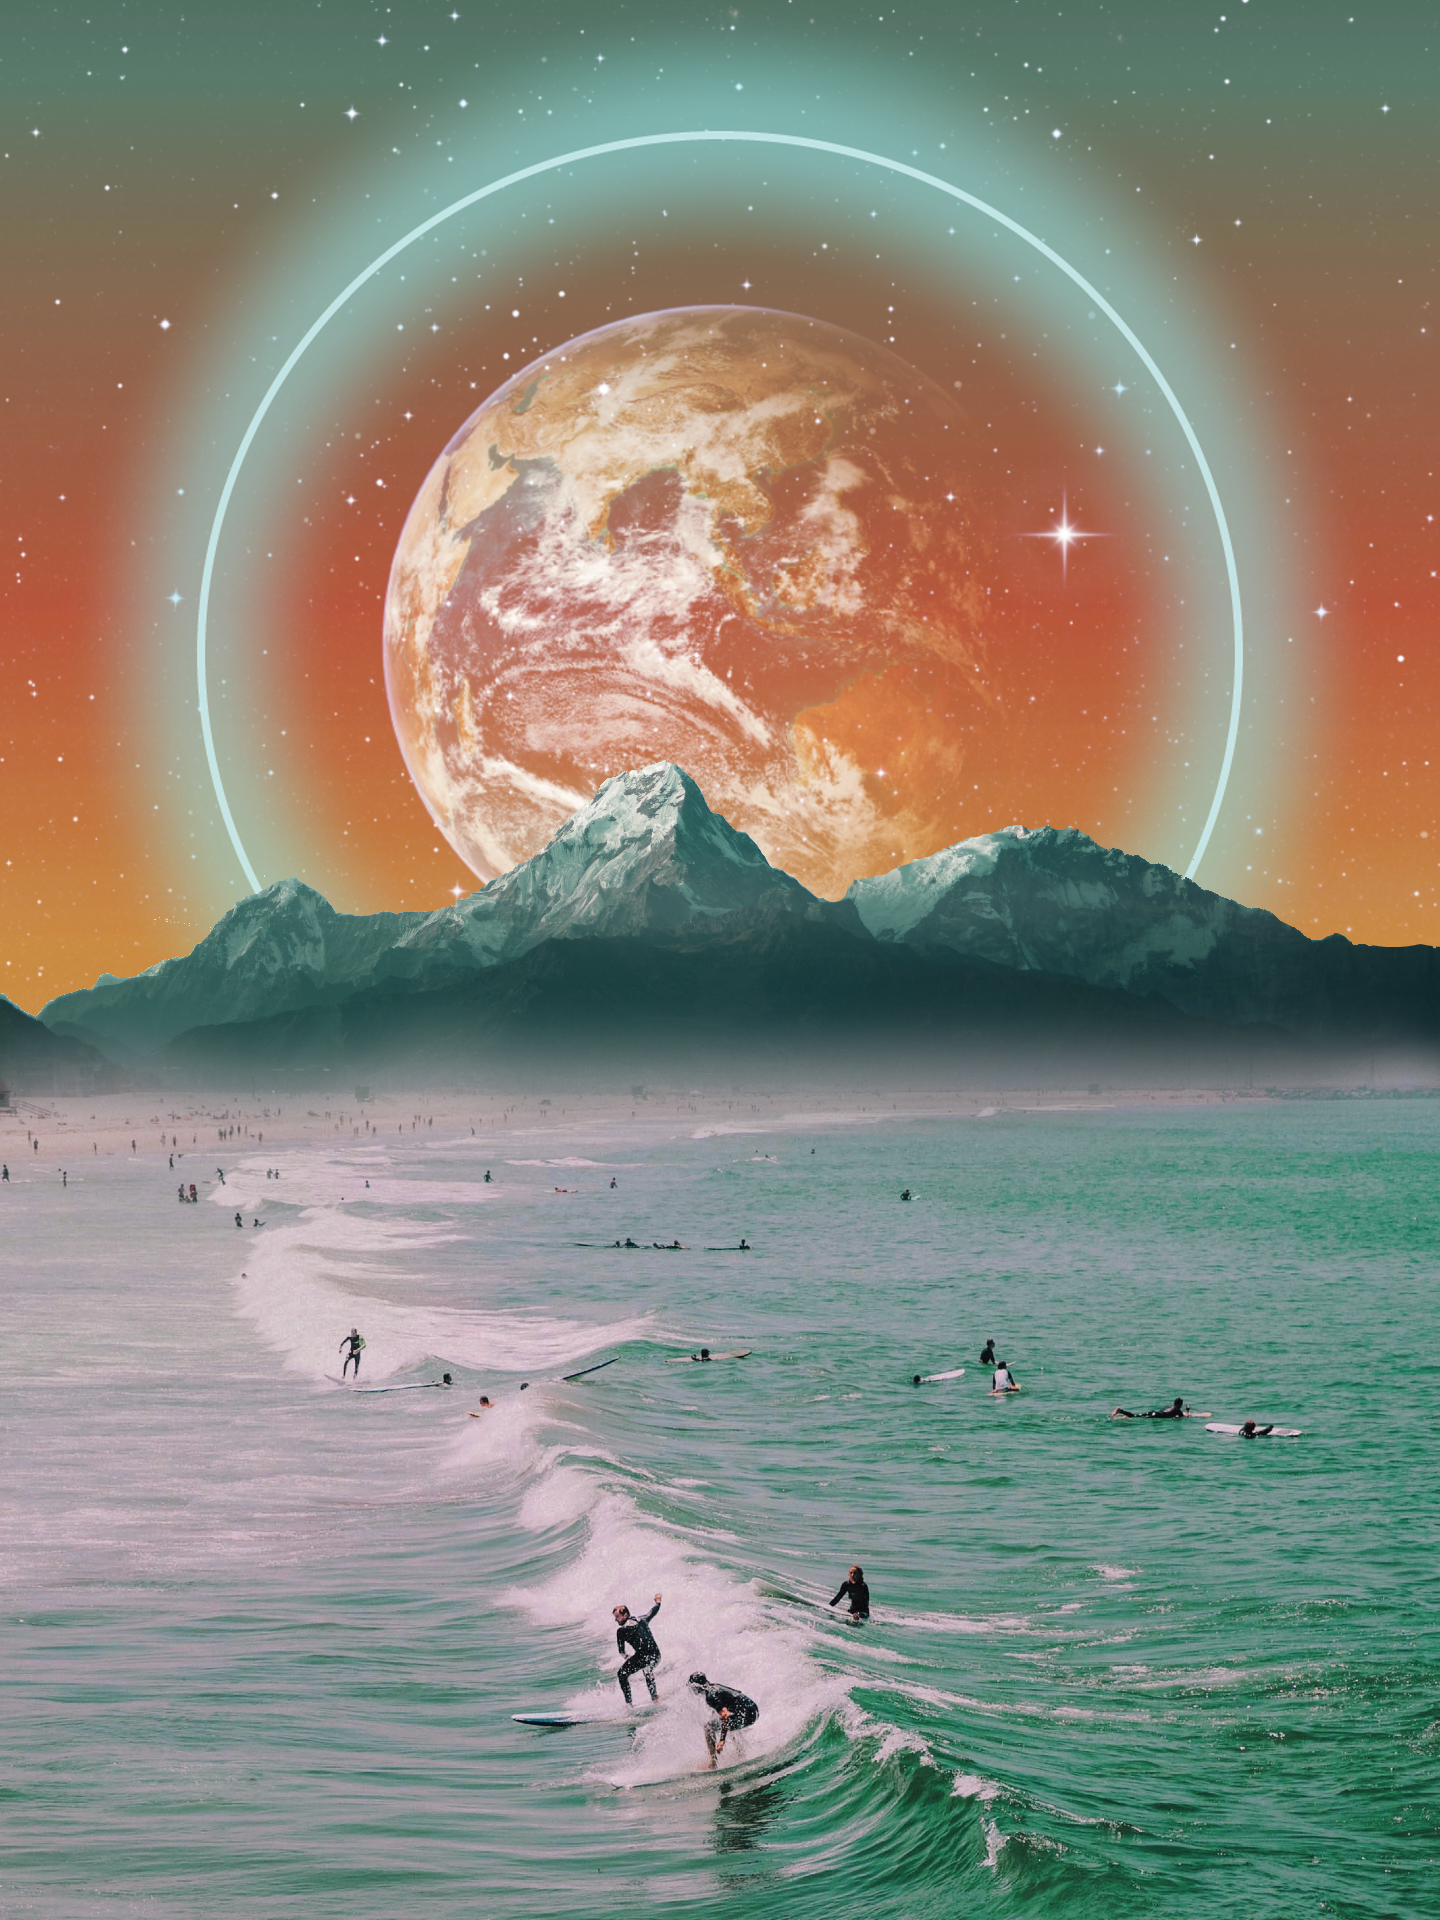
Summer is here, the sun is shining, and the beach is calling! What better way to welcome the season of piña coladas and beach parties than with a beautiful summer montage that you can post on social media?
Now some of you might be wondering, what exactly is a montage?
A montage, also known as photomontage, is a type of image editing in which multiple photos are trimmed and combined to form a new image. Traditionally, magazine editors cut up printed images and created layouts for publications before digital design software existed.
But now, with advanced design software like Pixlr, you can quickly bring imaginative scenes to life using existing imagery without the hassle of paper cuts and pasting.
In this step-by-step tutorial, we will show you how to create a summer-inspired montage with Pixlr’s easy-to-use tools.
1. Decide on a concept
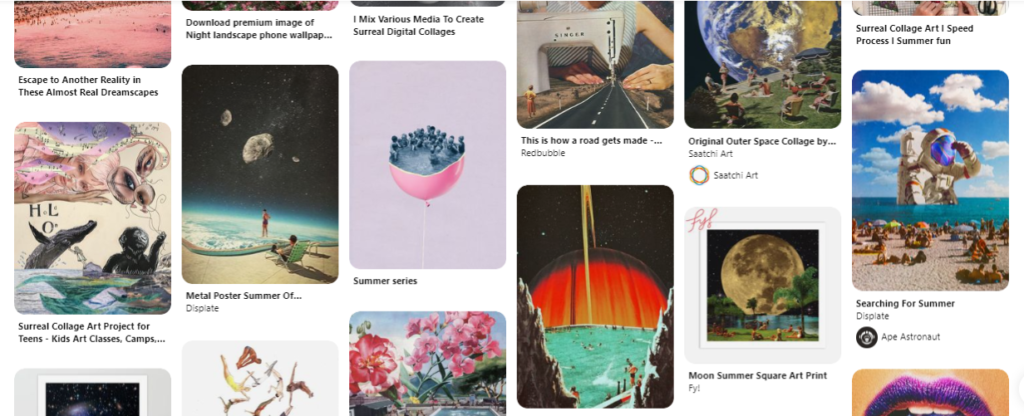
Before starting your montage, you’d need to decide on a concept. You can look for ideas or inspiration on Pinterest and create your own mood board.
 2. Choose the right images

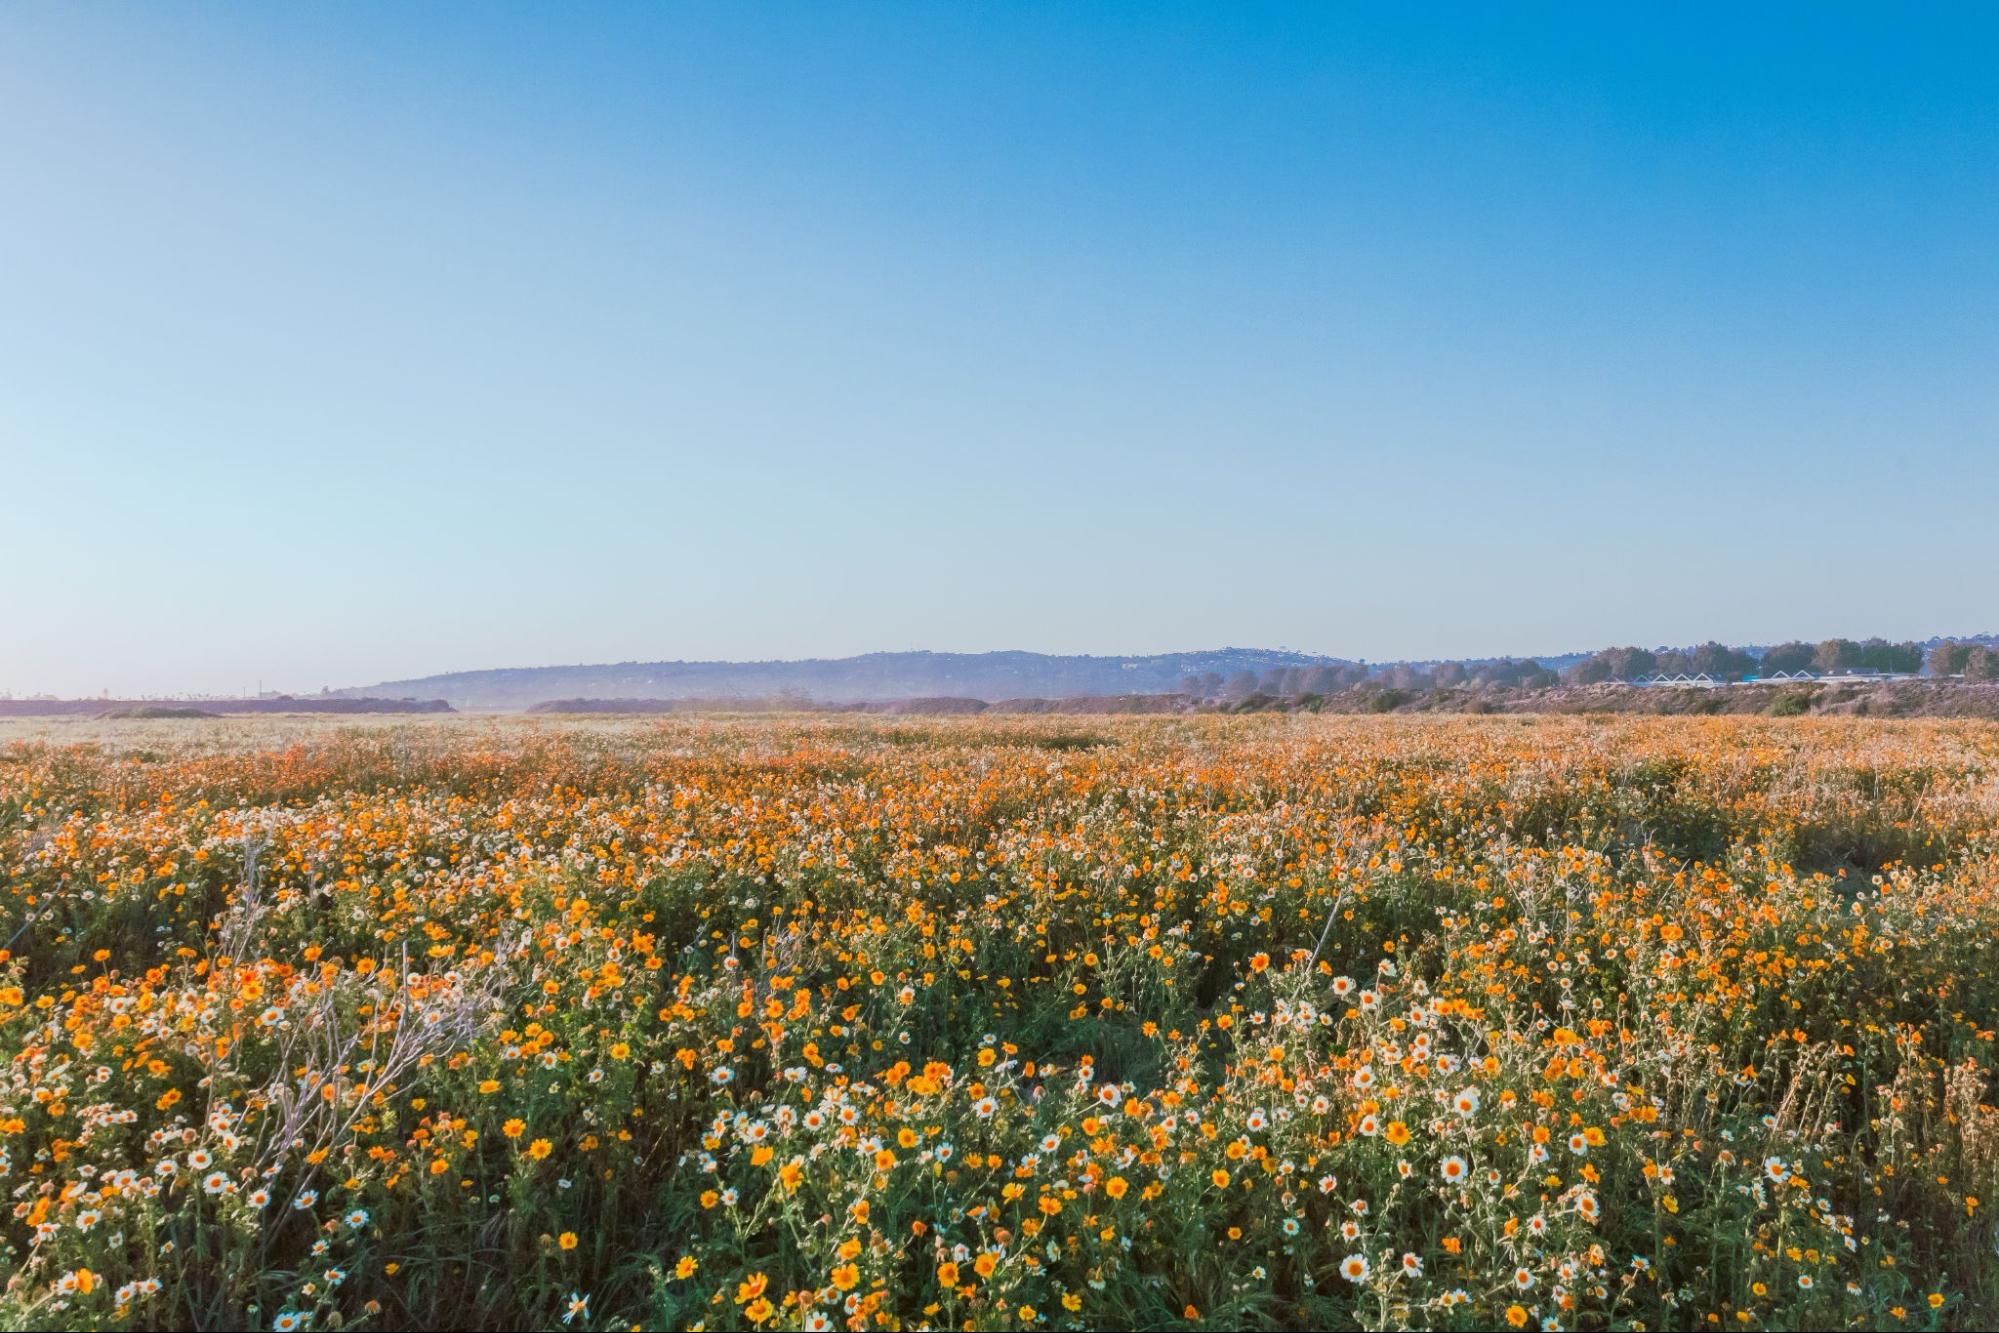
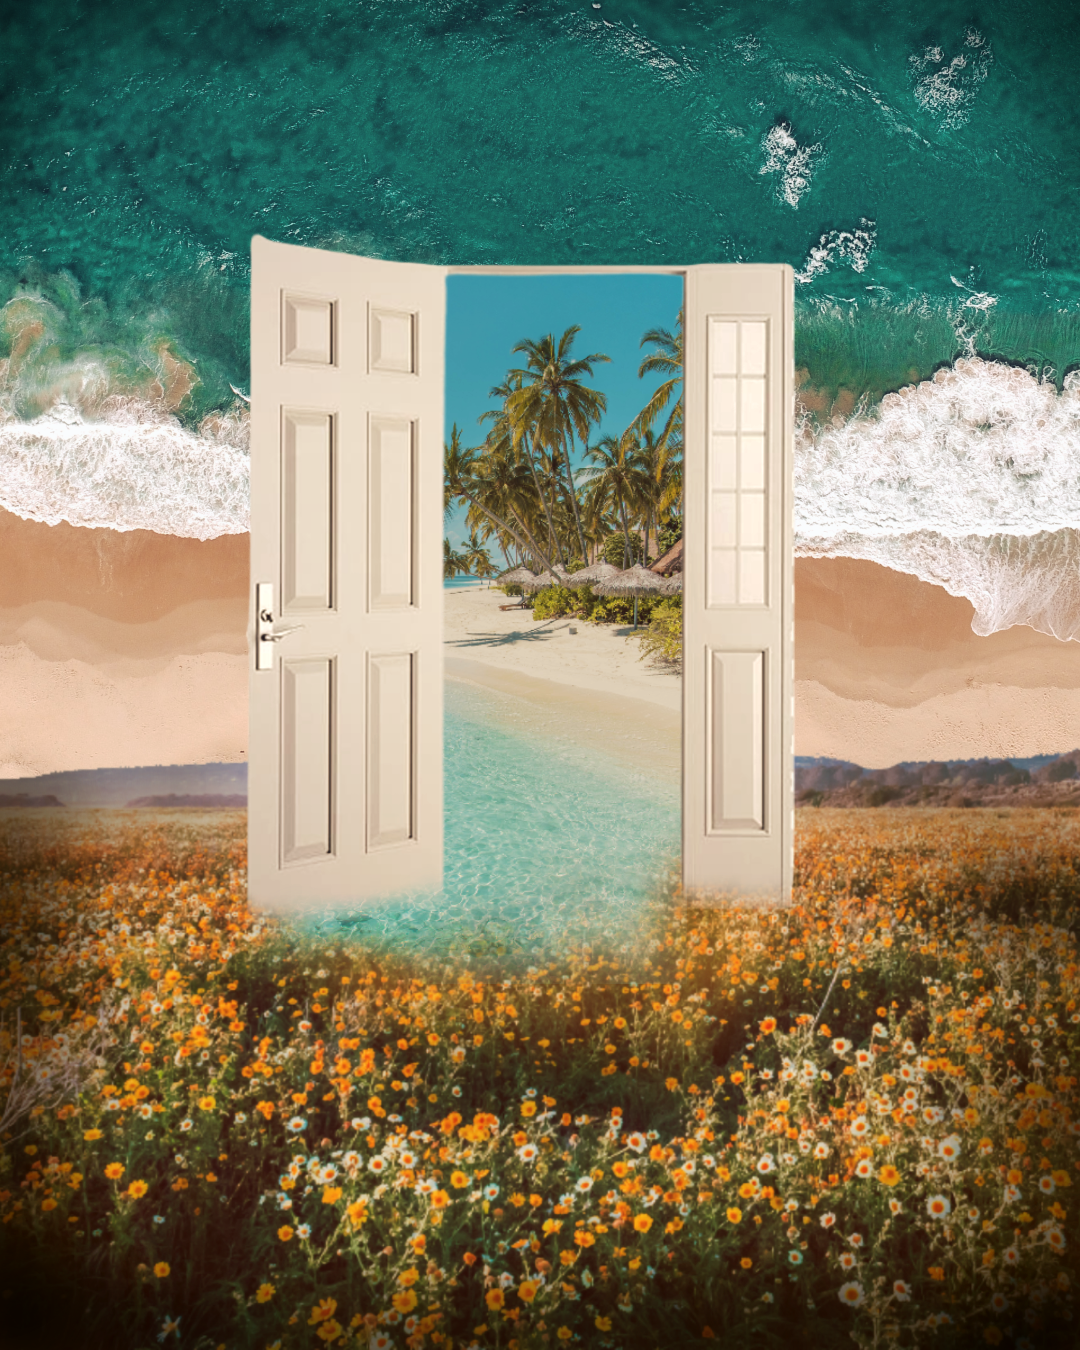
Now that you’ve decided on a concept, it’s time to pick your photos. Ideally, you’d need at least 3 separate images to create a photo montage. So first, you’d need an image that serves as the background for your piece.
Here, we’ve chosen a landscape image of a wildflower meadow against a clear blue sky.
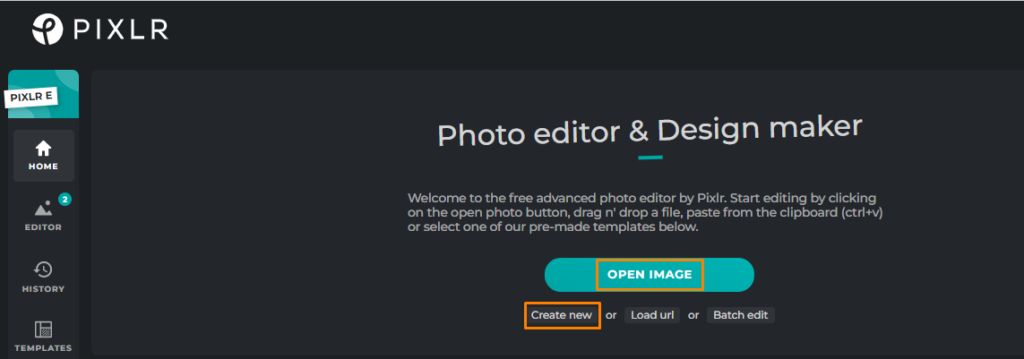
 Go to Pixlr E and click on Open Image or Create New.
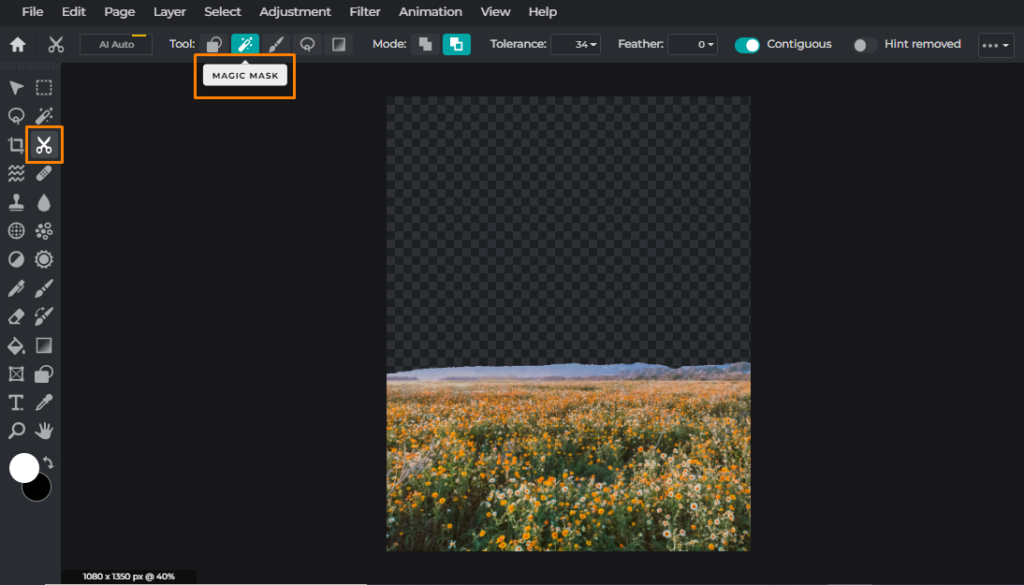
 3. Start masking & layering
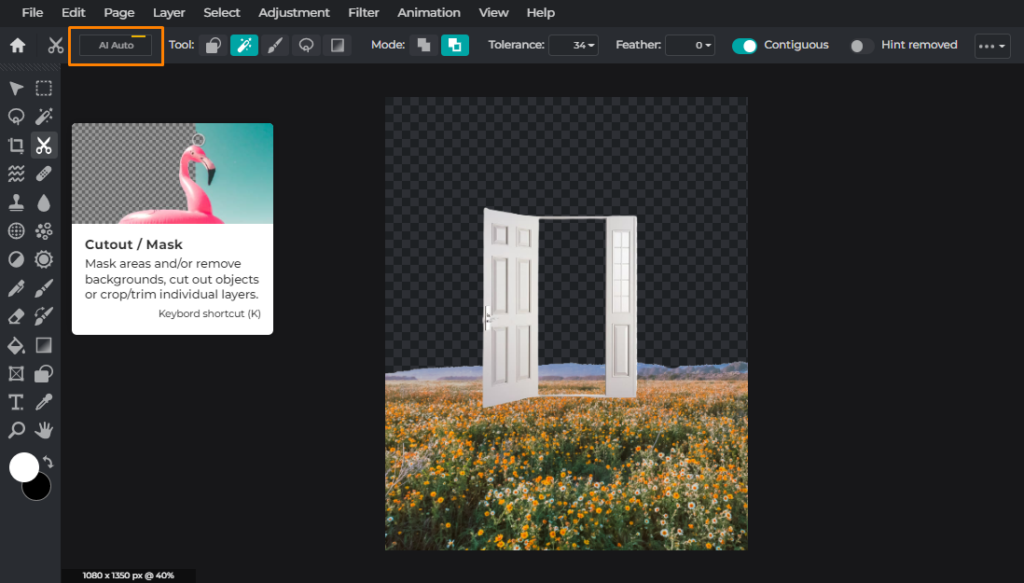
You may begin the masking process now that you have your background image. We’re using the Magic Mask to remove the clear blue sky from the landscape so that we can add our desired background to it.
 We’re now adding a second image/layer to the landscape – it is an image of an open door with the center cut out.
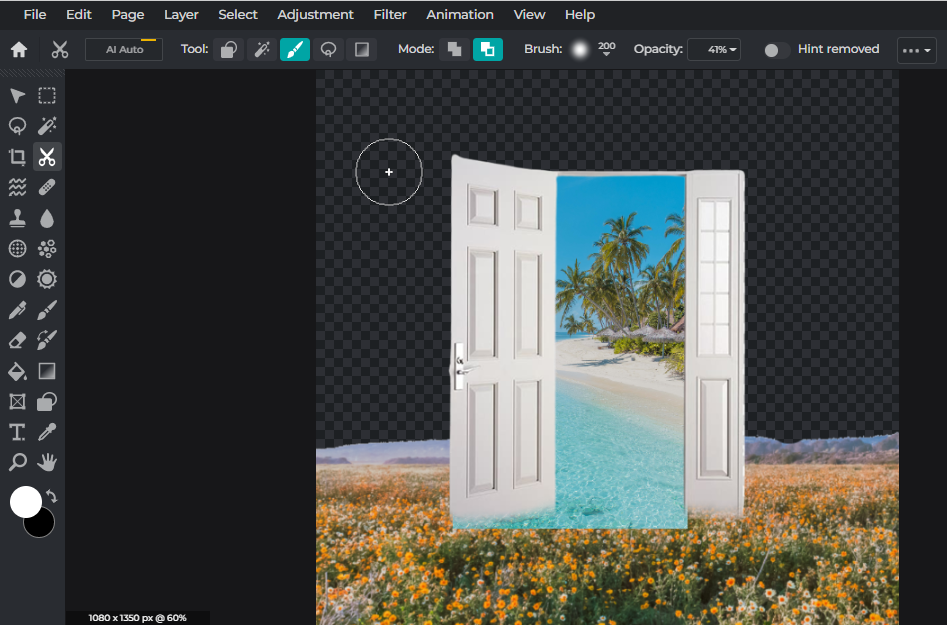
 To make the doorway look more naturally blended into the background, we’re using a Draw Mask with a soft, low opacity brush to remove some parts of the door.
 To turn the doorway into a portal and create the illusion of walking through it into another dimension, we’re adding a new layer behind the door – an image of a beach.
 Once again, we’re using the Draw Mask to remove some parts of the beach image and soften the edges.
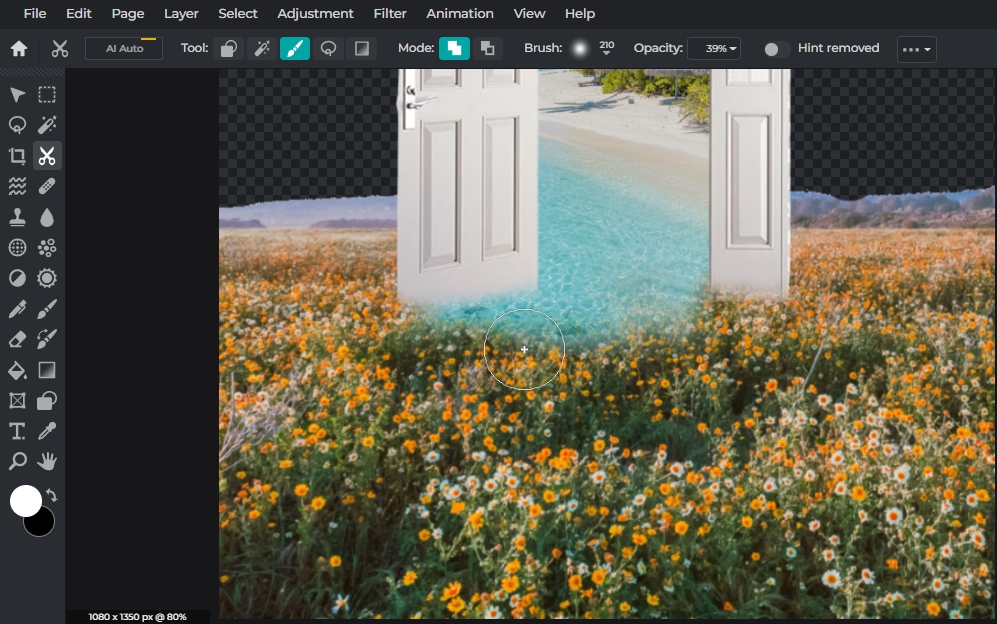 Now that we’ve added layers to the foreground, it’s time to add our new background. Here, we’ve chosen an image of a seashore to be added to the ground.
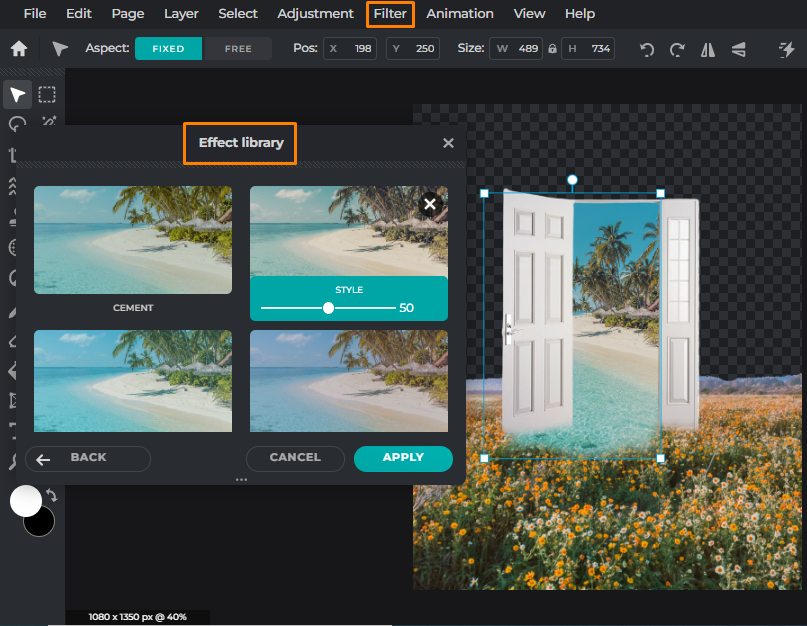
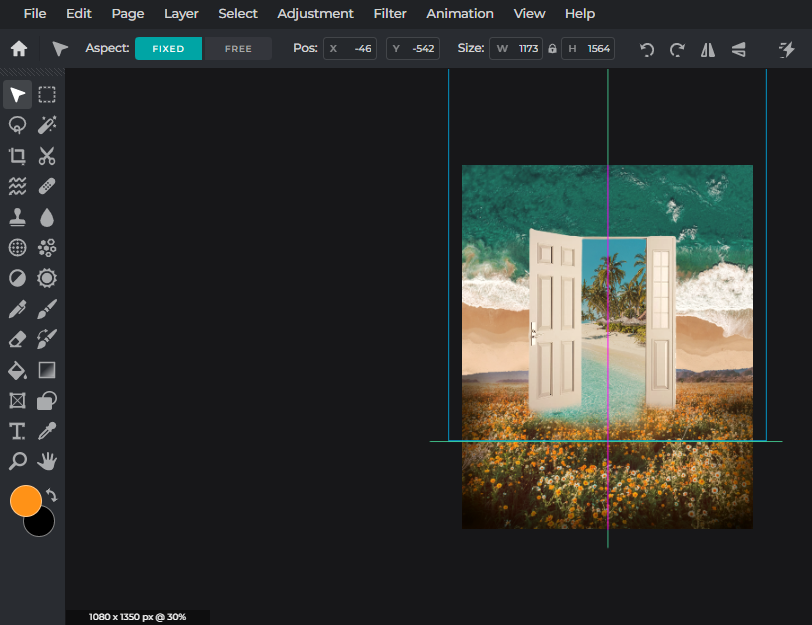 4. Make adjustments to each image
When creating a montage, it’s essential to maintain a consistent look and feel throughout the images. They must have the same exposure, contrast, highlights, temperature, tint, etc.
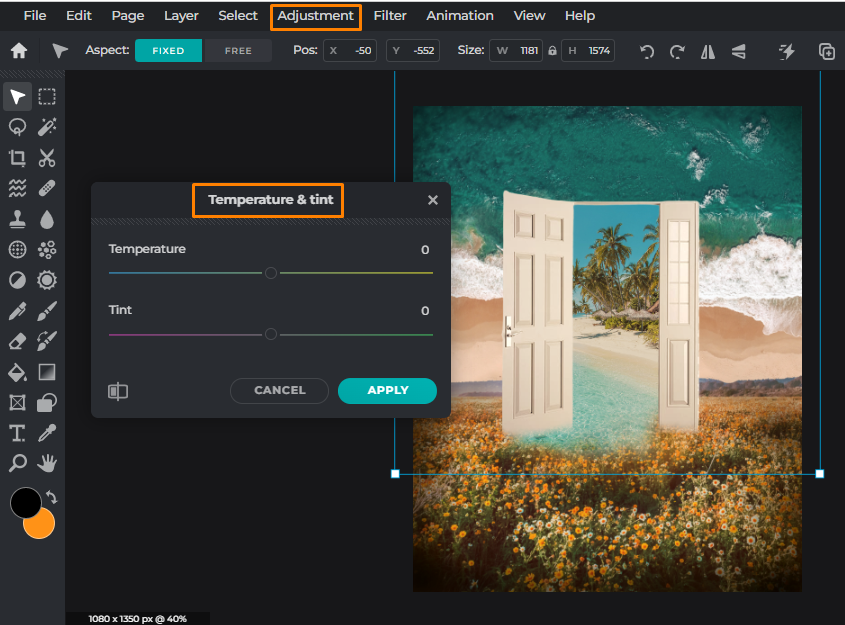 If you want to add a filter/preset to one of the images, you’d have to use the same preset on all images.
For instance, we’re using the Style preset in the Effect Library for the beach image. We’d need to apply a similar amount of the same preset to the other layers to ensure everything looks stylistically consistent.
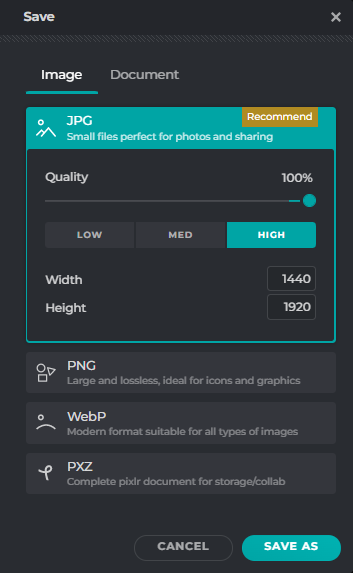
 5. Export your montage in your desired format
Once you’re happy with your montage, you must save it in your desired format, i.e., JPG, PNG, WebP, or even PXZ.
 And voilà, there you have it – your summer-inspired montage made in 5 easy steps!
Made with Pixlr
Create any montage with ease in Pixlr
Once you’ve grasped the concept behind a photo montage and understood the basic steps in building one, you can easily create any montage/collage/artwork that conveys your message, tells your story, and expresses your emotions – only with Pixlr, of course.
Made with Pixlr
Made with Pixlr