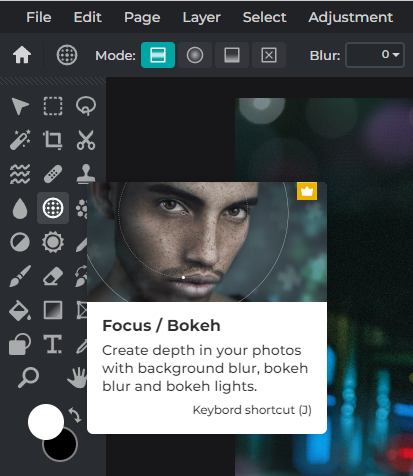
Whether you’re a creative professional or just a photography enthusiast, there’s a good chance you’ve come across the term bokeh (pronounced “BOW-keyh”) before. Originally a Japanese word that literally translates to English as blur, bokeh is the visual softening of a background in a photo, the result of a camera lens’ aperture.
But even without a camera, you can achieve a beautiful bokeh effect in your photos by using Pixlr’s Focus/Bokeh feature. Here are 5 stunning bokeh ideas that you can utilize to level up your photography game!
 1. Symmetric Dual Lighting
 In order to achieve the symmetric effect, you will need to opt for the Symmetric/Tilt mode. With it, you can adjust the bokeh range simply by dragging and moving the gray anchor points.
 As for the bokeh shape, we’d recommend the classic circle/round bokeh (instead of the hexagon or star) to give your portrait a more realistic look. Now all you have to do is turn on the Dual Tone toggle button and you’re done!

Edited in Pixlr E.
2. Warm Radial Fuzz
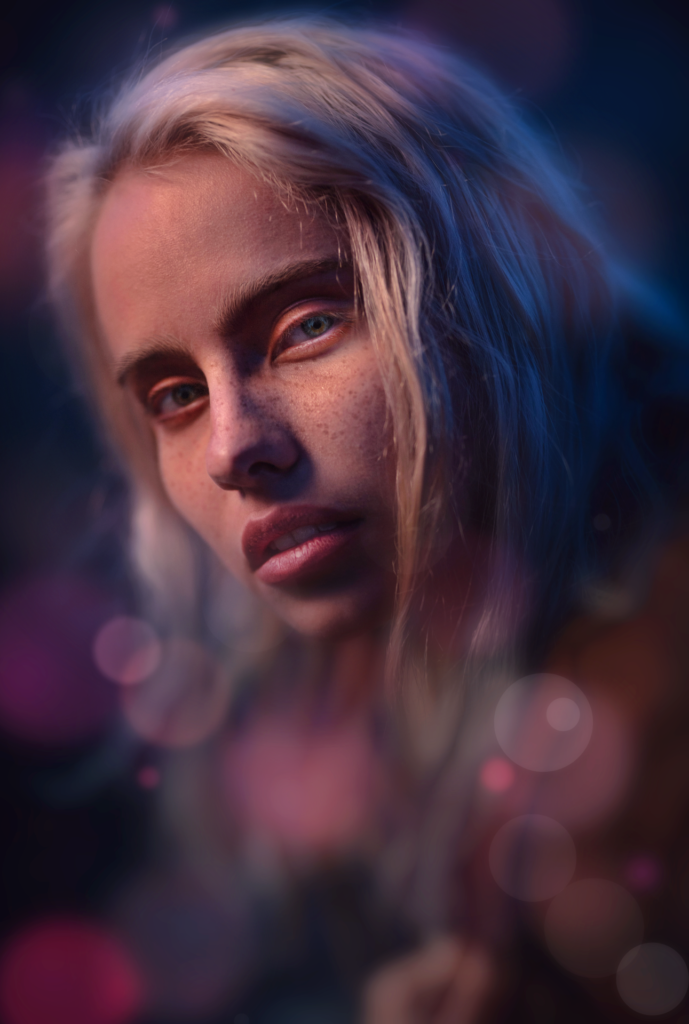
 If you want to draw the eye of a viewer to a specific area in your photo, for instance, your subject’s face, you can create a clear focal point by selecting Radial mode. Feel free to adjust the size of the radial blur by dragging and moving the gray anchor points.
 For this effect, we’re also opting for a circle/round bokeh shape. As for the color, we’re going for warmer tones to match the overall ambience of the photo.

Edited in Pixlr E.
3. Linear Gradient Blur
 To achieve a gradient blur effect, you can choose Linear mode and adjust the range by moving the gray anchor points. If you want to add to the dreamy bokeh effect, you can always increase the amount of blur.
 You can play around with the bokeh blur by tweaking its size and intensity depending on your preference.

Edited in Pixlr E.
4. Closeup Radial
 This effect is perfect for any closeup portraits as it really draws attention to a single focal point in your photo, for instance, the model’s eyes. We’d recommend increasing the amount of blur and moving the two gray anchor points further apart.
 You can choose any bokeh shape you want – we’re going for the classic circle. Feel free to play around with the size, quantity and intensity of the bokeh.
Edited in Pixlr E.
5. Inverted Bokeh
 As the title suggests, we’re inverting the bokeh and blurring whatever’s within the Focus range. So, for instance, here we are blurring the model’s head and shoulder areas, but the rest of his body is in focus.
 We’re keeping it simple with the classic circle bokeh in warm colors. We’d recommend keeping the quantity below 20 and the intensity below 50. For final touches, all you need to do is adjust the temperature/hue/saturation and you’re good to go!

Edited in Pixlr E.
Focus on Creativity
With a user-friendly interface and advanced AI-powered tools, Pixlr can help you create anything and everything seamlessly. Pixlr makes it easy for you to focus on creativity and enjoy the process. So choose Pixlr today!