A photography trend as old as time, flower photography has been so widely spreading that any photographer is guilty of trying this at least once. Not only do flowers make a great macro subject, but they are also a popular texture niche for photographers.
With the right angle and framing, you can easily preserve the life-like beauty of flowers and capture their texture, guaranteeing a jaw-dropping visual for your audience. After all, it is a surefire way to transform your portfolio to become more aesthetically pleasing.
The tricks and tips required for flawless floral photography are quite easy to master, and Pixlr’s intuitive interface is here to help you elevate your visuals to the next level.
Read below for fresh inspiration and useful tips to get creative on your next flower shoot.

Flower Photography Tips and Inspirations
1. Macro it up

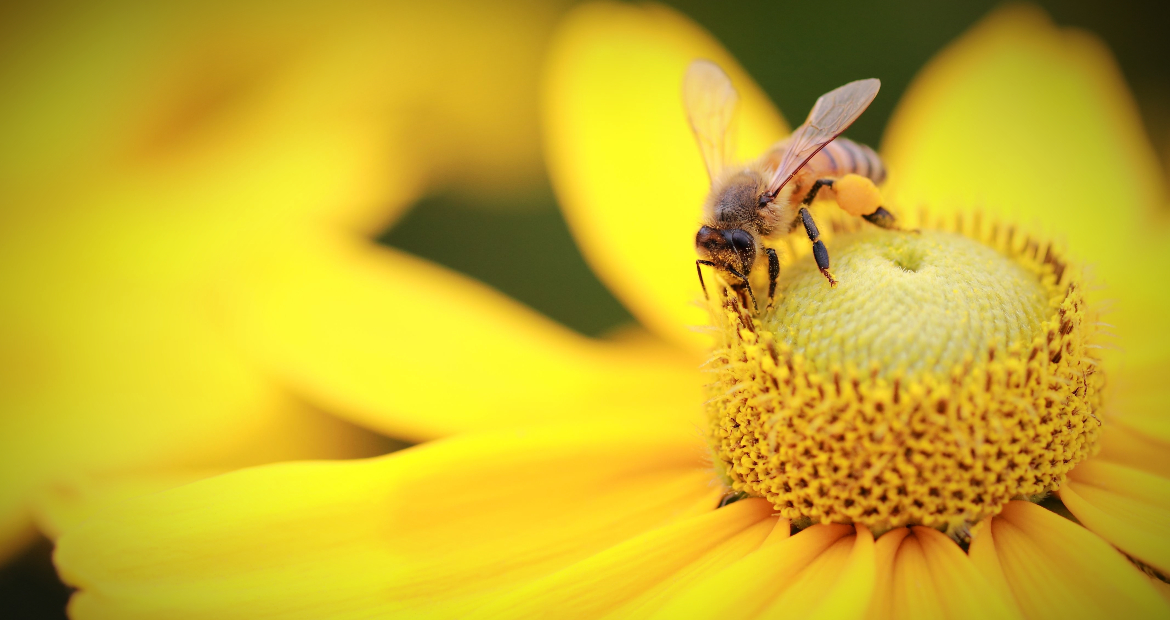
When it comes to flower photography, one common approach among photographers is to zoom in. By getting up close and personal with the flower, you can obtain interesting details and even a unique point of view.
However, many beginners are often discouraged by this technique as they assume it will require a proper macro lens or even a DSLR. Fret not – this photography trick can actually be done with smartphone cameras, depending on the settings. You can even use a magnifying glass or filter to achieve this look.
- Choose the perfect weather

When it comes to flower photography, more often than not you’ll have to resort to shooting outdoors. However, with outdoor shootings comes specific challenges such as choosing the right weather.
The “perfect” weather for floral photography entails not only sunny, cloudless skies – it actually requires wind to not be present. Windy days should be completely avoided by floral photographers as they can change the direction or even blow away the subjects, making it hard for you to focus.
To prevent encountering windy weather, it is advisable to shoot early in the morning as the weather tends to be calmer. Even better, you can try bringing the flowers indoors too for an easier shoot.
3. Experiment with the Depth of Field
If you come across this floral photography style where you can clearly see the details down to the flower’s petals or stamen and wonder how you can do the same – here’s the secret for that. A wide aperture setting is needed to achieve this style of macro floral photography.
The aperture is the main element of the exposure triangle and it controls just how much light can hit the sensor. By adjusting the aperture setting to be wide (meaning it has a large f-number such as f/1.4, f/2.8, etc), a shallow depth of field is created. This produces a mostly blurred macro shot consisting of one sharp focal point.

4. Lighting is Everything
Choosing the right lighting matters – this ultimately applies to any kind of photography regardless of the subject. However, when it comes to dealing with florals, lighting plays an even more crucial part in determining the outcome.
To solely rely on natural lighting (especially since floral photography is usually done outdoor) can be quite time-consuming. You can try exploring different lighting by combining lamps, ring lights, LED string lights, and natural light to realize your vision. This will give you more control over flowers’ shades, warmth, and contrast in your image.
5. Get Creative
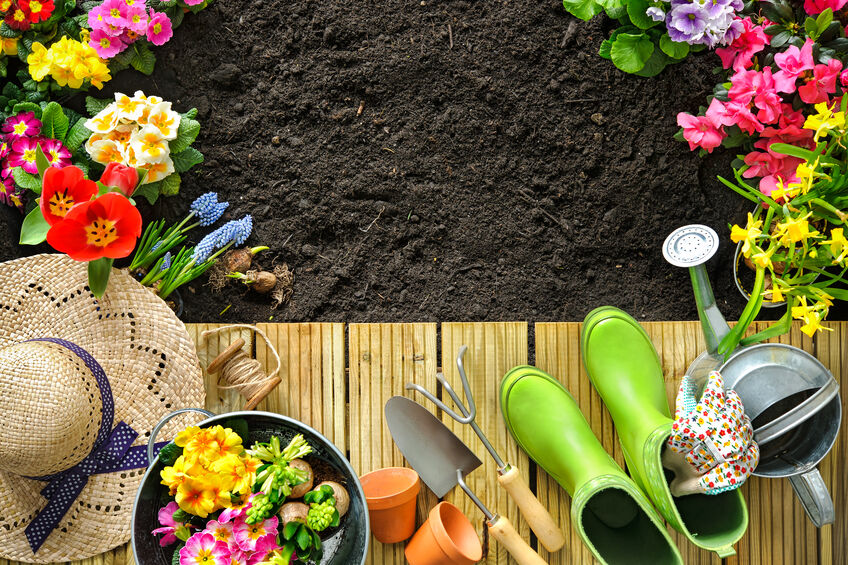
Ultimately, floral photography gives you unlimited possibilities and creative opportunities. You can play around with many different kinds of props and alter the flower arrangement as you please. Challenge your creative versatility and see just what aesthetic you can achieve.
Perhaps you can consider adding filters to transform your floral image’s texture and style. You can even add visual elements such as graphics and stickers if you are going for an illustrative look.
Edit your floral images using Pixlr
Dramatize with Pixlr E
- Bokeh effect
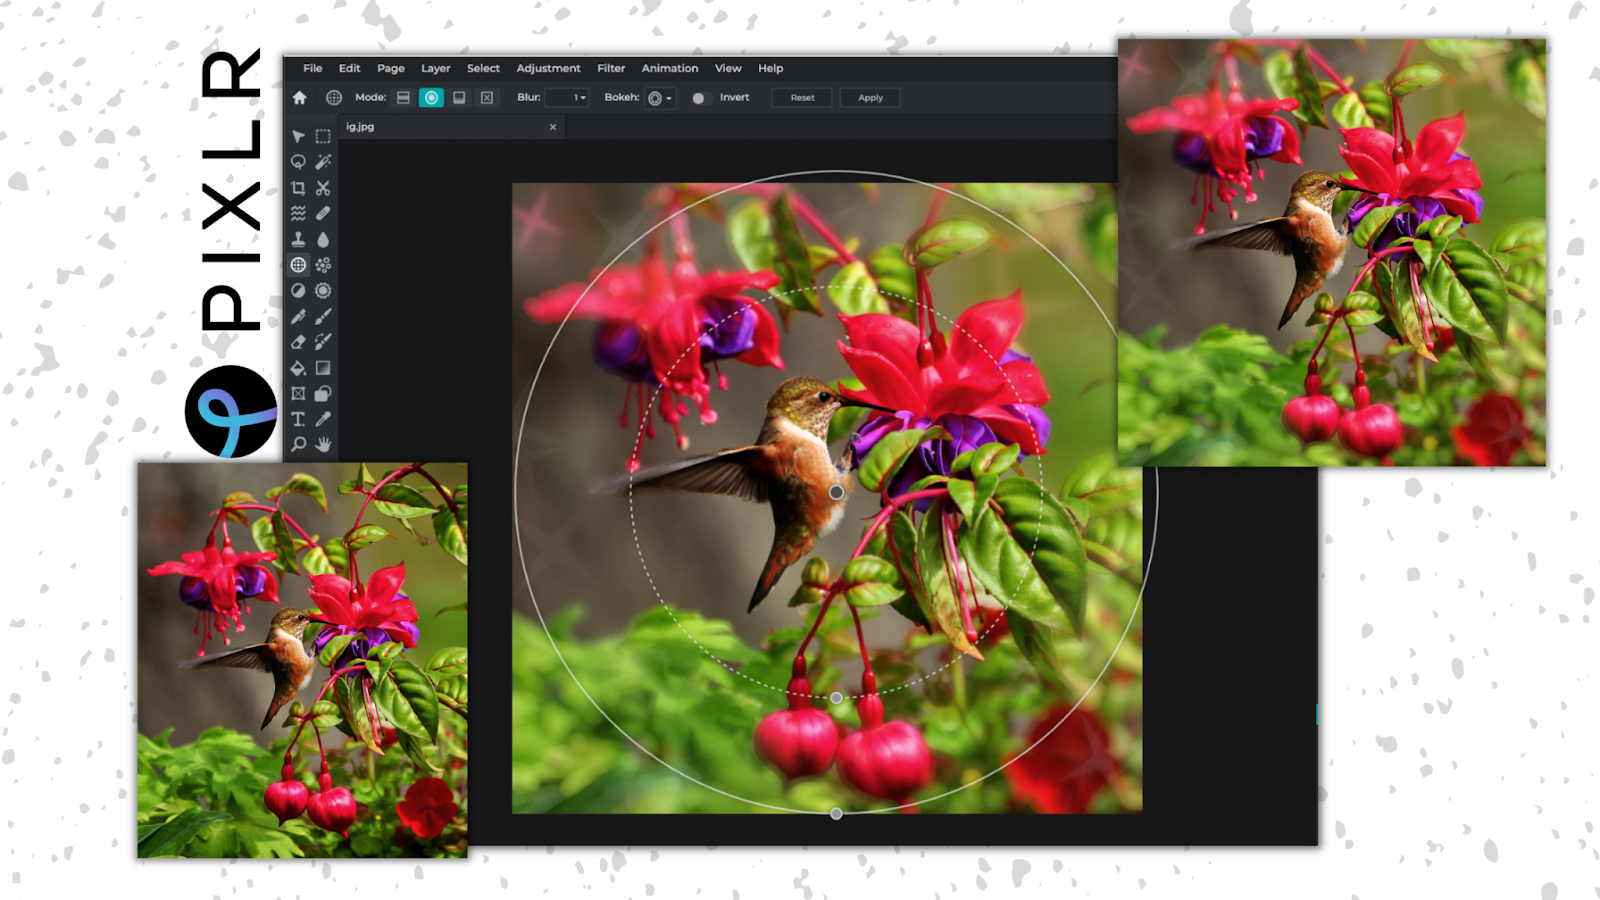
Add a touch of surrealism to your floral images by utilizing Pixlr E‘s Bokeh effect. With this effect, you can essentially soften or blur the background, making your main floral subject stand out even more. Pixlr’s Bokeh effect gives users up to 5 different blurring styles that you can explore.
2. Disperse effect
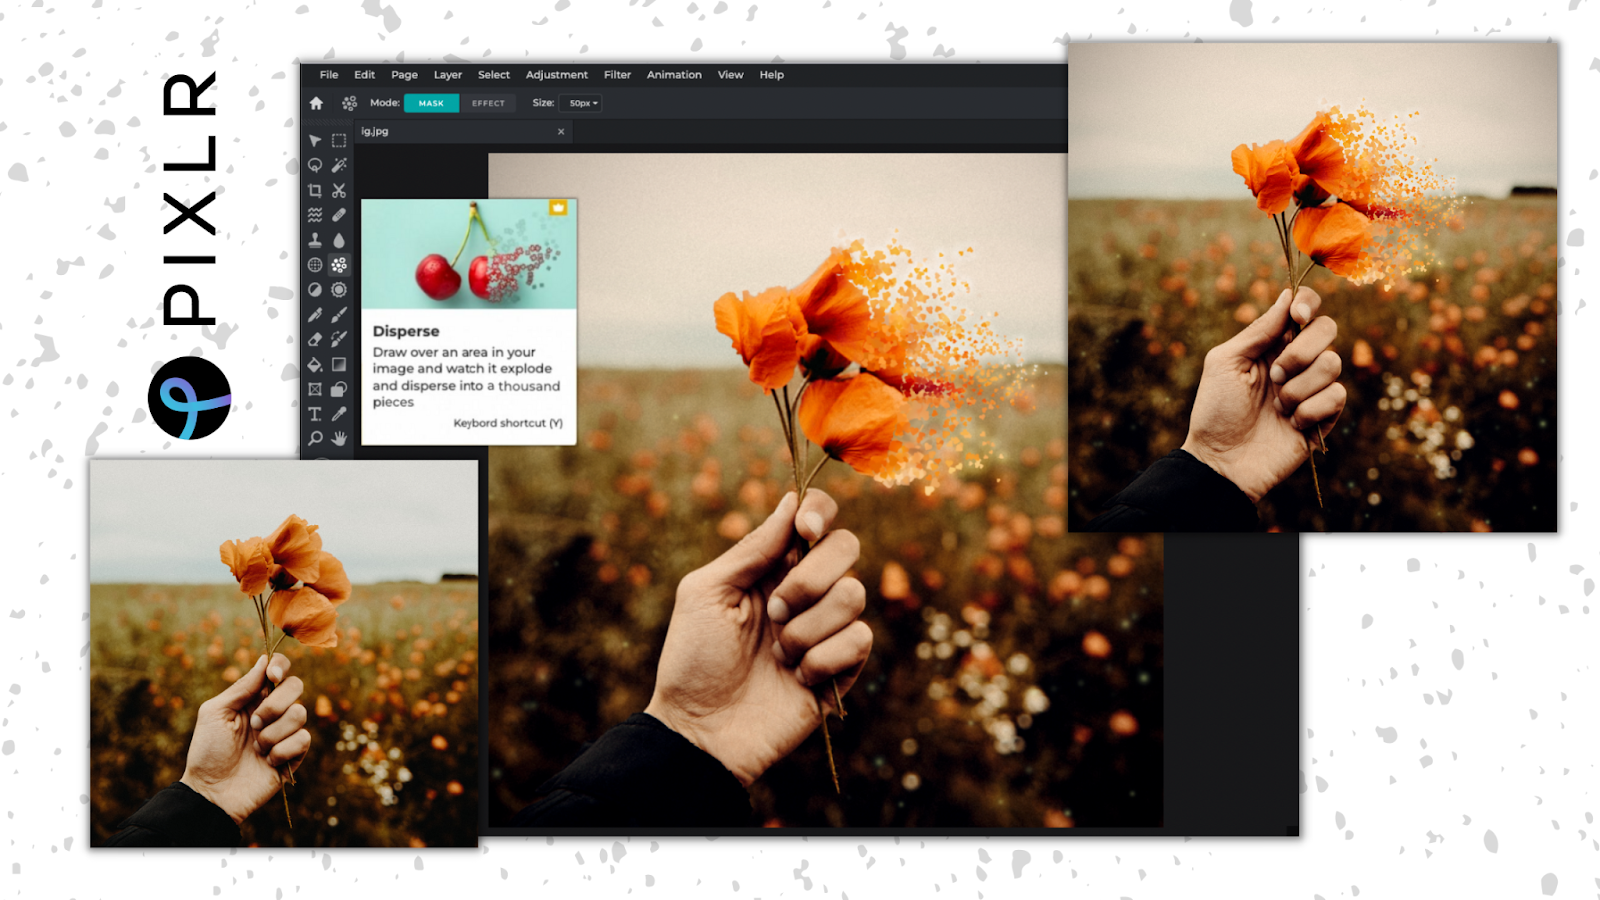
With Pixlr E’s Disperse, you can add movement and flow to your images. This effect is especially helpful if you are going for a dreamy look where the flower is blown by the wind. By adding the Disperse effect, the end result of the floral photography can be dramatized, resulting in a more picturesque framing.
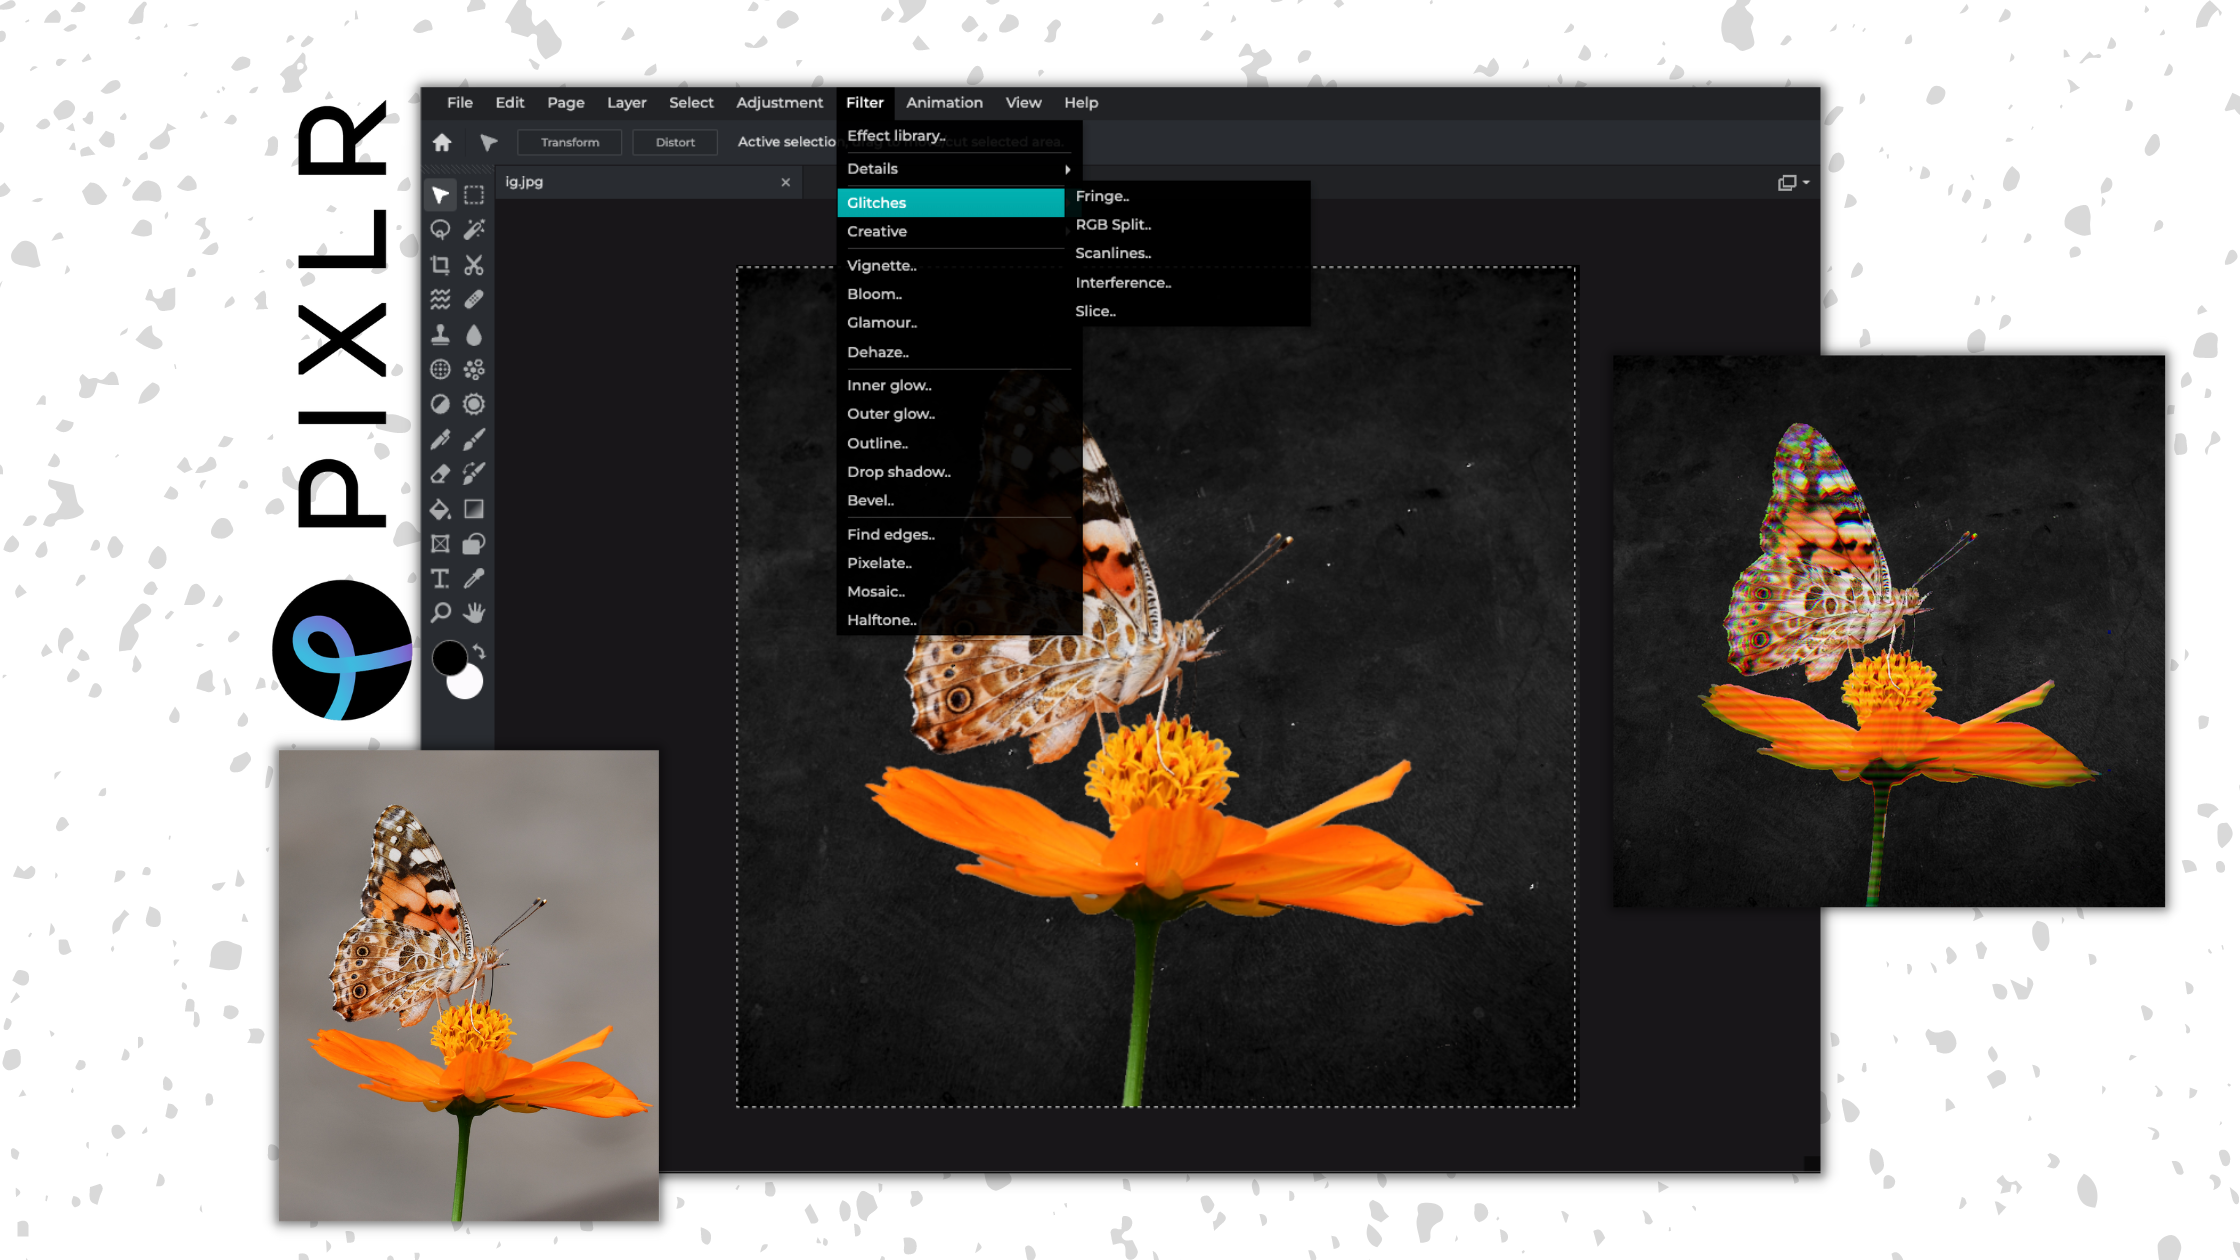
3. Glitch effect
The Glitch effect is multifunctional – it can help you achieve different kinds of styles. From retro, and vintage to even futuristic. If you would like to evoke nostalgia within your audience, adding glitches into your floral image can ensure that.
Expressive editing with Pixlr X
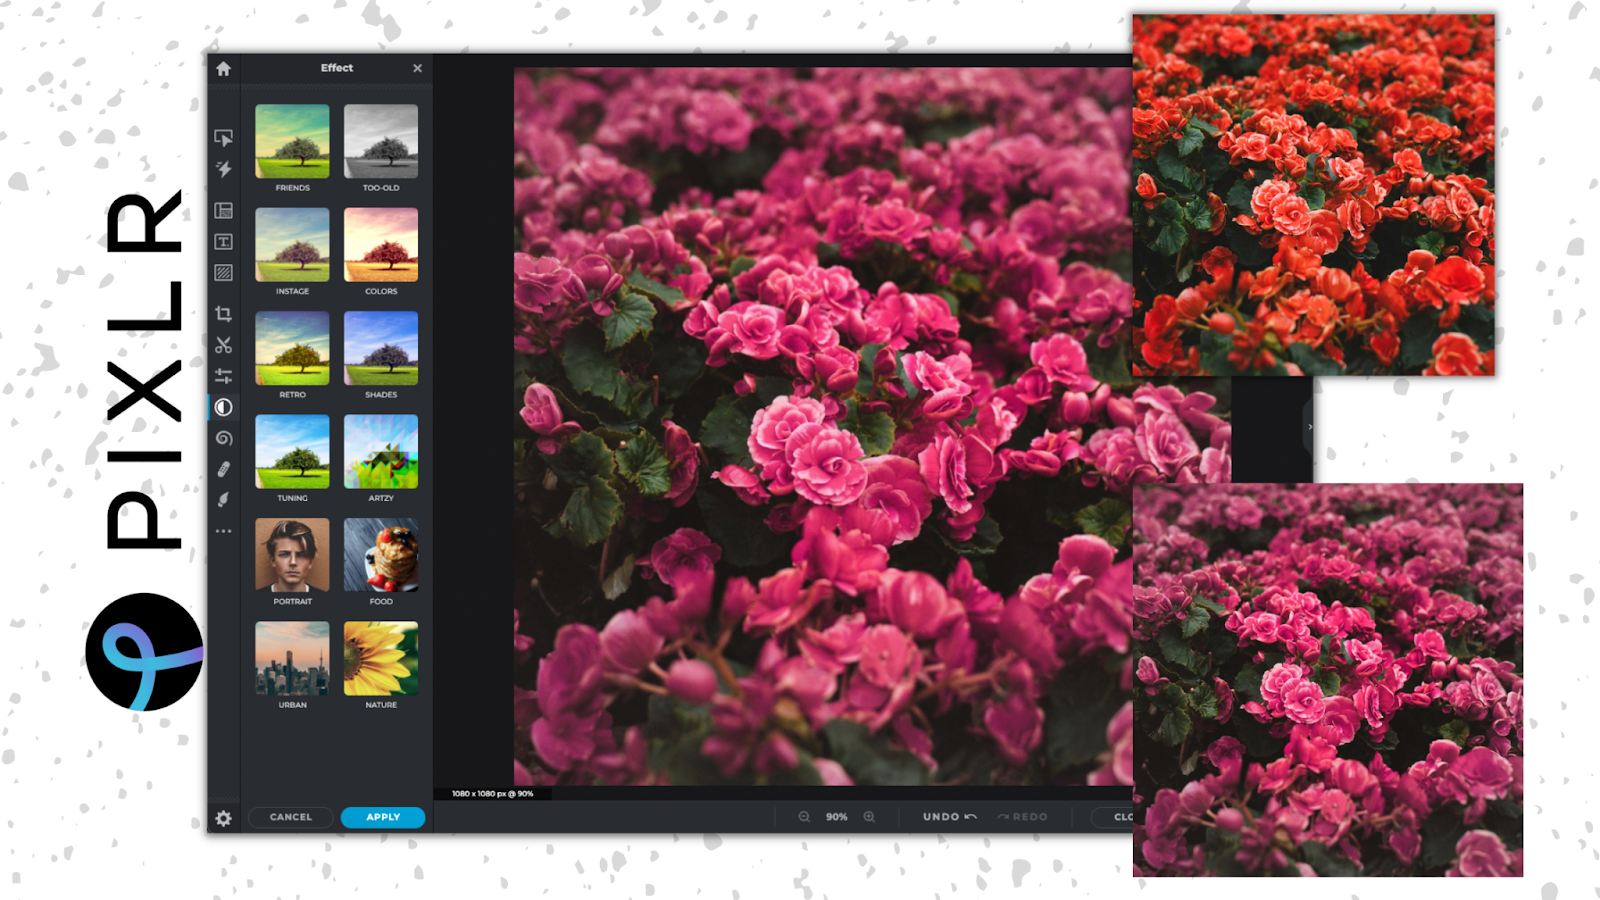
- Filters
As Pixlr strives to always be innovative, rest assured that our vast range of filter collections is always expanding. This allows you to beautify your images within seconds, as all you need to do is just apply the filter in one click. You can find the choices on Pixlr X and see them for yourself.
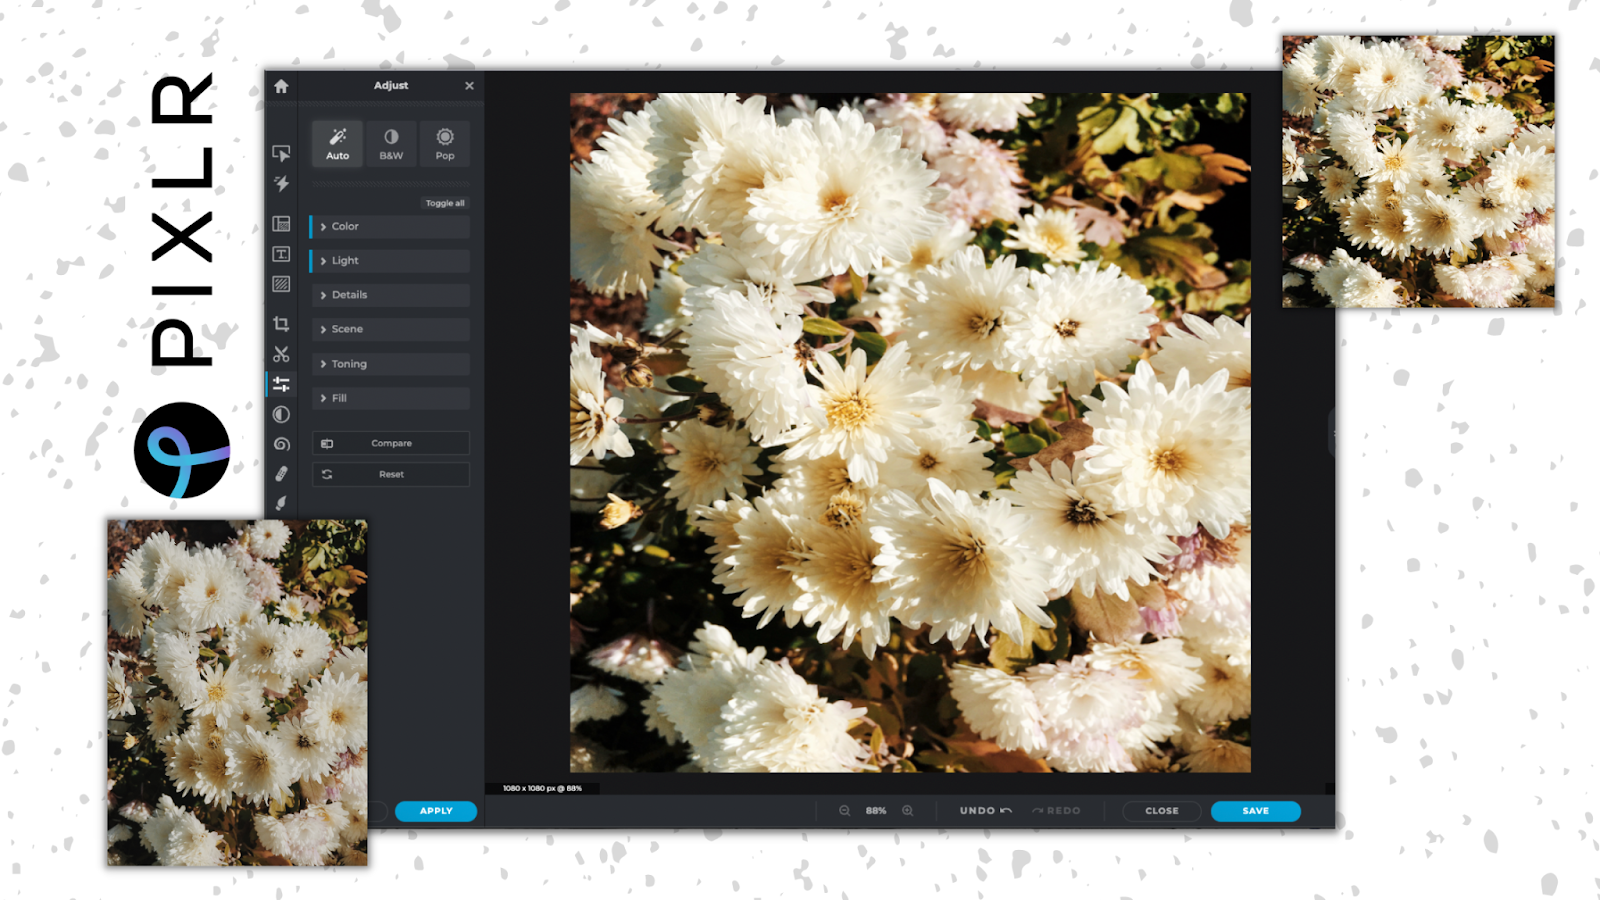
2. Auto Enhance
With Pixlr X’s Auto Enhance filter, you can adjust your images’ vibrancy, lighting, and colors within a few steps. With the platforms’ user-centric design, users can make their floral images ‘pop’ easily! The AI-driven site is guaranteed to level up your floral photography skills.
Interested to know more? Check out Pixlr’s pricing page for more information on becoming a premium user.