Welcome to our blog on mastering Pixlr‘s features! In this post, we’ll be providing a step-by-step guide on how to use both the free and premium tools offered by Pixlr to enhance your visual content.
Pixlr is a powerful photo editing and design tool that offers a range of features for both amateur and professional users. Whether you’re looking to touch up a photo, create a graphic design, or add text and overlays to an image, Pixlr has you covered.
Here’s a breakdown of the main features offered by Pixlr:
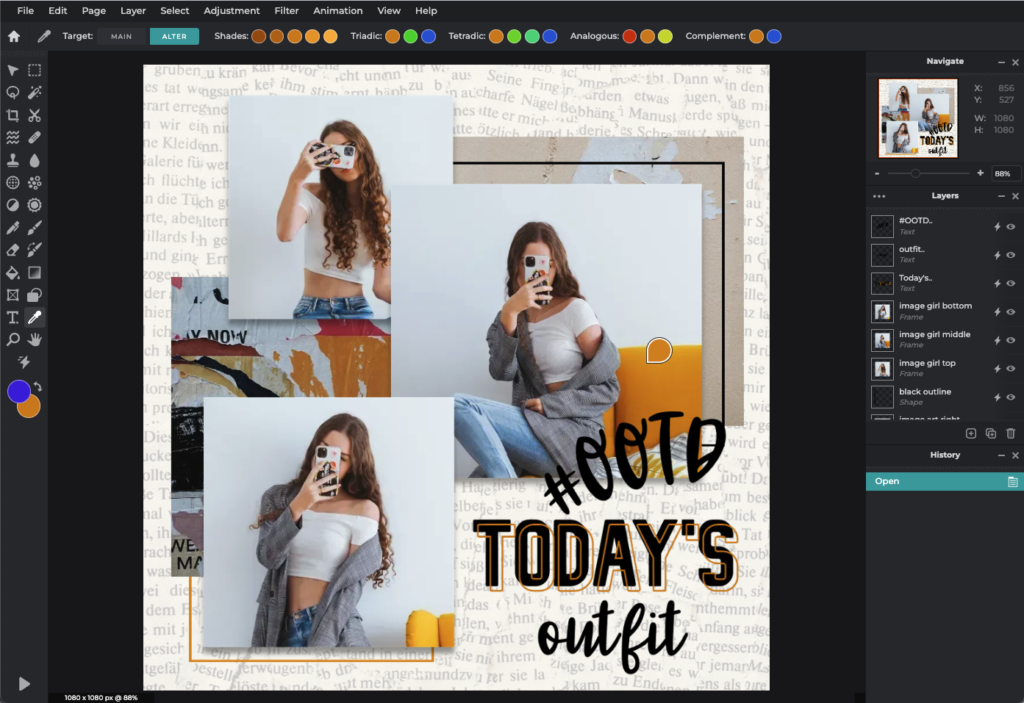
Photo editing: Pixlr offers a wide range of editing tools, including cropping, resizing, rotating, and adjusting the brightness, contrast, saturation, and sharpness of an image. You can also remove blemishes, red eye, and other imperfections, as well as apply filters and effects to your photos.
Graphic design: With Pixlr, you can create custom graphics and designs from scratch or by using templates and pre-designed elements. You can add text, shapes, lines, and other elements to your designs, and customize their appearance with different fonts, colors, and effects.
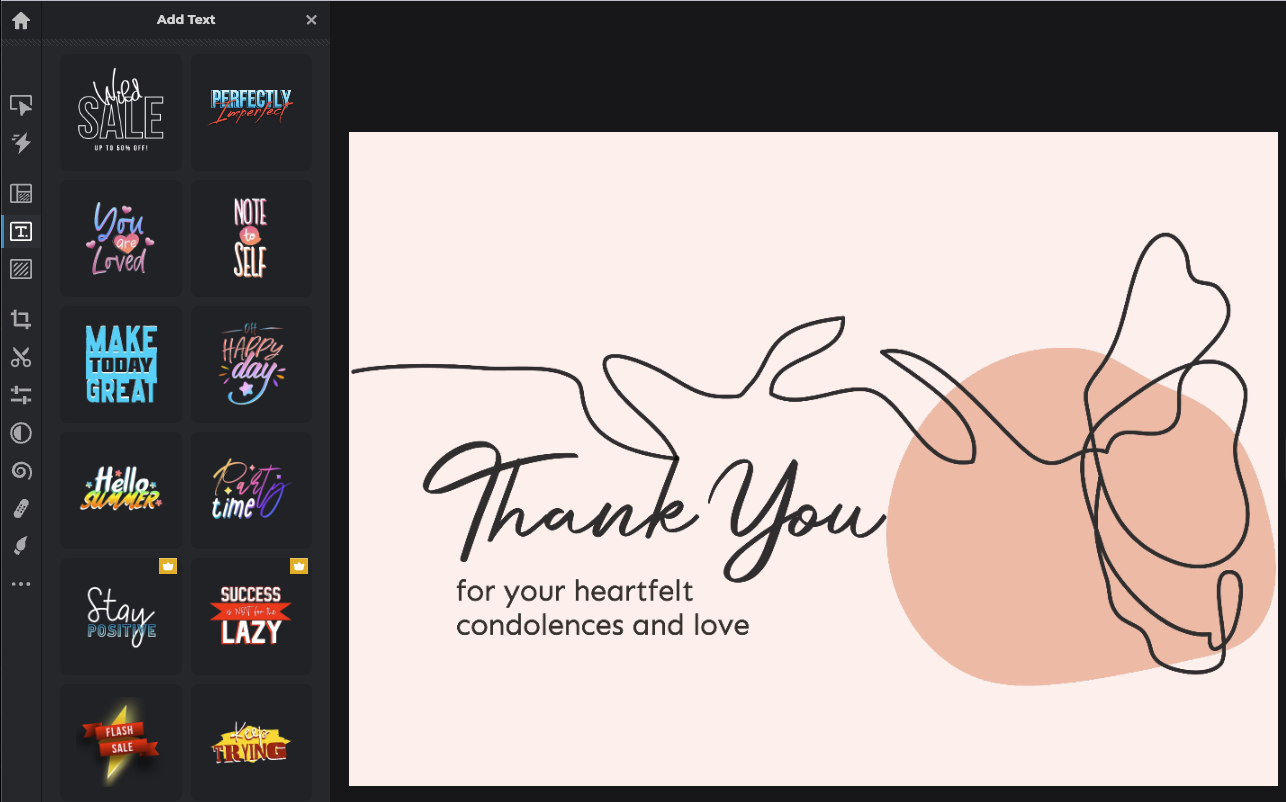
Text and overlays: Pixlr allows you to add text and overlays to your images, allowing you to create memes, quotes, and other types of visual content with ease. You can choose from a variety of fonts and customize the appearance of your text to suit your needs.
Now that you have an overview of the main features offered by Pixlr, let’s dive into a step-by-step guide on how to use them.
Step 1: Choose your platform
Pixlr is available as a web-based tool, as well as a mobile app for iOS and Android devices. You can use the platform that best suits your needs and preferences.
Step 2: Upload your image
To edit a photo or create a design, you’ll need to upload an image to Pixlr. You can do this by clicking on the “Open image” button and selecting the image from your device or by dragging and dropping it into the Pixlr editor.
Step 3: Explore the editing tools
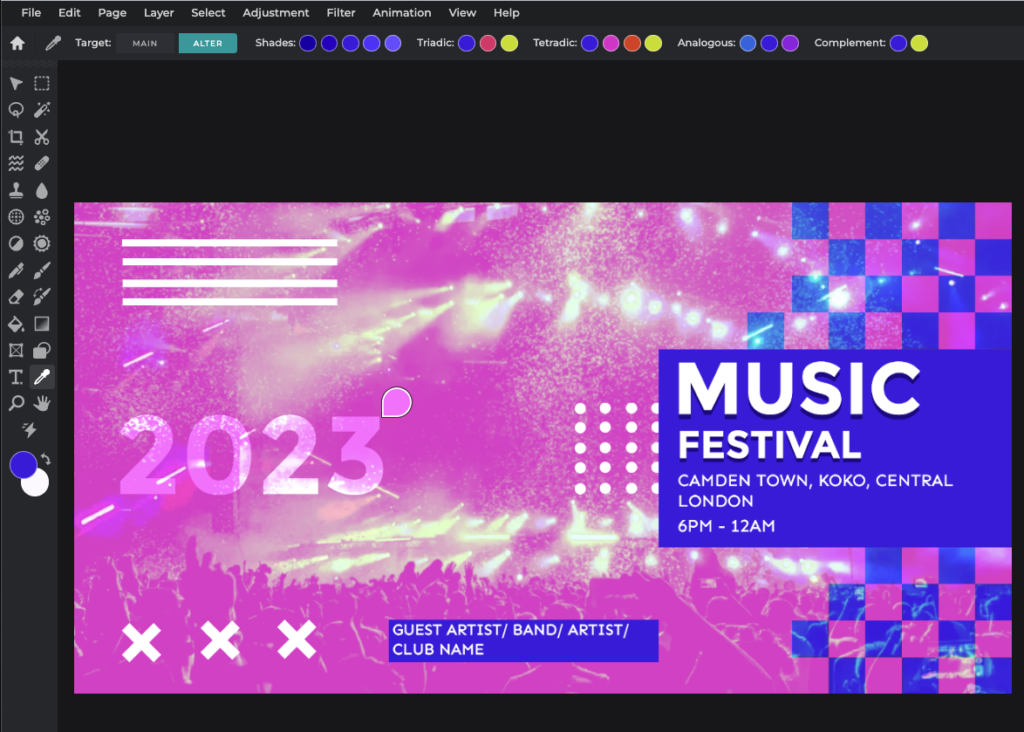
Once your image is uploaded, you can start editing it using the various tools available in Pixlr. You can find these tools in the left sidebar of the editor.
Step 4: Use the layers feature
Pixlr allows you to work with layers, which can be helpful when editing or creating designs. You can add, delete, and rearrange layers as needed to achieve the desired result.
Step 5: Save and export your work
When you’re happy with your edited image or design, you can save it by clicking on the “Save” button. You can choose to save it as a Pixlr file or export it in a variety of formats, including JPG, PNG, and GIF.
And there you have it – a step-by-step guide on how to use Pixlr’s features to elevate your visual content. Whether you’re a beginner or an experienced user, we hope this guide has been helpful in helping you get the most out of Pixlr. Happy creating!