There’s nothing quite like customizing and creating your own wallpaper for your desktop.
Without a doubt, when you spend most of your time on your laptop or computer, you’re bound to look at your wallpaper. So why should it be boring? Say goodbye to generic default backgrounds by creating your own!
With Pixlr, you can let your personal style shine through and easily create a wallpaper from scratch. Let us show you how to do it!
1. Create an artboard
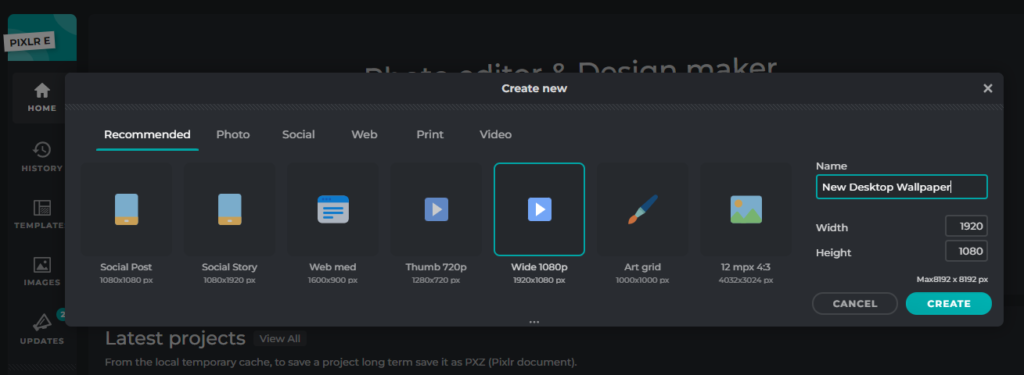
Go to Pixlr E and select Wide 1080p for your artboard as that is the standard dimension for a desktop wallpaper.
2. Create a background
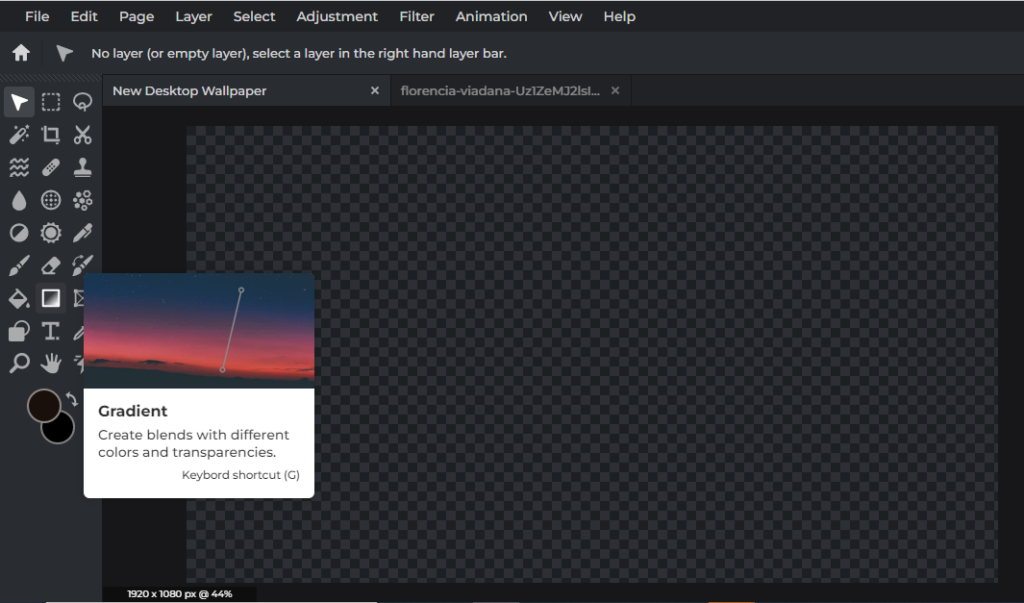
Here, we’re going to create our own gradient background using the Gradient tool.
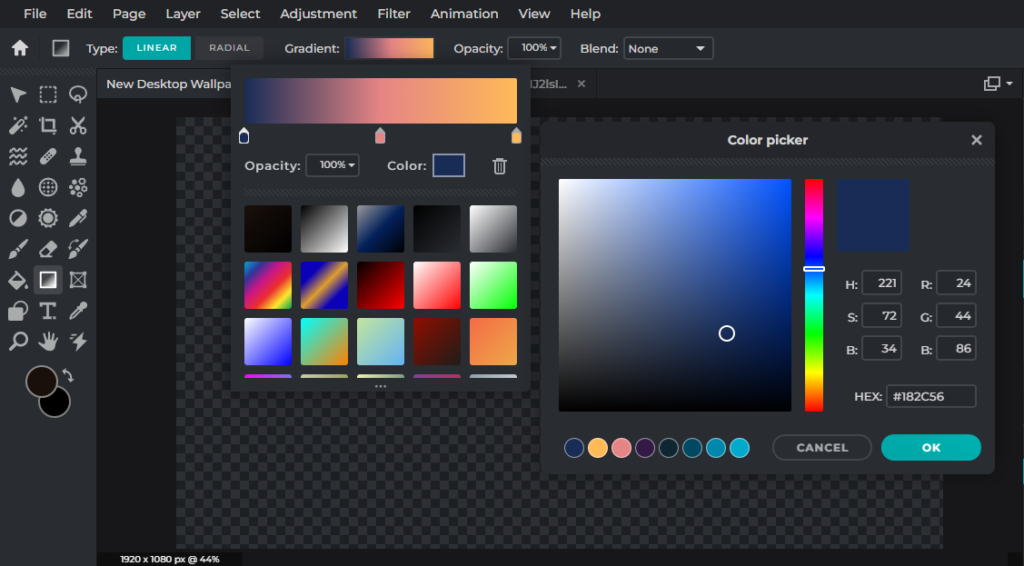
You can use any of the ready-made default gradients, or you can simply create your own by selecting the colors of your choice.
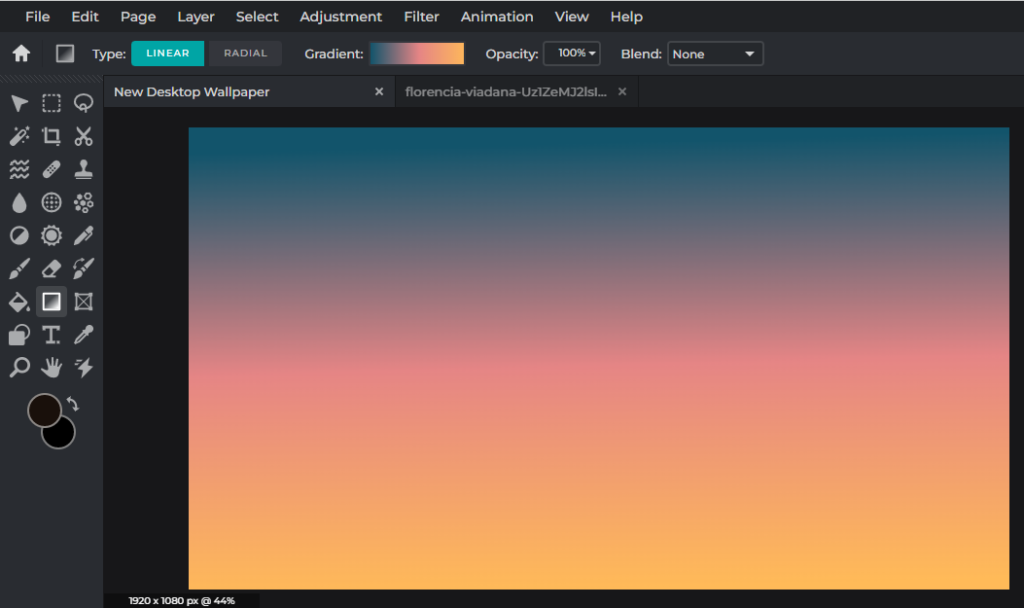
Here, we’re going for a dark blue, pink and orange combination to create a sunset-looking sky background.
3. Start building your layers
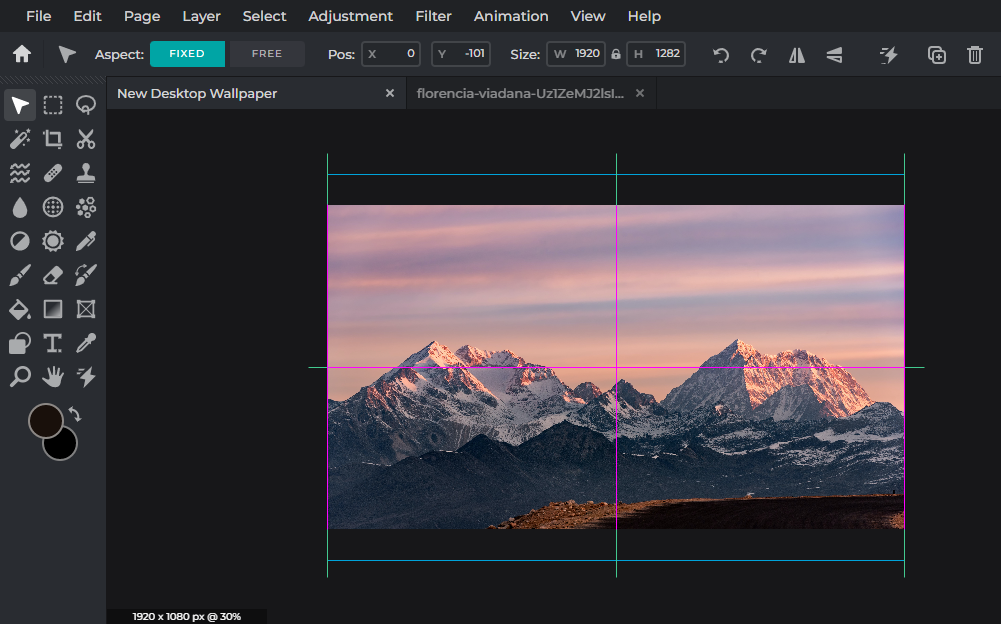
Now, we’re going to start adding layers to our background. Here, we have a landscape photo of a mountain range.
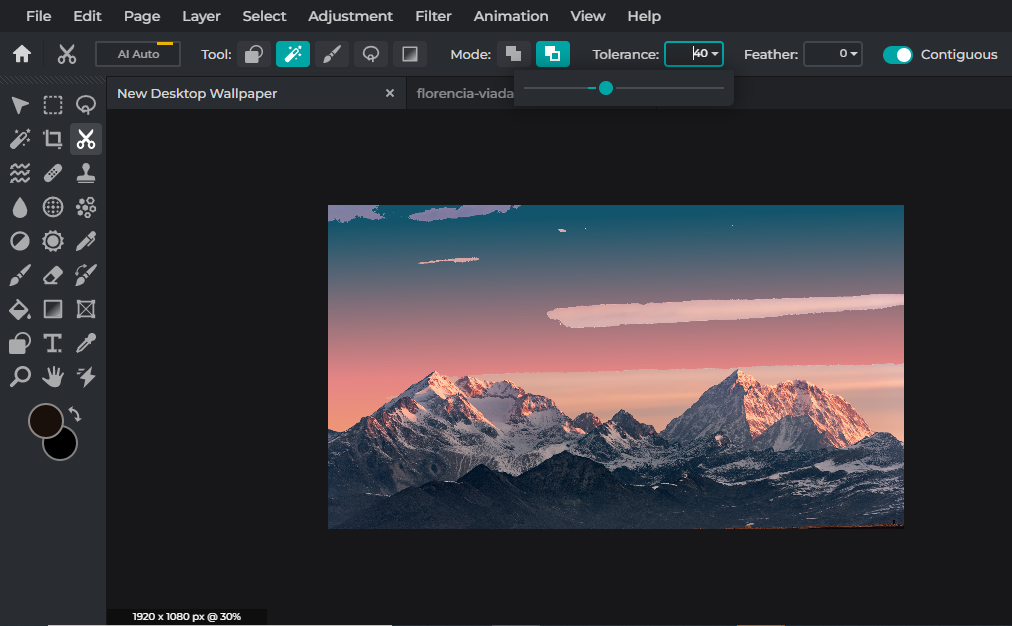
Since we don’t need its original background, we’re going to remove it using the Magic Mask feature of our Cutout tool.
The Magic Mask feature is really fun to use as you can easily choose the mode and adjust its tolerance depending on the amount and range of colors the image has.
Here, since the original sky background only has a few shades of purple and pink, we decide to increase the tolerance from 32 (default) to 40 so that we can save time by removing a larger piece of the background in a single click; as opposed to picking bits and pieces from the canvas with a low tolerance.
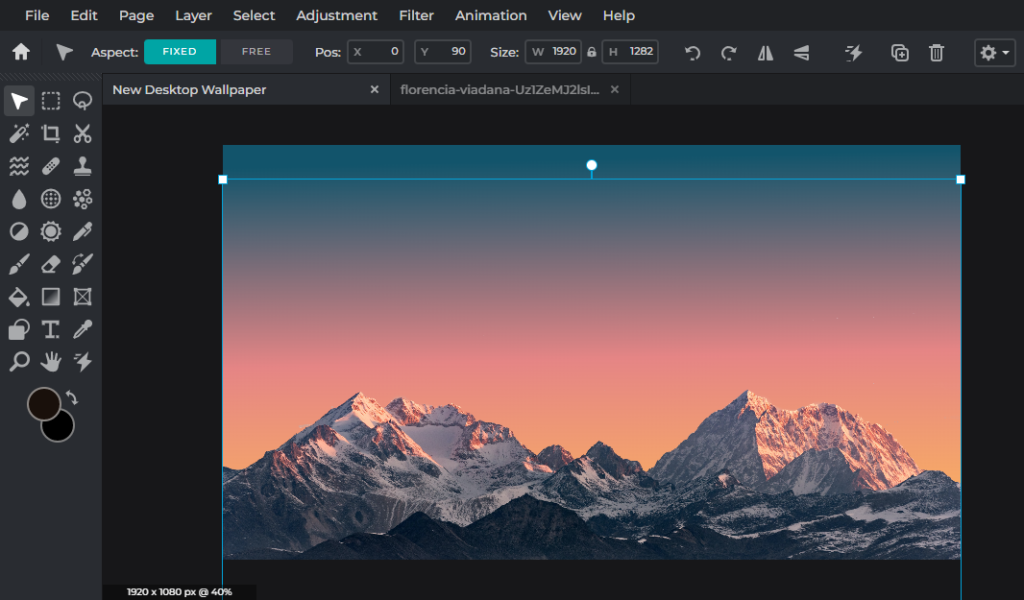
After removing the background from the mountain image, we’re resizing and rearranging the layer so that it aligns with the gradient background.
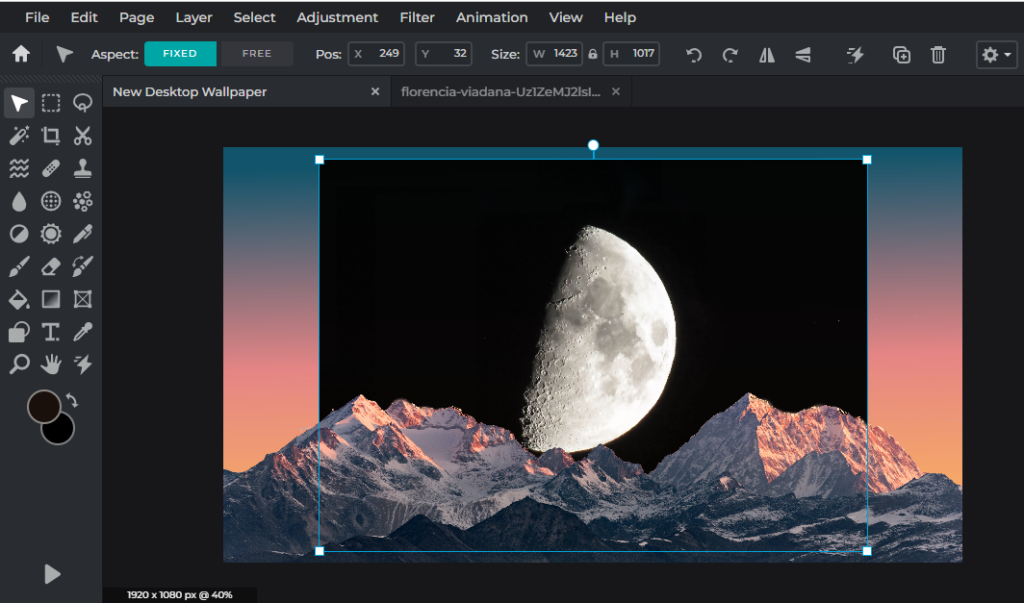
Now, we’re adding another layer – a moon, to this design because a mountain alone is never quite enough.
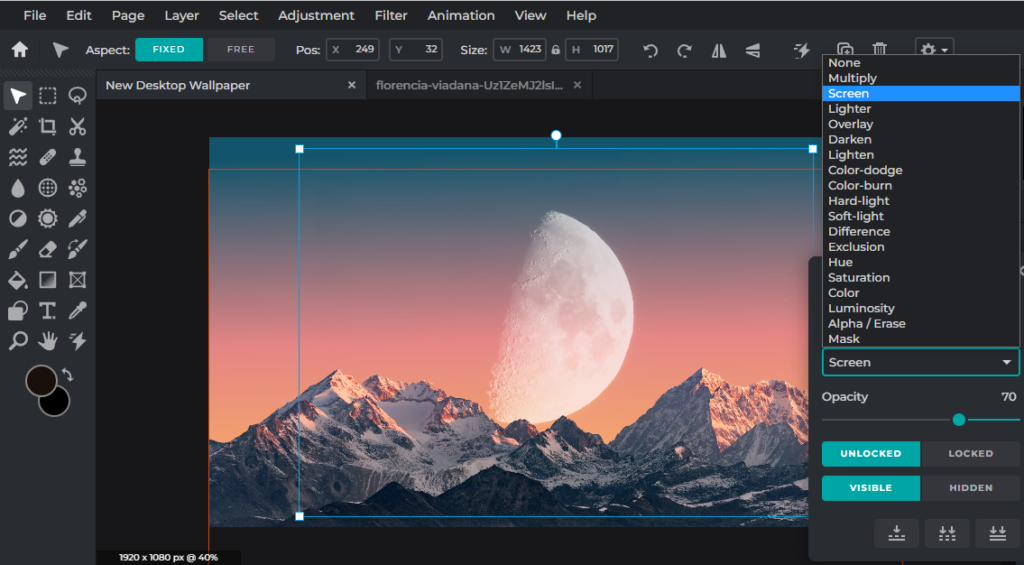
Here’s a trick that you ought to know: for any image with a dark-colored/black background, you can easily remove it by clicking on Blend Mode on the right panel and choosing Screen – you wouldn’t even need to use any of the Cutout/Mask features.
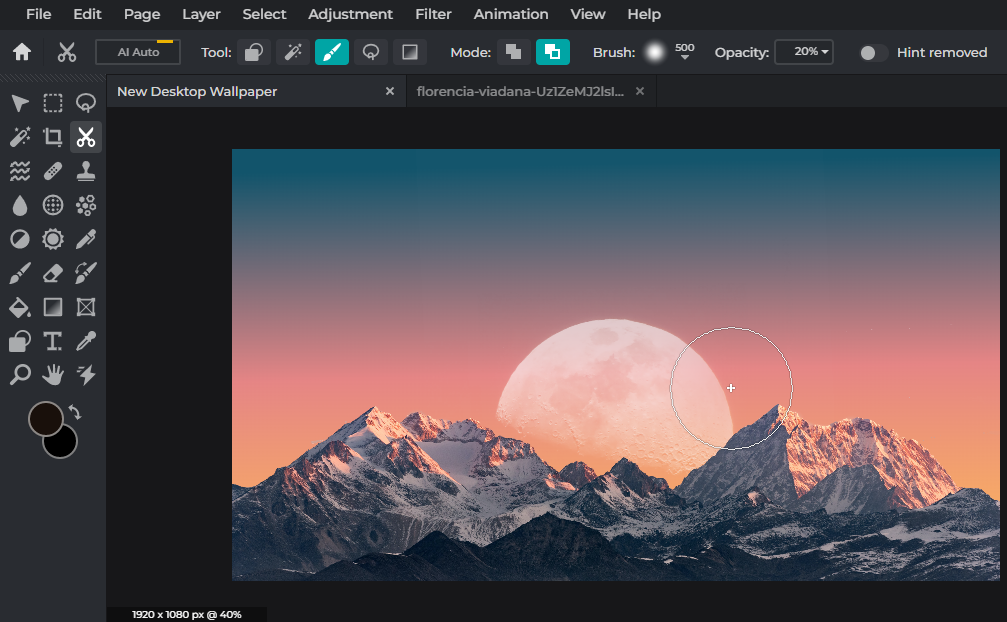
After screening the moon image, we’re using the Draw Mask to softly blend the edges of the moon into the gradient background – the trick is to lower the opacity and increase the softness of the brush.
4. Add finishing touches
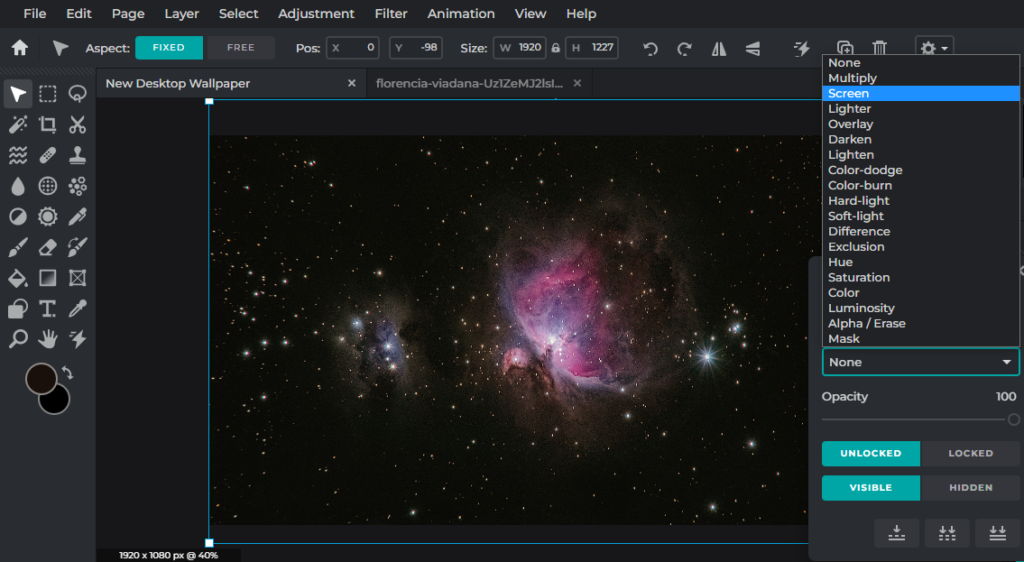
Here, we’re applying the same screening technique again for this galaxy image.
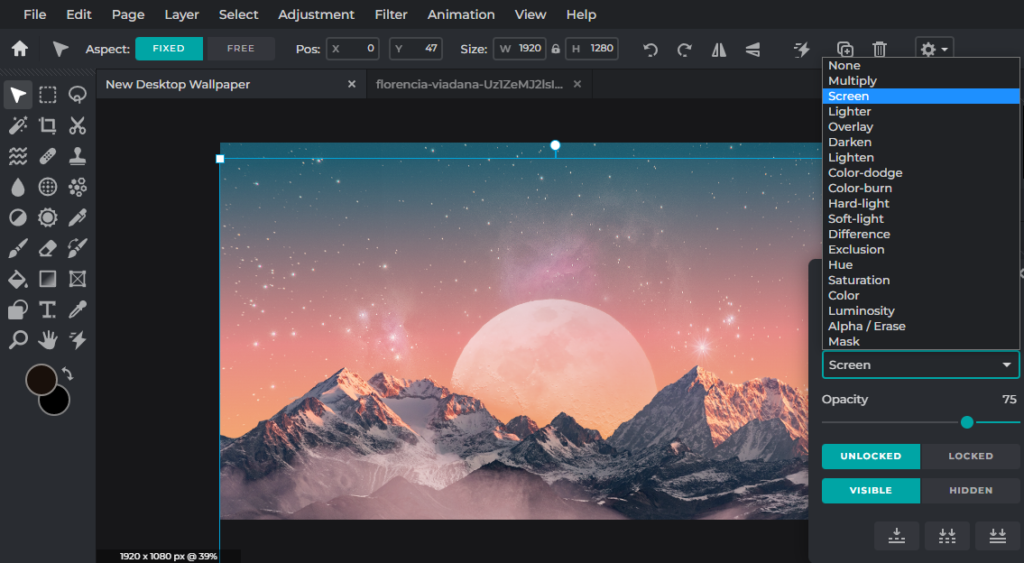
You can definitely play around with the opacity and adjust it to your liking.
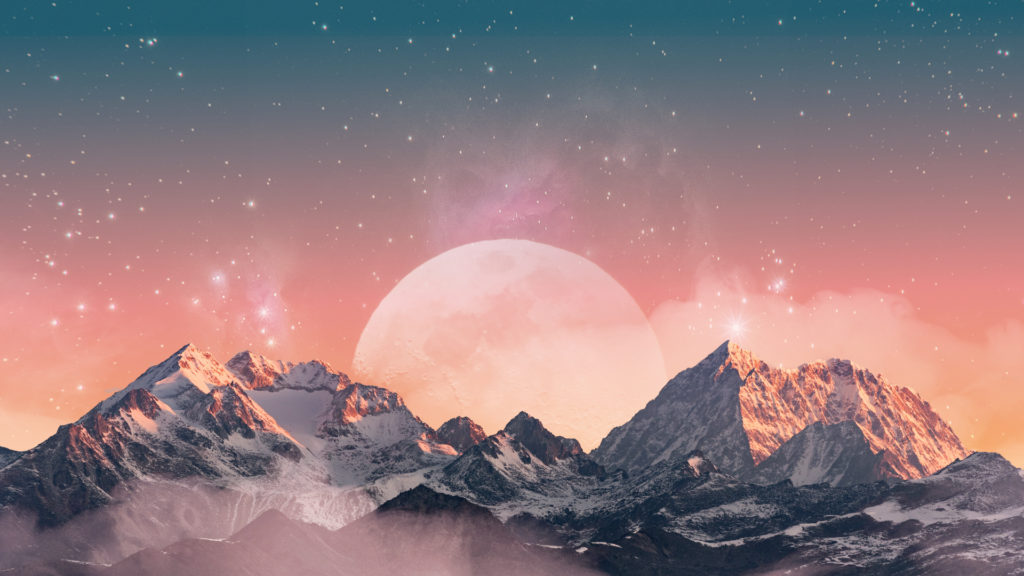
And there you have it – the final product!
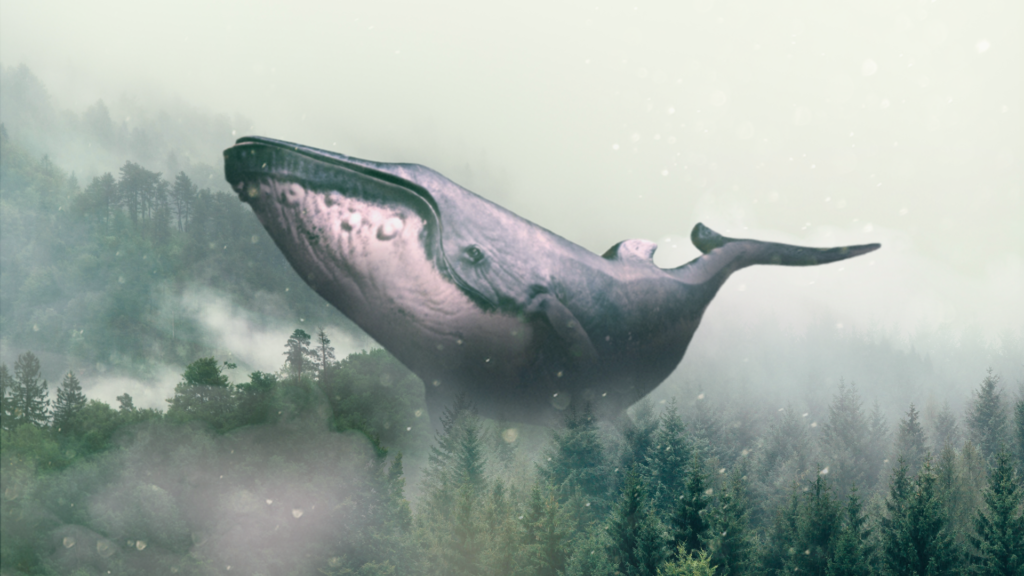
Here are some other similar instances that you can refer to:

Start creating a wallpaper with Pixlr today!
Once you’ve mastered these tricks and techniques, you can apply them to anything you want to create, ranging from surreal collages to beautiful wallpapers. Whatever you wish to create, Pixlr is the go-to photo editing tool for you!