Let’s hop into the Year of The Rabbit with festive templates, bright, auspicious colors, and stunning edits!
Lunar New Year is right around the corner, and we here at Pixlr are so excited to bring you all the festive cheer in the form of easy-to-use templates and cool creative editing ideas.
In today’s tutorial, we’ll show you how to utilize different features and tools in Pixlr to create beautiful Lunar New Year photos just in time for the Year of The Rabbit.
So let’s hop into action!
1. Utilize Templates
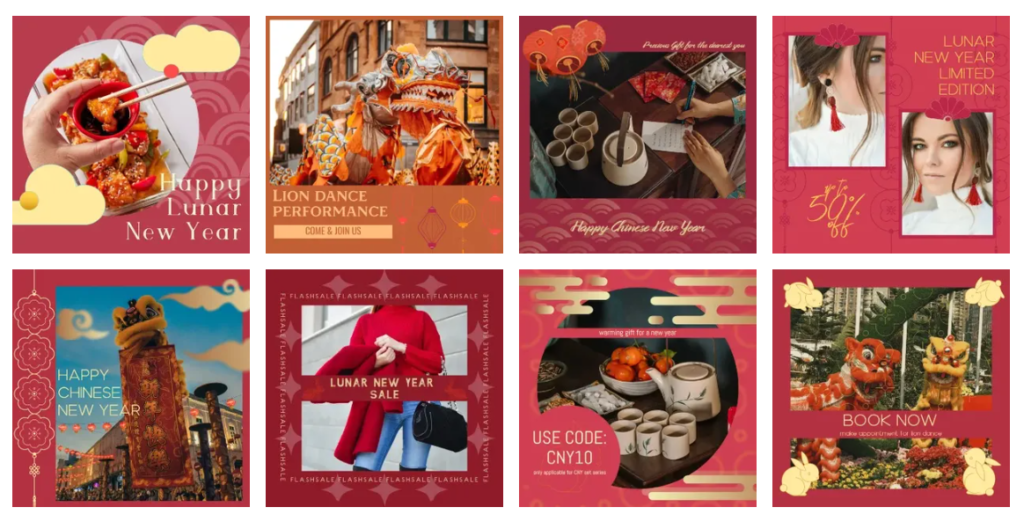
If you’re looking to save time but still create stunning Lunar New Year social media posts, then Pixlr Templates are made for you.
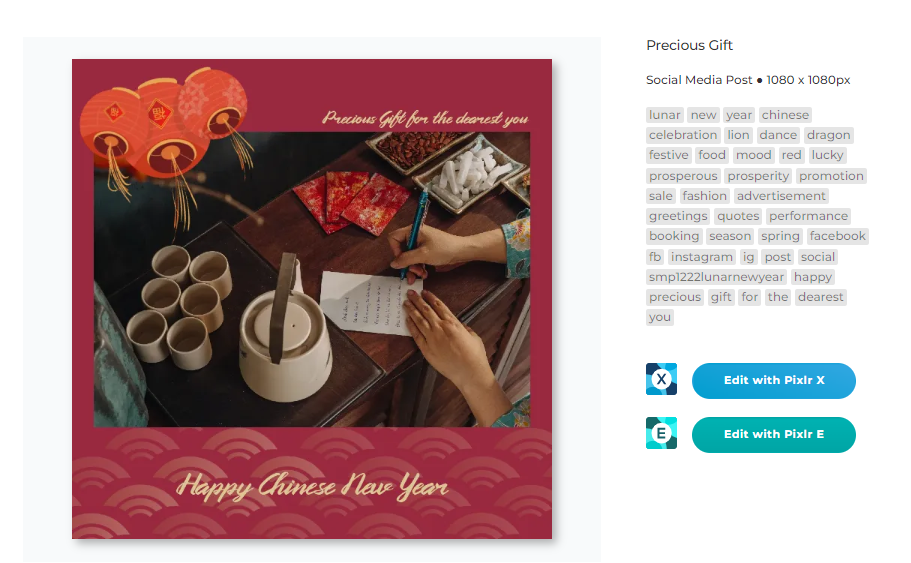
All you have to do is choose a template that you like and open it in either Pixlr X or E.
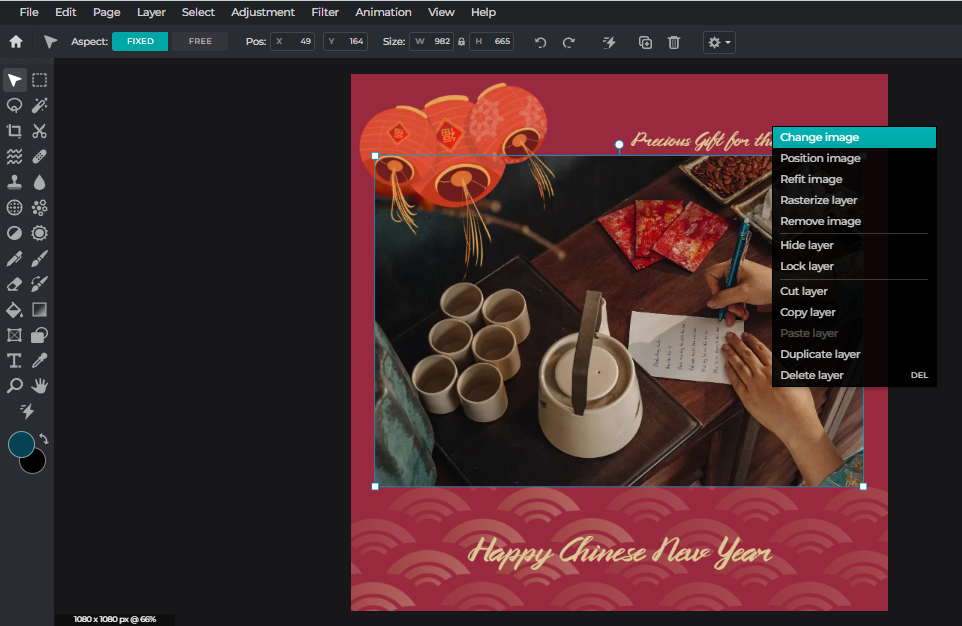
We’re opening this template in Pixlr E, and now we’re going to change the image to one of our own.
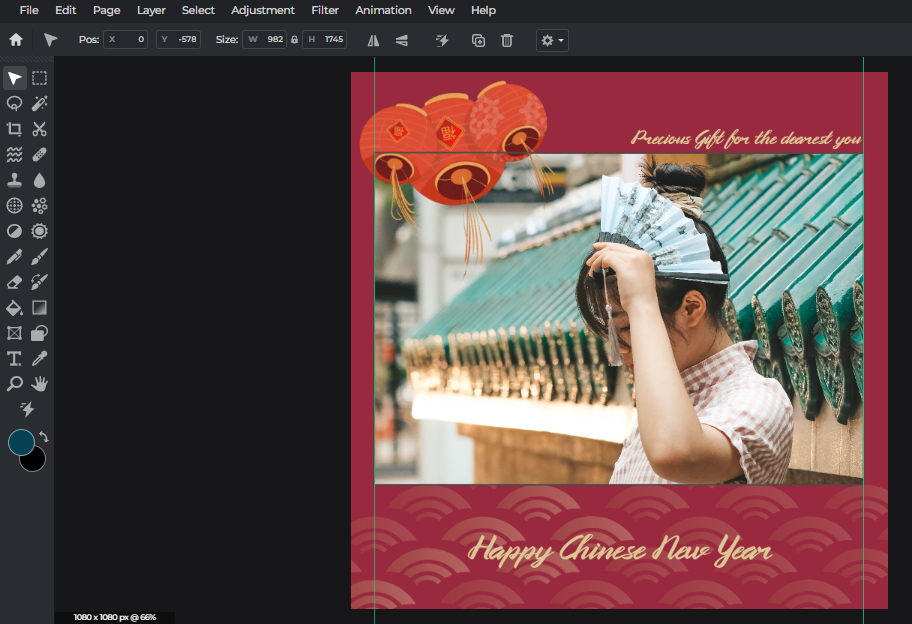
Now that we’ve added our own image into the template, we’re just going to reposition and readjust the image to fit perfectly within the frame.
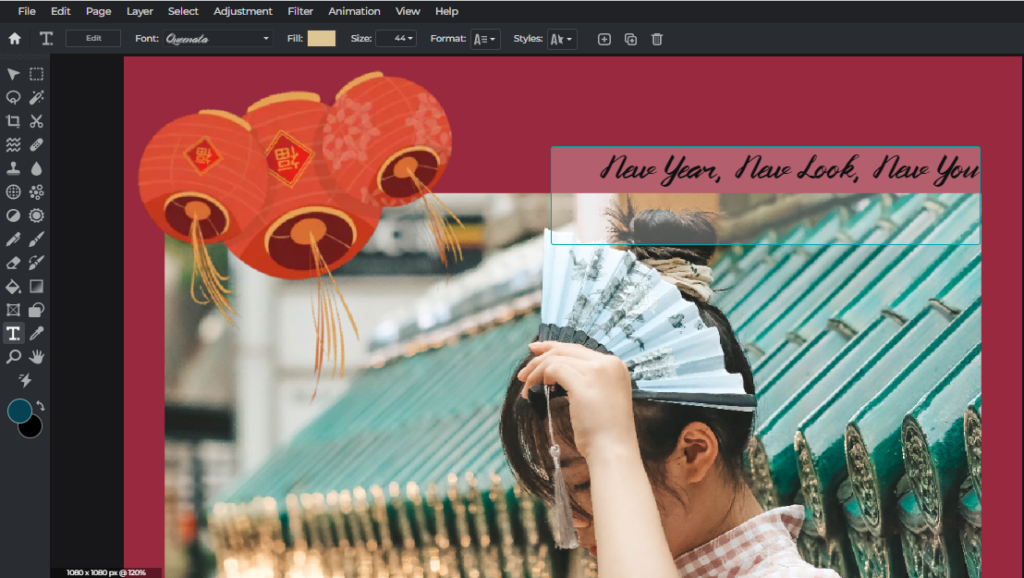
Feel free to change the text to something that fits your social media post.
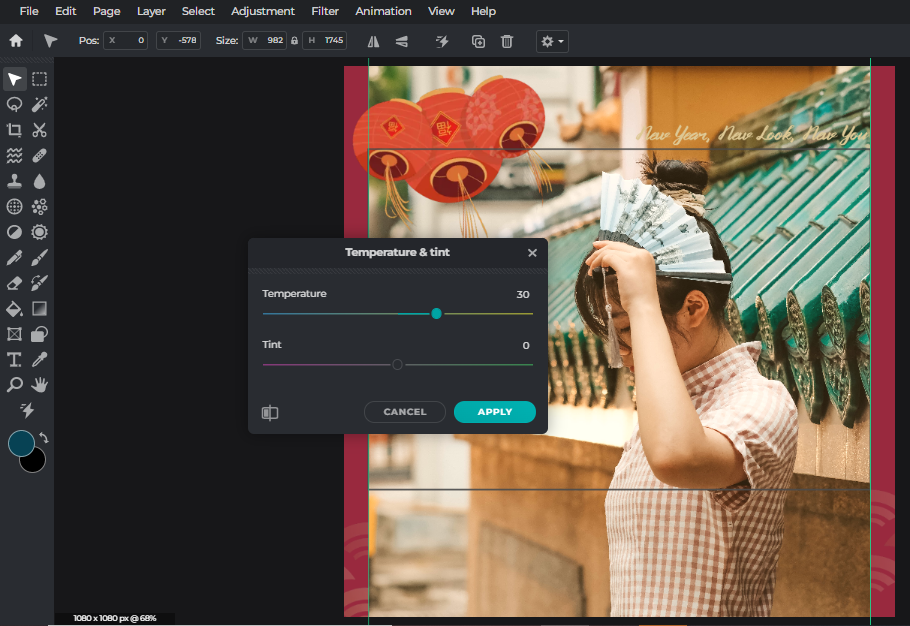
You can also adjust your image, such as temperature and tint. Here, we’re giving the image a bit more warmth to match the vibrant festive period.
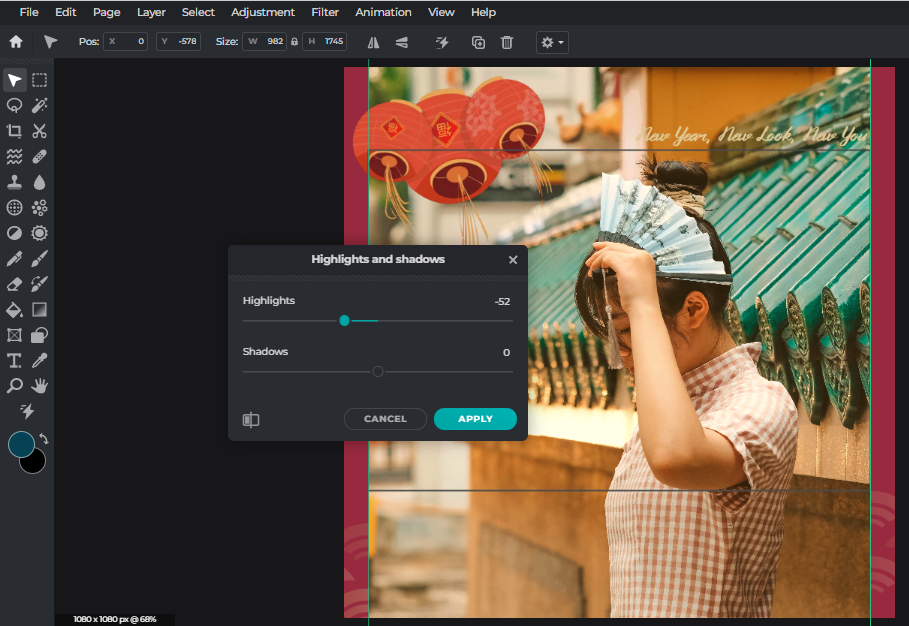
We’re reducing the highlights of the image to make it look less exposed and give it more depth.
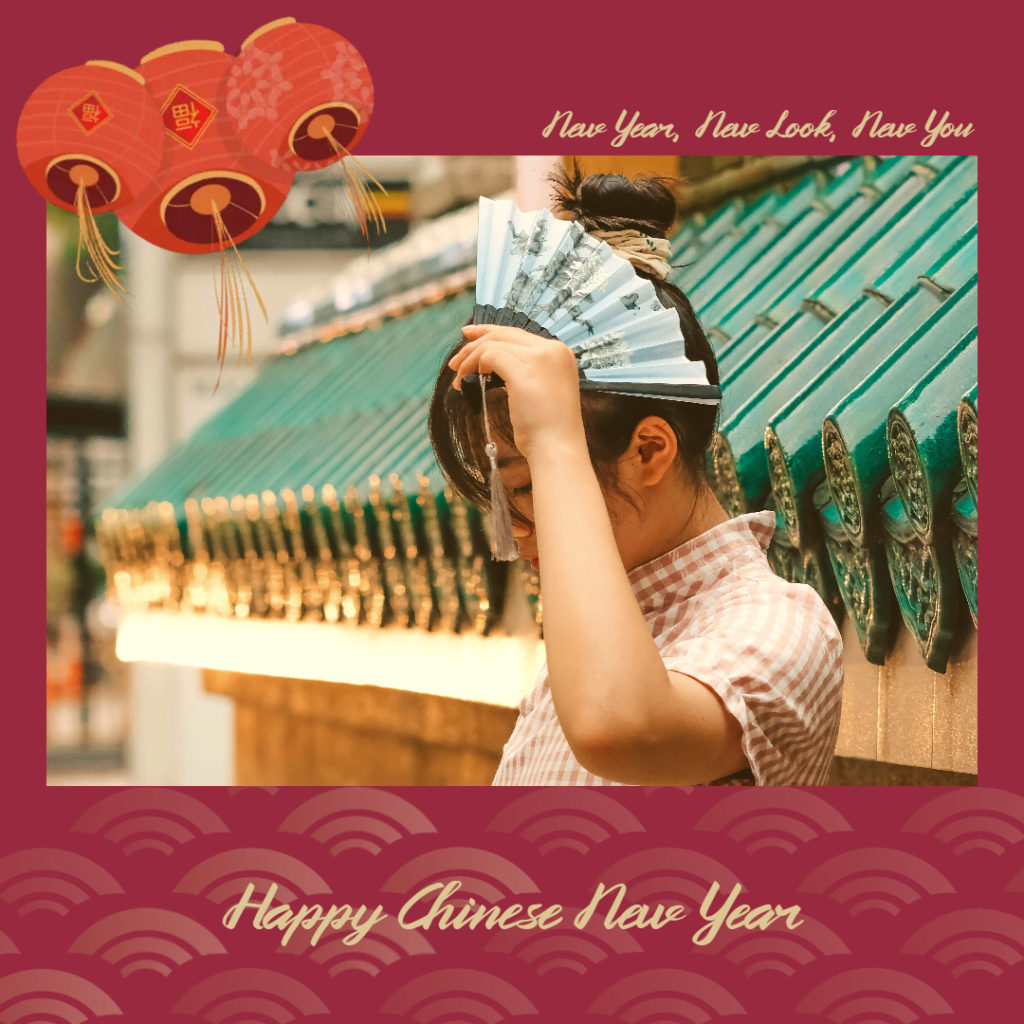
And there we have it – a trendy festive visual ready for posting!
2. Make The Colors Pop
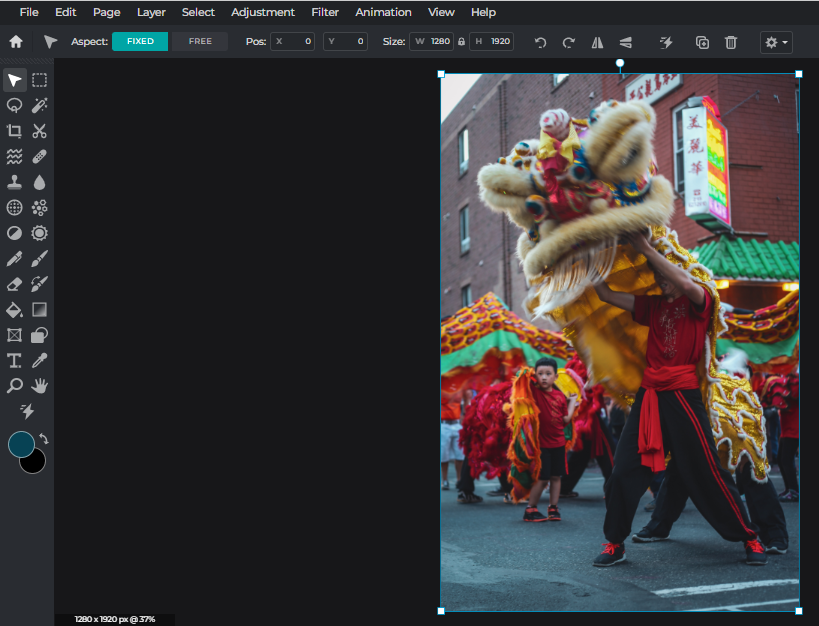
Here, we have a photo of a lion dance performance. However, the photo clearly needs vibrance and liveliness. The color red in the image isn’t eye-catching, even though more than half of the image’s composition consists of red.
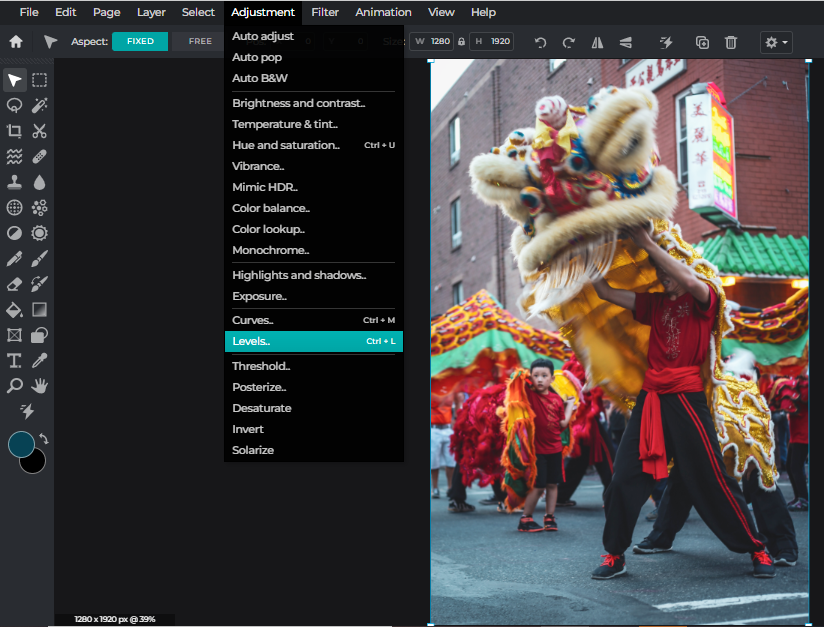
Hence, we will utilize Levels, which can be found in the Adjustment tab.
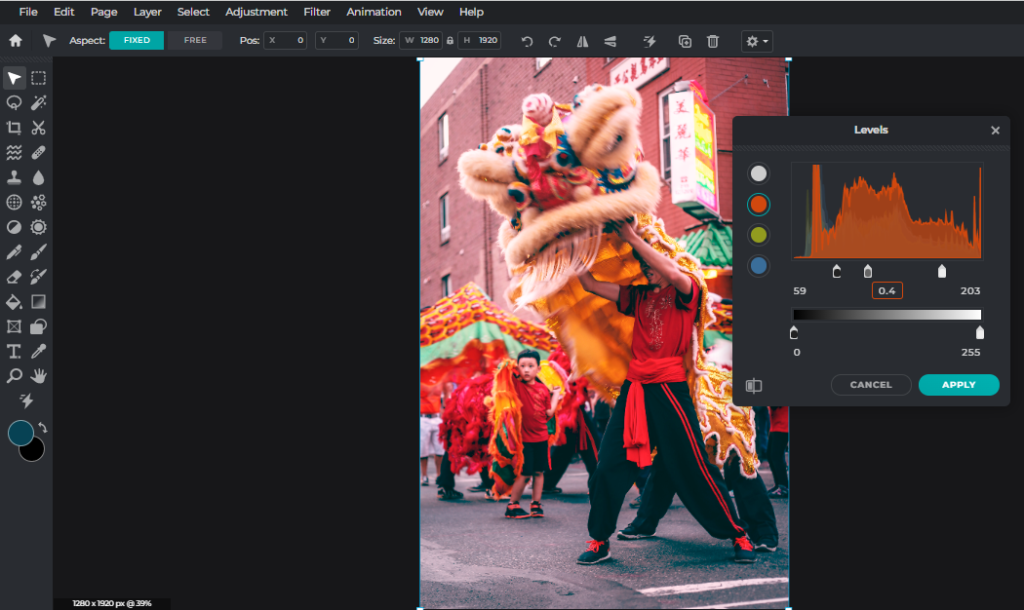
Remember, the goal is to make the red color pop. So, we’ll click on the red circle and adjust from there. First, we’re dragging the grey point to the left, adding a significant amount of red to the image. To balance out the redness, we’ll move the black point to the right until it creates just enough contrast and shadow.

If the image lacks depth, you can adjust its brightness and contrast accordingly.
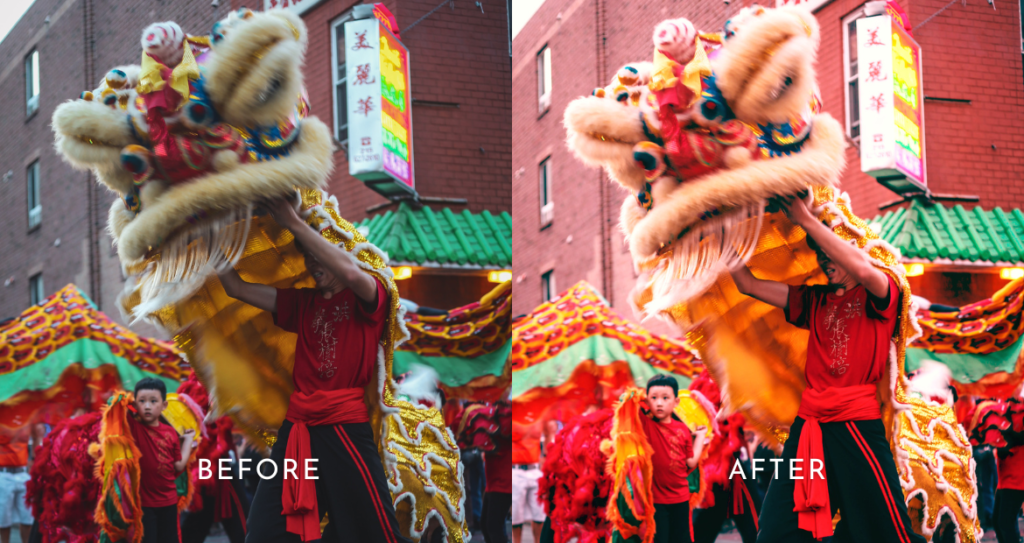
Here’s the stark difference between Before Pixlr and After Pixlr.
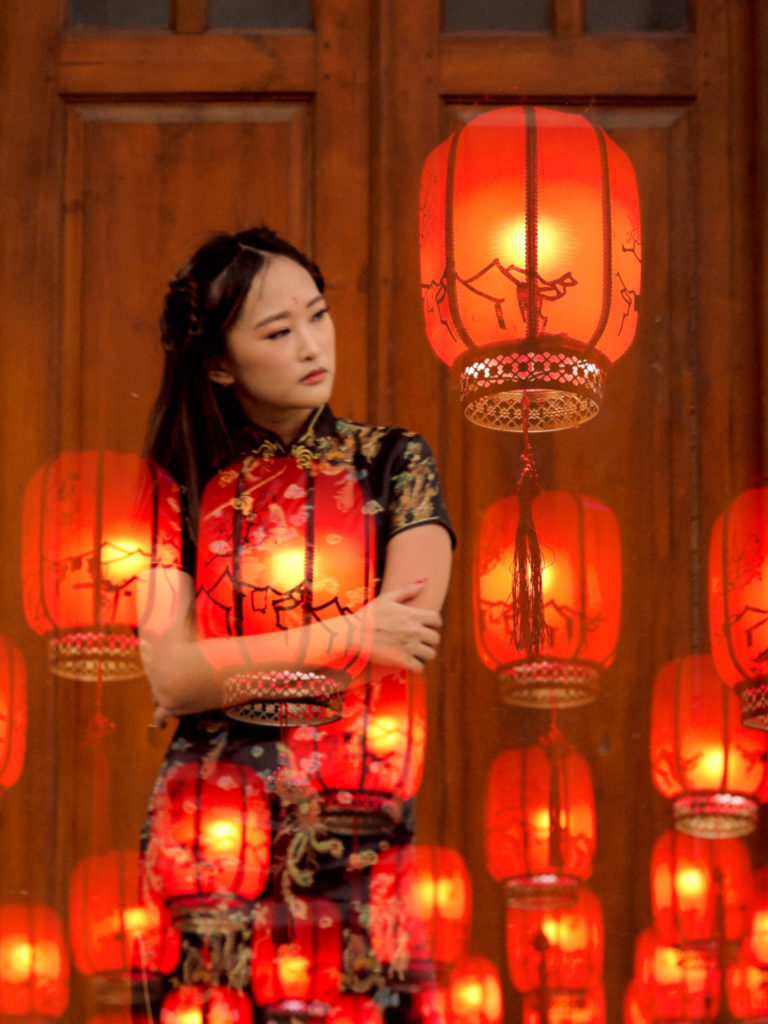
3. Double Expose & Layer
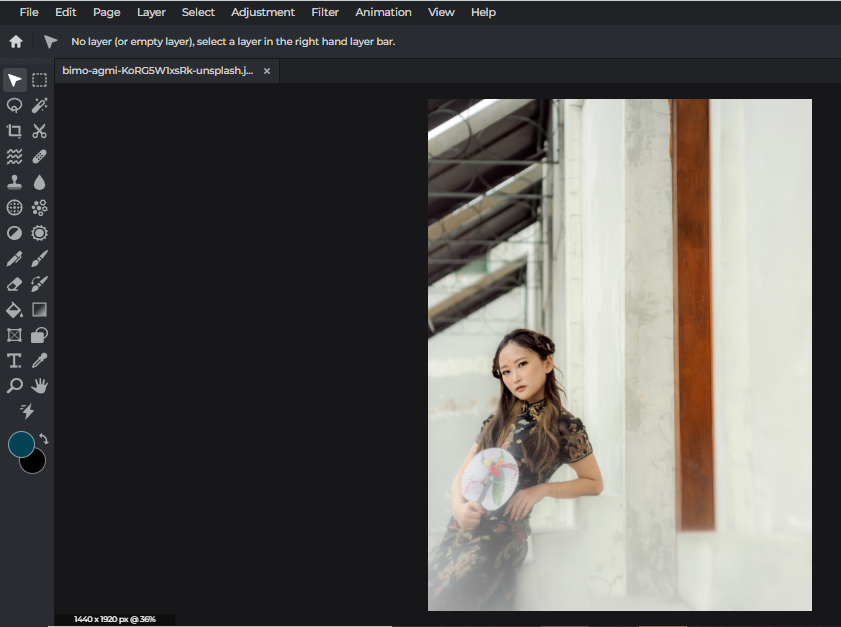
If you want to turn your average Lunar New Year outfit post into something unique and memorable, you can try this fun little trick – double exposure.
First, you’ll need to upload your photo into Pixlr.
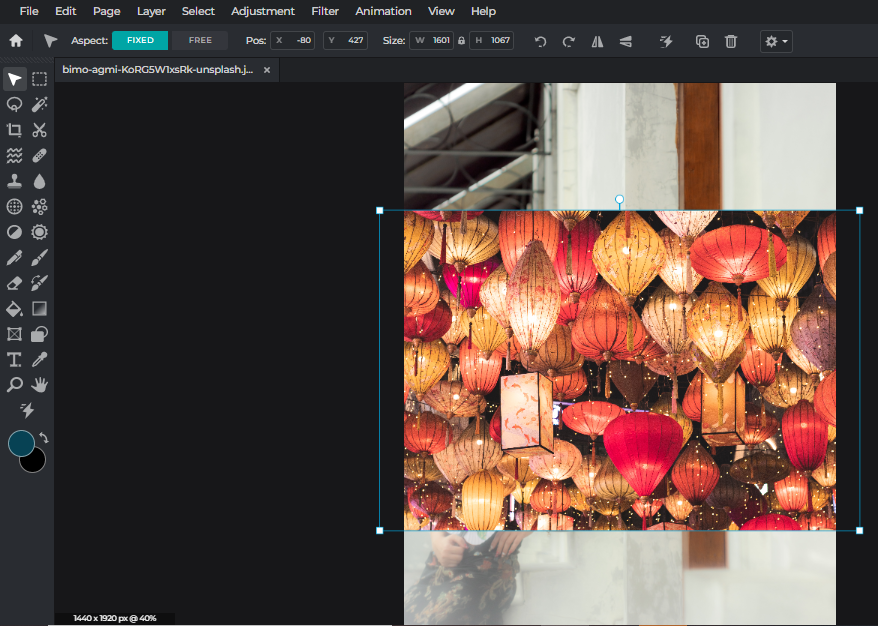
Then, you can open another image on top of your first layer and resize/reposition it.
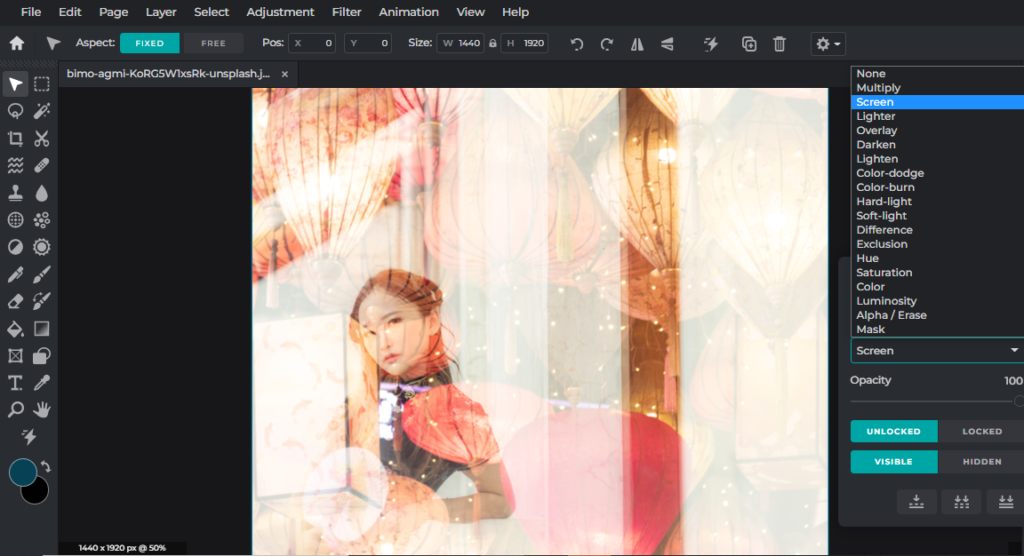
Now, we’re selecting the top layer and opting for the Screen blend mode, which immediately reveals the image at the bottom.
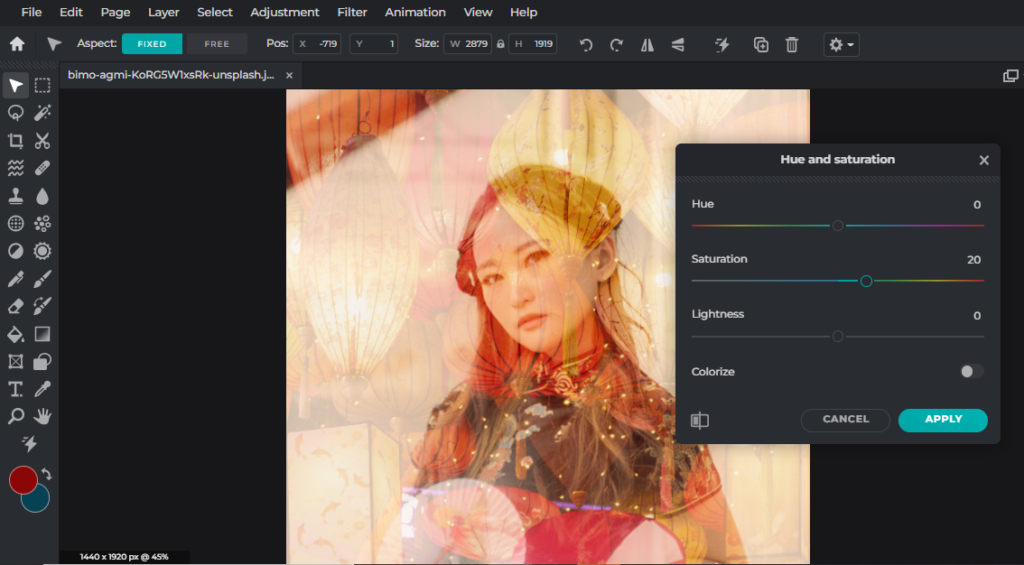
We’re enlarging the image at the bottom and increasing its saturation, so it doesn’t dissolve into the second layer.
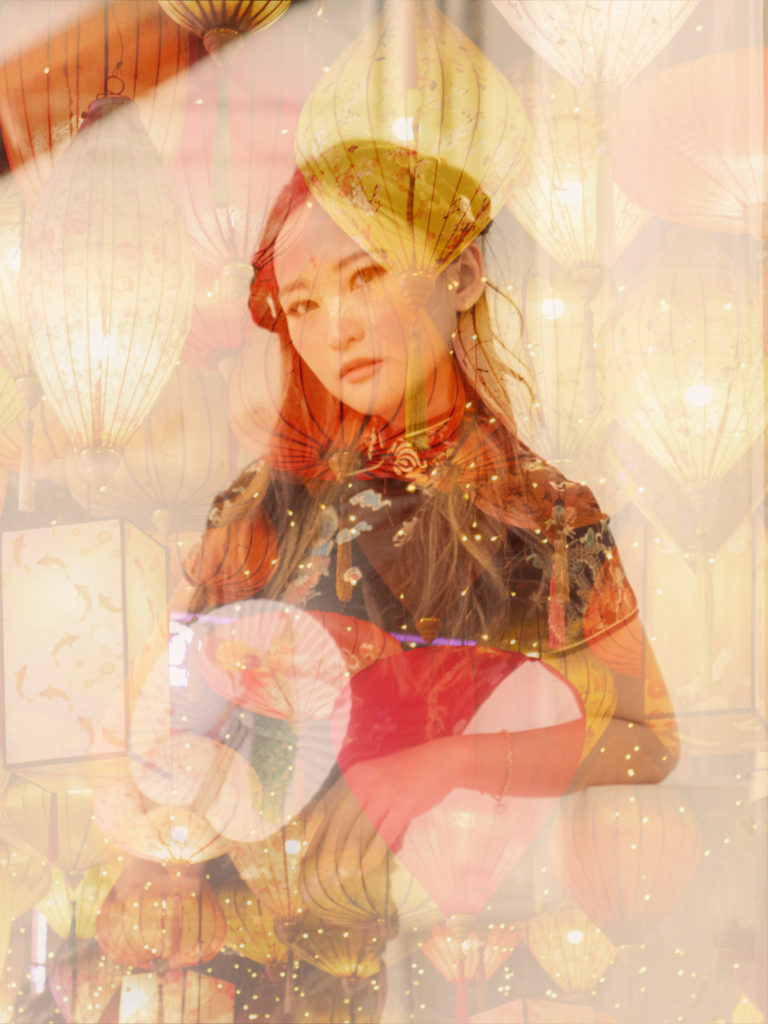
And voilà – a stunning double exposure photo that’s bound to stop the social feed thumb-scrolling.
Here’s another example of how we leverage on the double exposure trick.
Start Creating Lunar New Year Cheer with Pixlr!
Now that we’ve shown you all the tips and tricks on creating beautiful Lunar New Year photos with Pixlr, you can easily edit your photos and turn them into eye-catching, thumb-stopping social media posts.