Design a vast array of visual content with Pixlr’s Animation feature
With the recent rebranding of Pixlr, the platform has brought forth many cool new features – one of them being the Animation tool. Content creators can now make their designs all the more compelling with movements seeped into it.
Be it the entire project, or even just certain design elements, you’d be excited to know that this latest feature enables you to animate them all the same. What’s more, there are a wide selection of different animation styles that you can use!
Read below and feast your eyes on stunning animated content that can be produced with Pixlr.
1. Let your design grow
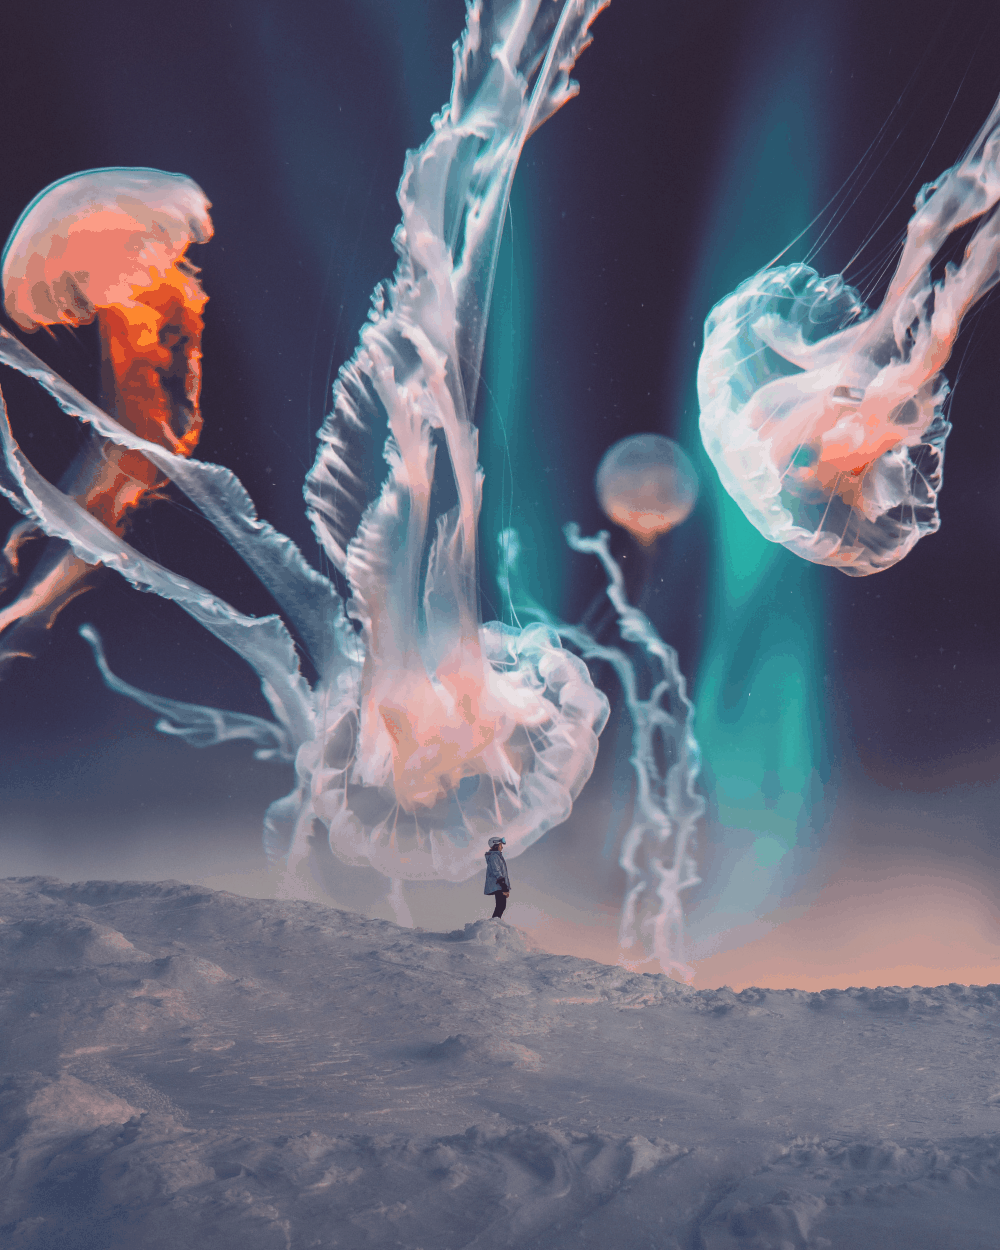
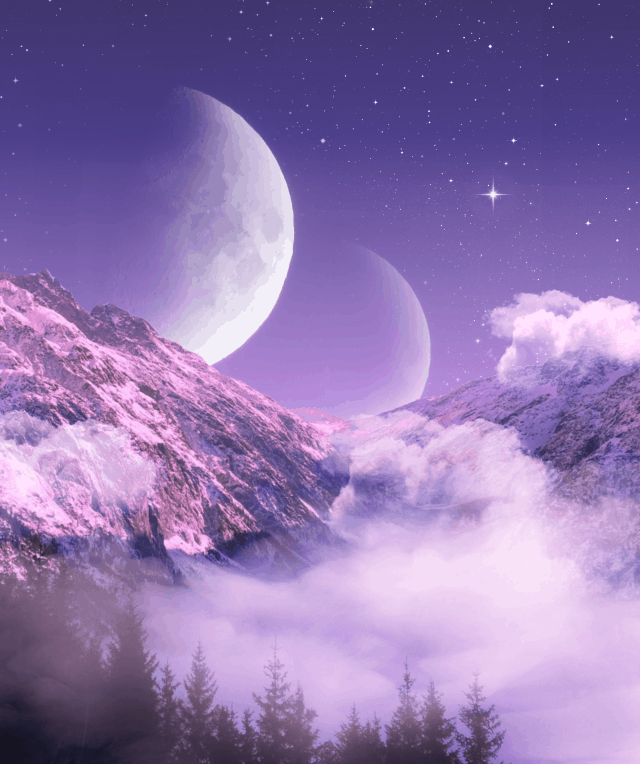
Created with Pixlr E.
True to its name, the Grow animation style allows you to have your design elements appear as if they are growing, as the effect makes it appear gradually getting larger. To obtain this look, simply click thee Grow option under the Layer tab, as pictured below.
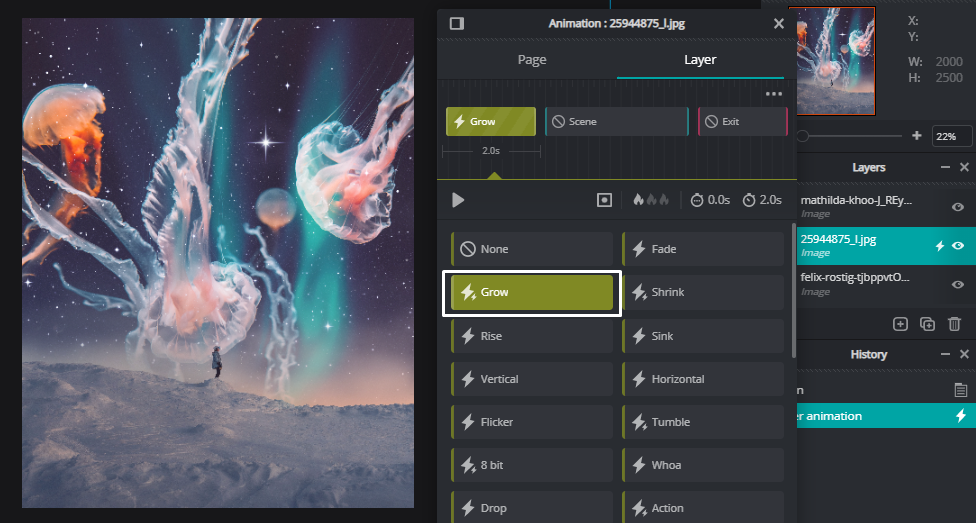
Keep in mind that selecting the Page tab would make every design element in your project animated. If you wish to only animate certain items, select the layer in which the element is located on and click on the Layer tab. You can even get to control each style’s speed and delay too.
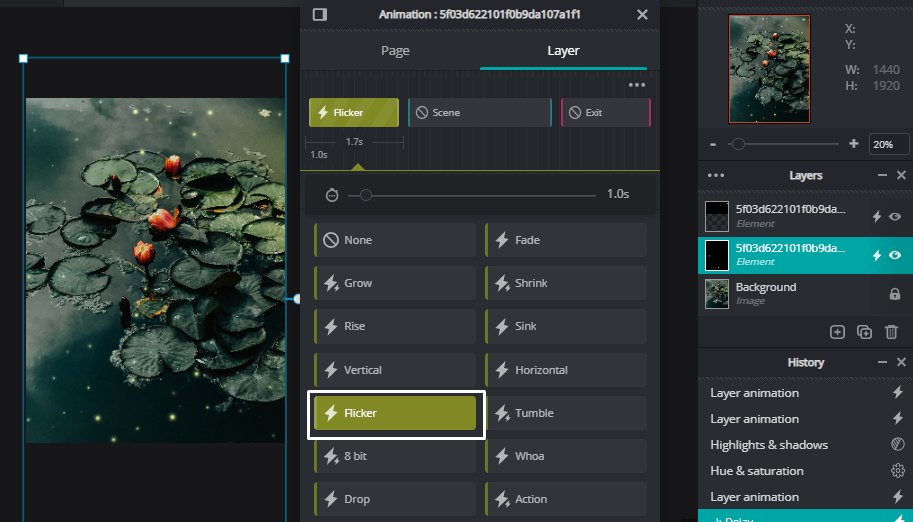
2. Flickering lights
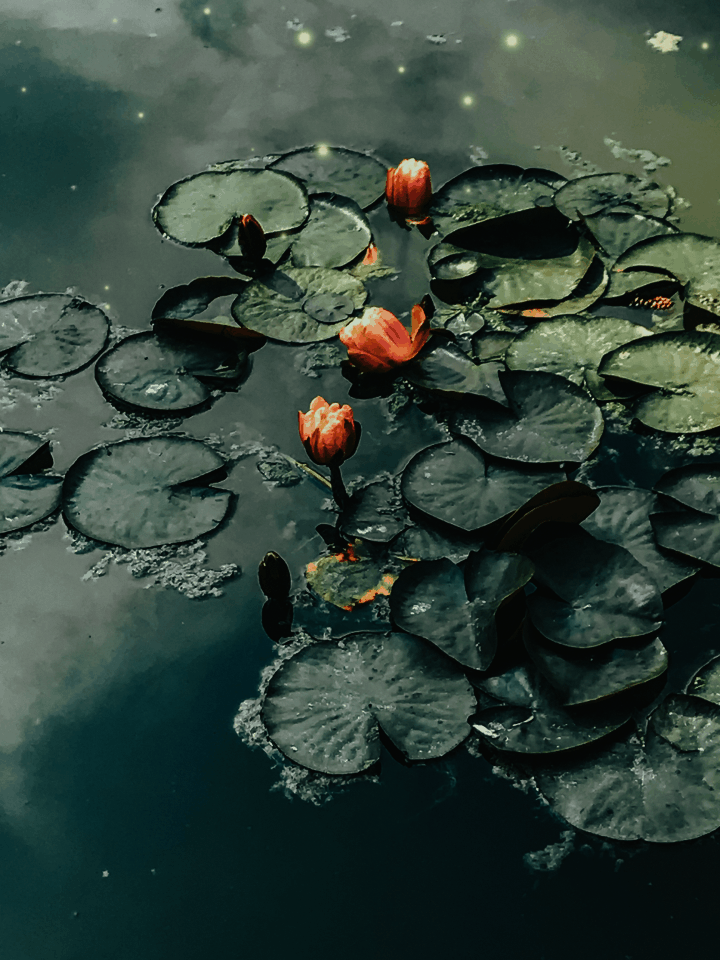
Created with Pixlr E.
What better way to add ethereal effects into your visuals than by using the Flicker effect? This specific animation style allows you to make your object seemingly glimmer. The speed of the flickering effect is of course, completely up for you to decide.
If you’d wish to make it rapidly blink, therefore catching the attention of your audience instantly, you can do so too! Be it for emphasizing luxury, surrealism, or even just to make your design seem quirky, this effect is ready to convey that for you.
See the image below for a visual guide on how to apply this effect onto your design.
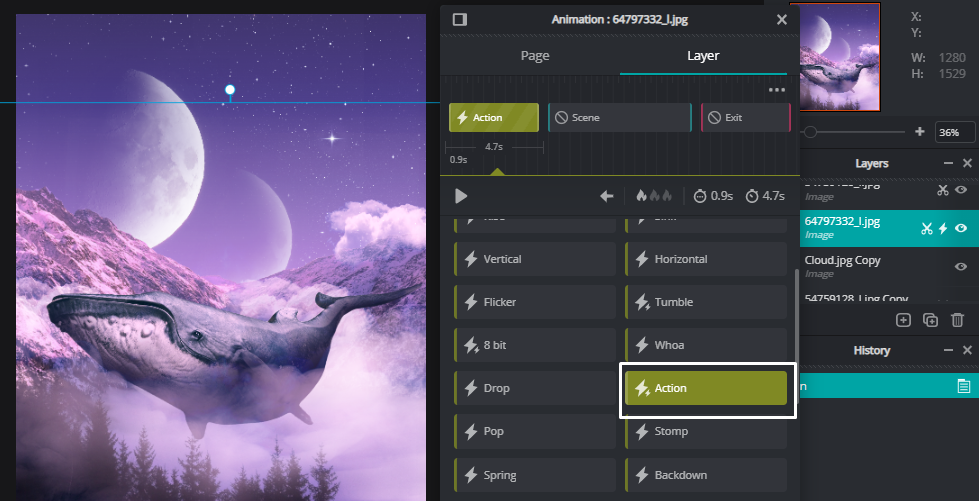
3. Set your design in action
Created with Pixlr E.
This third animation style, titled Action , lets you animate objects to slide into (or out of) your design! This feature makes your design all the more intriguing, as your design elements will appear to be inching sideways (can be from either left or right) into its actual position.
4. Rise and fade

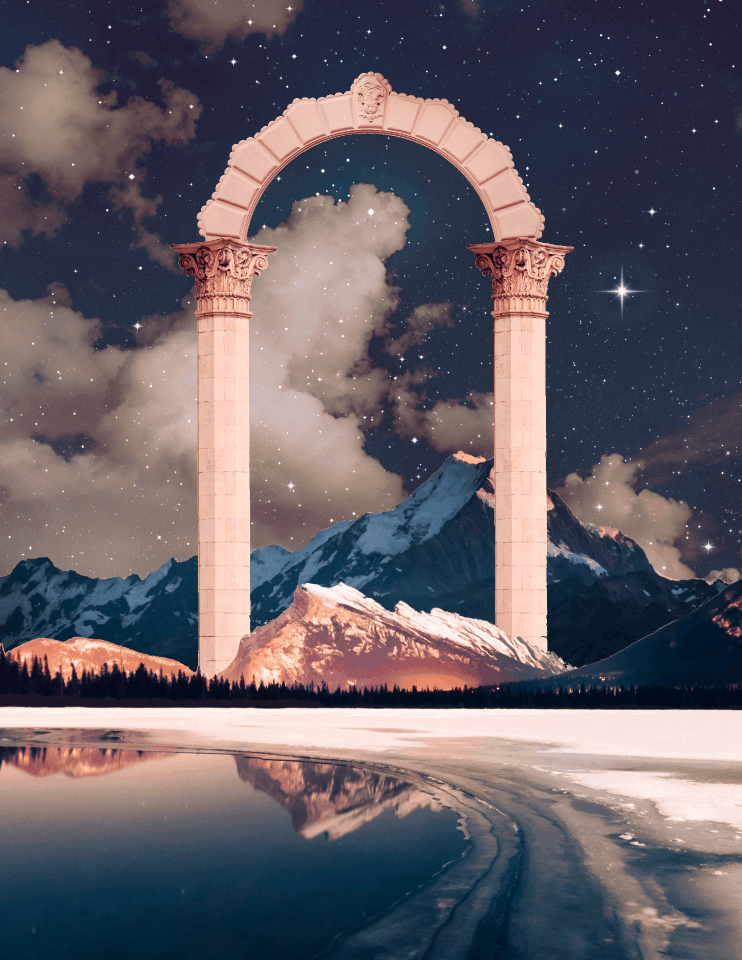
Created with Pixlr E.
Ultimately, combining two different animation styles (or more!) to create a breath-taking edit is essential for any aspiring content creator. In this case, the design above utilize both the Fade and Rise effects.
To execute this, be sure to separate the design elements that you’d like to animate differently and put them in two different layers. It is also important to do your layer positioning correctly, as to ensure that the animation sequence will follow after one another seamlessly.
5. Rippling dreams
Created with Pixlr E.
To achieve an otherworldly effect for your visual content, why not utilize this Ripple animation style for your design? This simple touch will make your design all the more elegant and even mysterious looking, depending on how you want to use this effect to your advantage.
Take your editing skills to the next level with Pixlr’s Animation tool!
Are you excited about trying these animation styles out? Apply them to your visual content in just a few clicks. Simply head over to Pixlr E and discover these effects for yourself.
For more information of the Animation tool, read our introductory article here.