Struggling to create a color scheme or color palette that matches your favorite images? Not a problem with Pixlr’s easy-to-use Picker tool!
But before we dive into it, let’s talk about color schemes!
What is a color scheme?
We might hear this term being thrown around a lot, especially when you work in any design or advertising field. But what does it actually mean?
A color scheme consists of a combination of colors used in a range of design disciplines ranging from fine art to graphic design. Every color scheme is made out of one or more of the 12 colors present on the color wheel. By pairing different colors with each other, you can create endless color palettes to use in any composition.
Thinking of a color palette for your work can be time-consuming and overwhelming. Luckily, you don’t have to sit in your design chair for hours trying out every color combination to find one that looks cohesive.
With Pixlr, you can easily create your very own color schemes or color combinations that match your images and go perfectly with your designs.
In this article, we will show you how to create your own color scheme in just a few simple steps!
1. Create an artboard
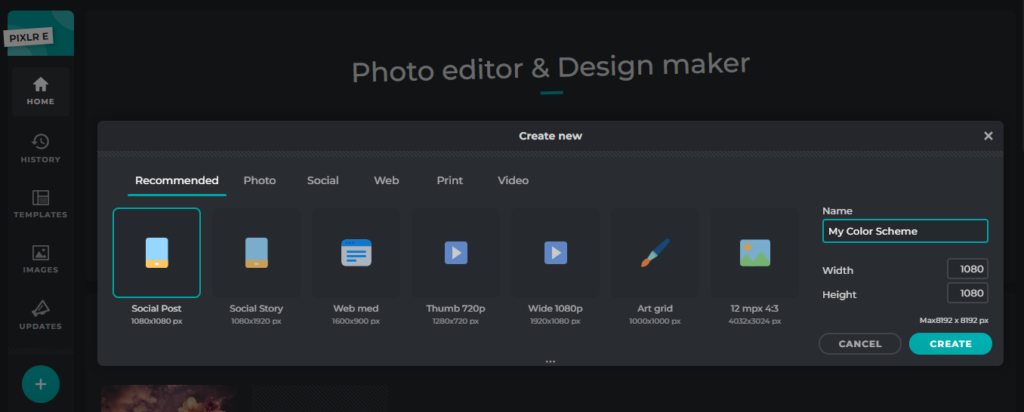
Go to Pixlr E and choose the dimensions you want. Here, we’re going for the classic square 1080×1080 social post template.
2. Choose a photo
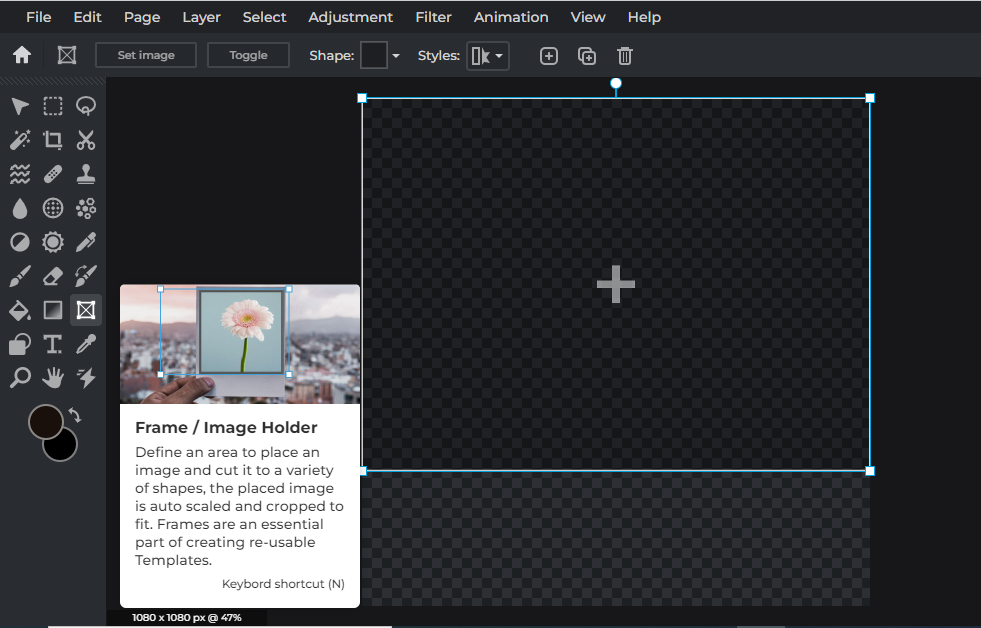
Now that we have our blank artboard, we’re adding a photo frame but making sure to leave some space at the bottom.
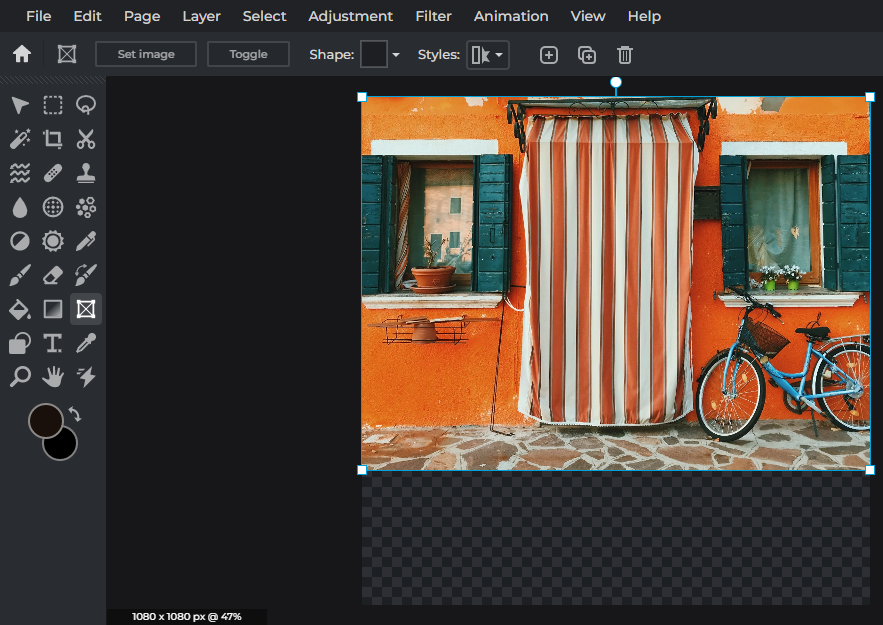
After positioning and adjusting the frame, all you have to do is add an image to it. We want to go for something vibrant and colorful.
3. Start adding boxes
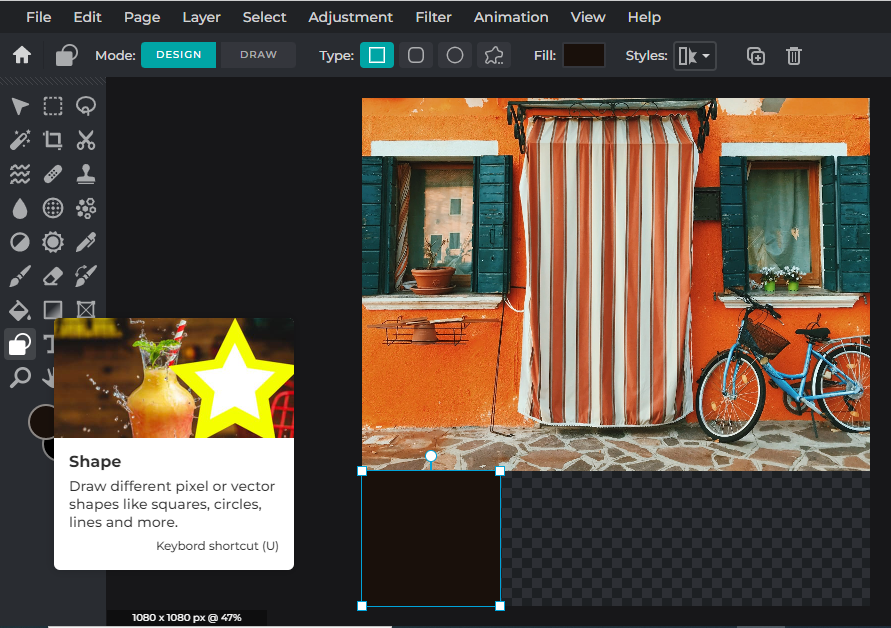
Go to the Shape tool, opt for the square/rectangle and start creating your boxes.
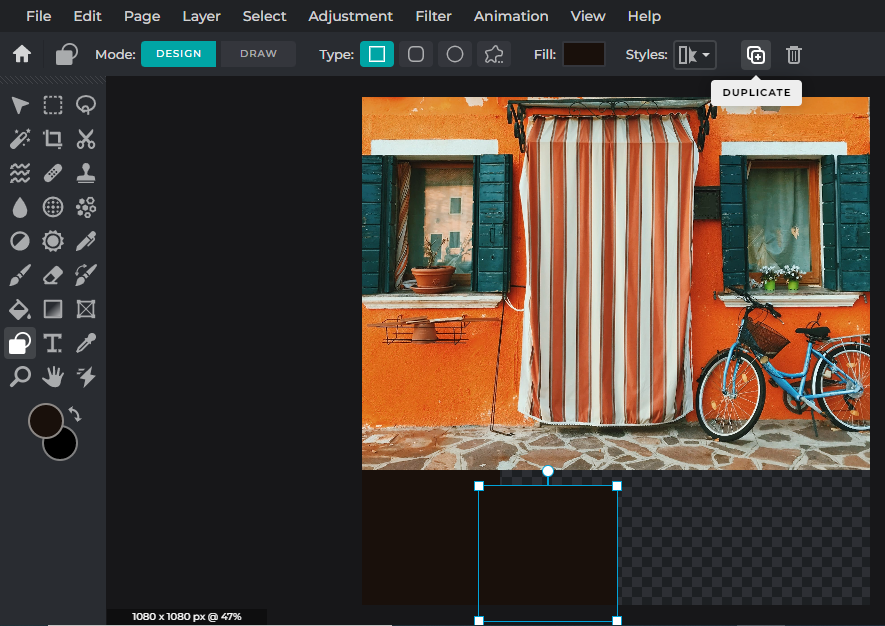
Utilize Ctrl D or simply use our Duplicate feature to make copies of your boxes.
4. Fill with color
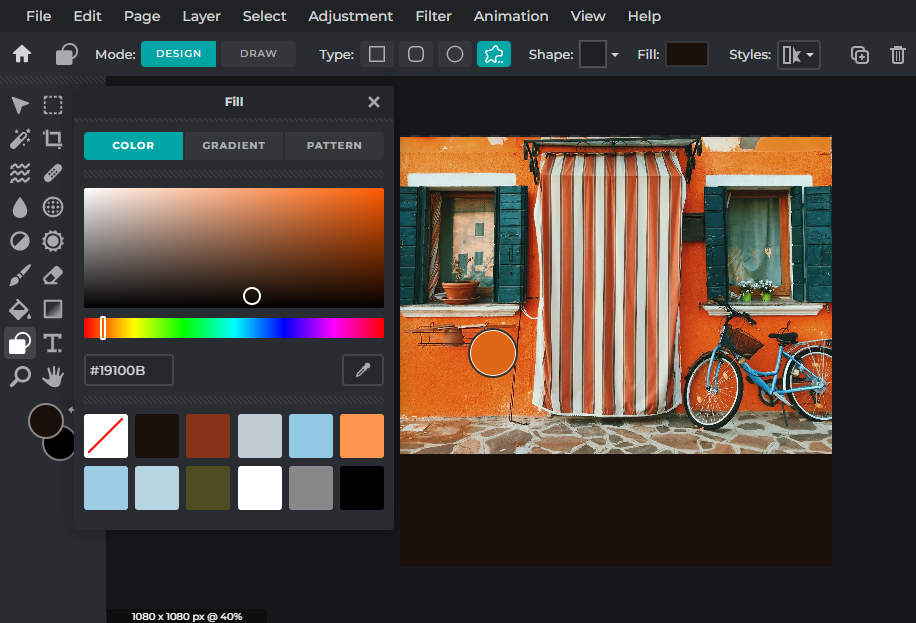
After duplicating your boxes, it’s time for the fun part – filling the boxes with colors!
For this step, you’ll need to click on each box (shape), go to Fill, click on the Picker feature and choose the color you want.
Here, we’re starting off strong with a beautiful burnt orange.
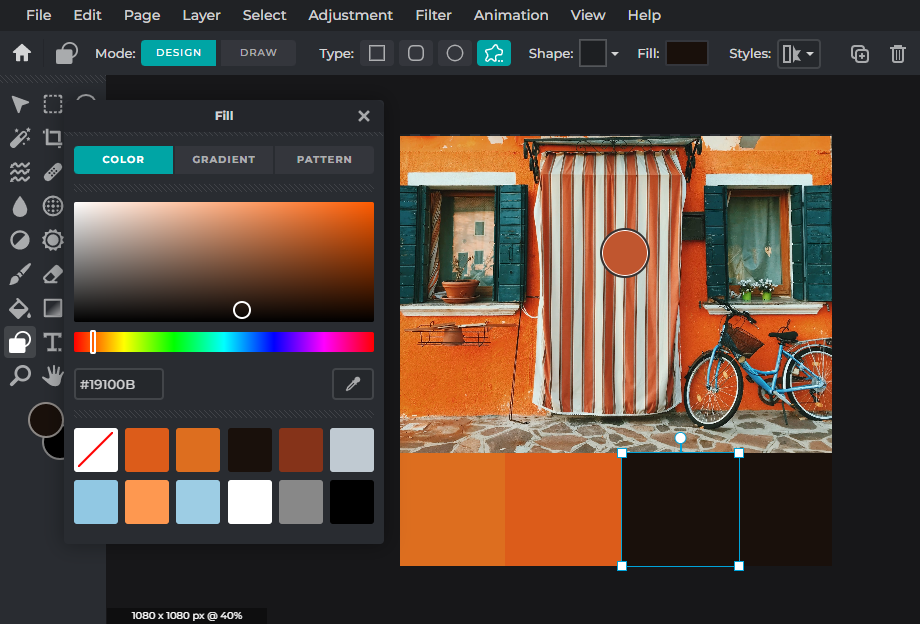
Basically you just need to repeat the steps for each box, fill them in with any color you can find and you’re done!
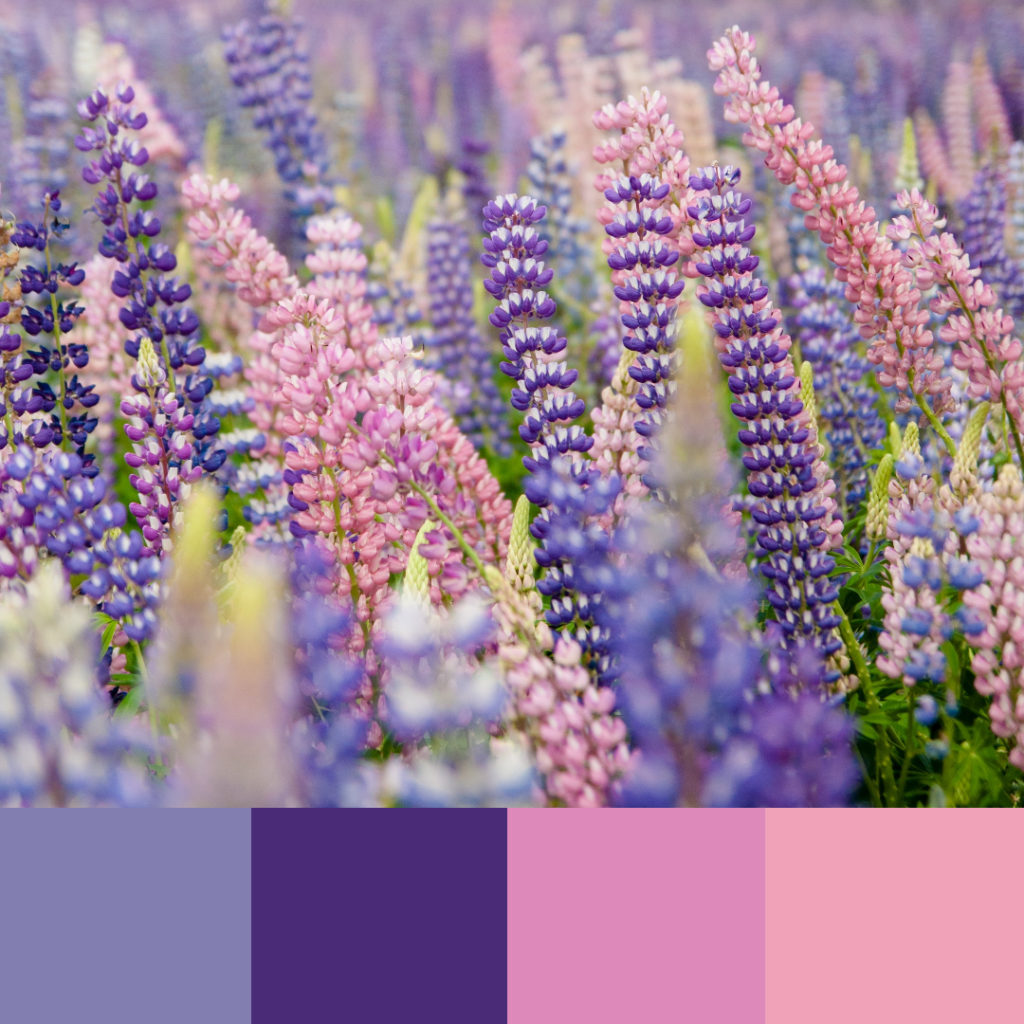
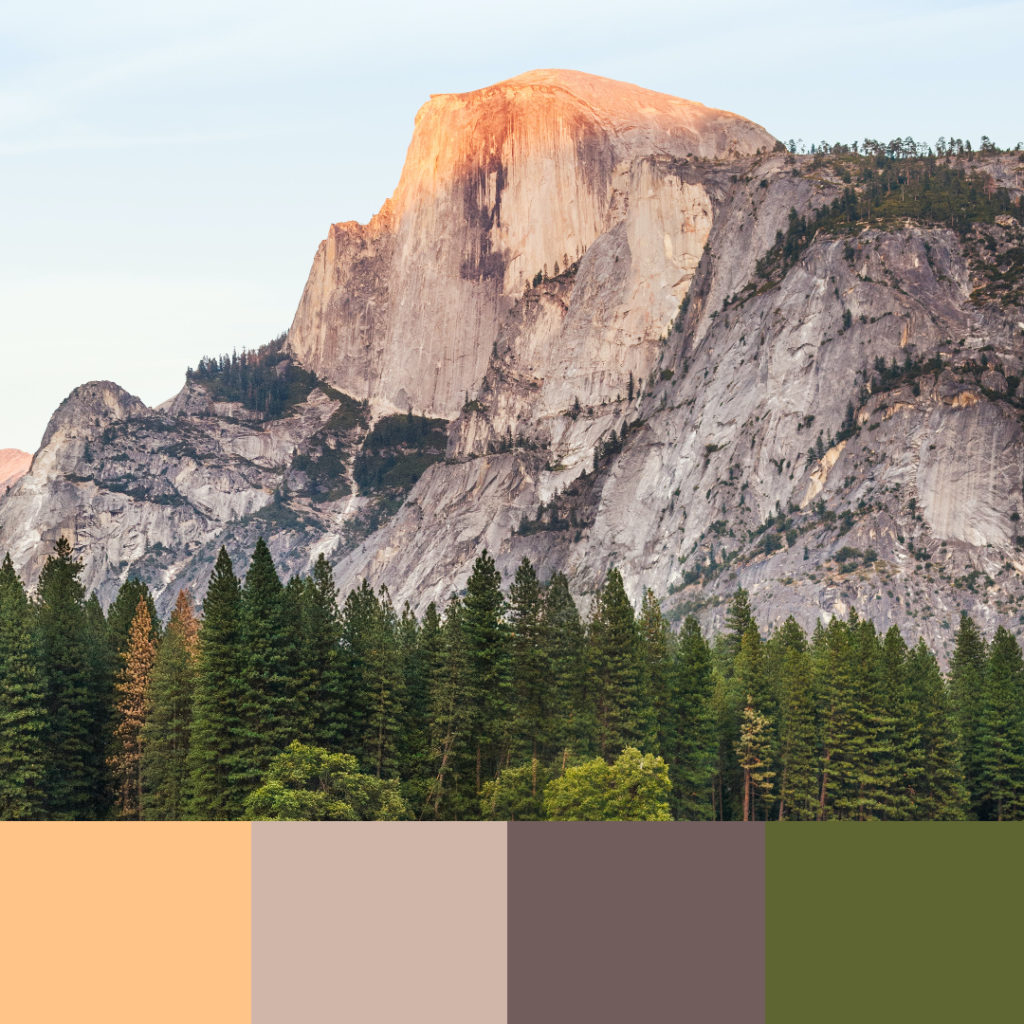
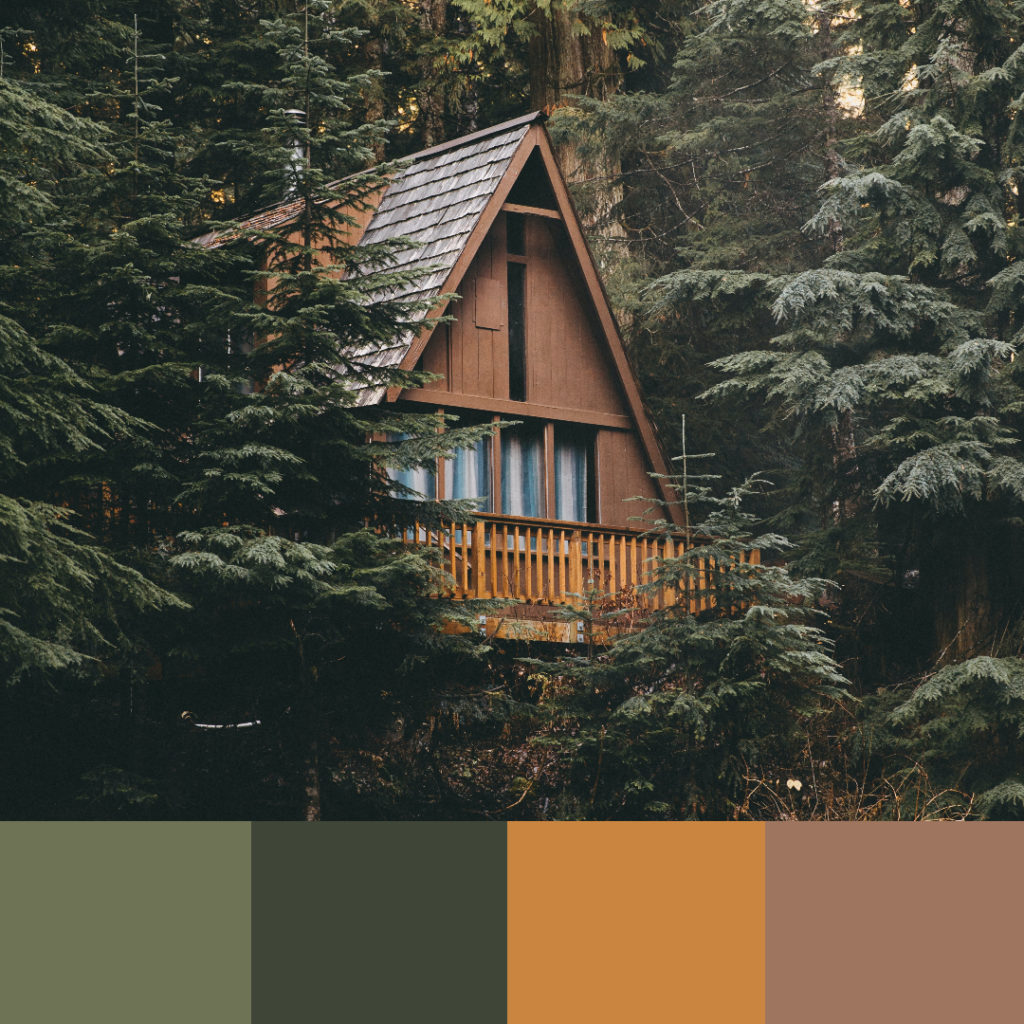
Here are some other color schemes we’ve created using the exact same method.
Alternatively, you can also do it this way:
1. Add circles
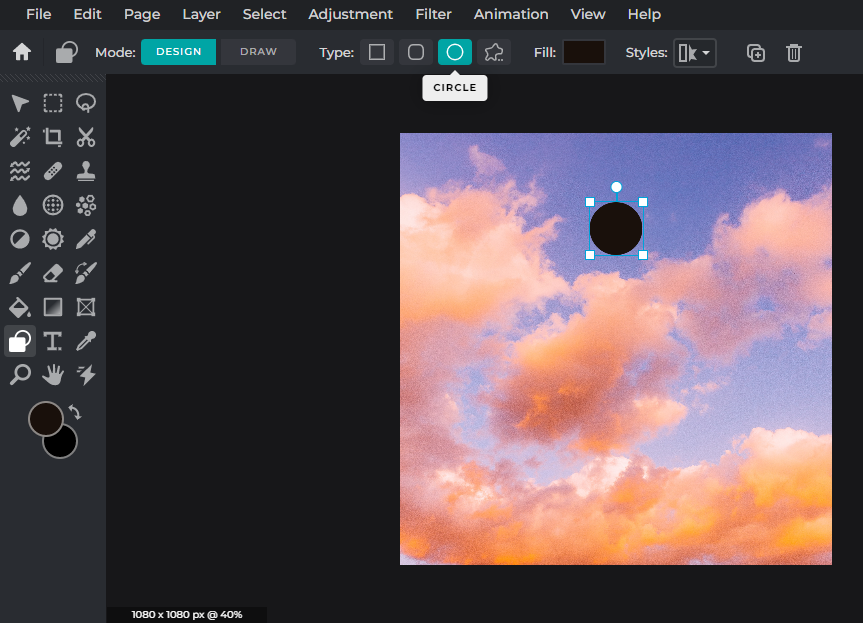
If you’re bored of boxes and want to try something different, you can give this a try. Make sure your photo frame takes up the entire space of your artboard.
Similarly, we’re utilizing the Shape tool , but instead of creating squares, we’re making circles.
2. Add outline and shadow
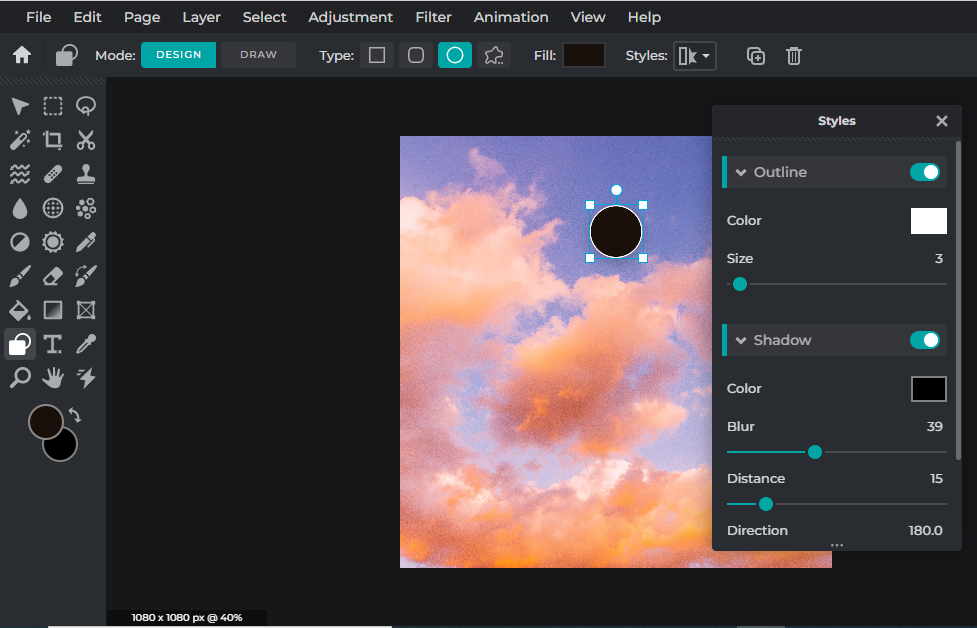
Now, we’re adding a thin white outline to our circle. You can adjust the size of the outline as you please.
We’re also adding a light shadow to our circle by blurring it and reducing its opacity. Feel free to make any adjustments you want to the Blur, Distance, Direction and Opacity.
3. Fill in color
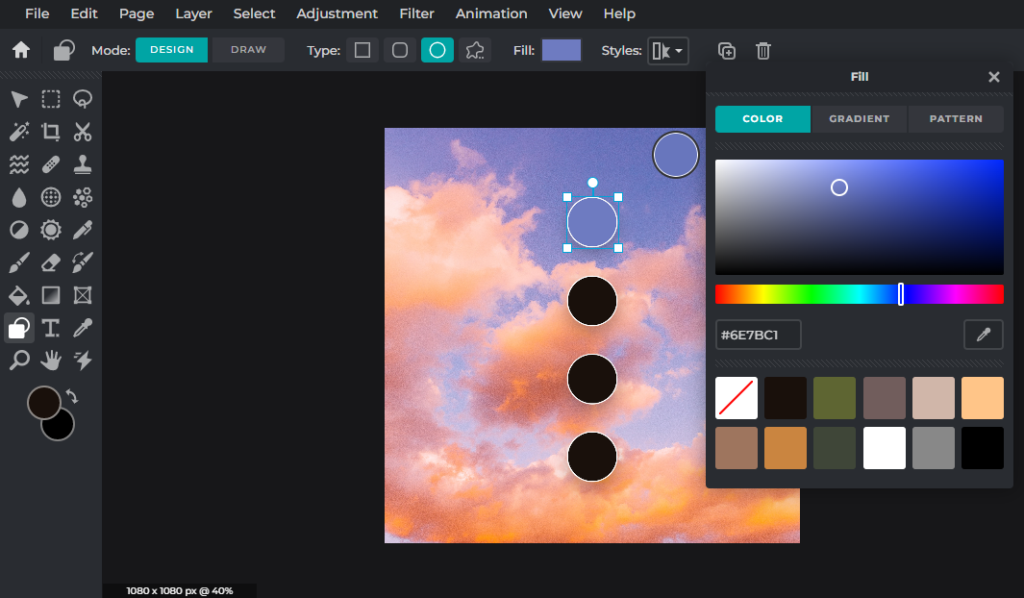
And now we’re at the fun part once again – you know the drill!
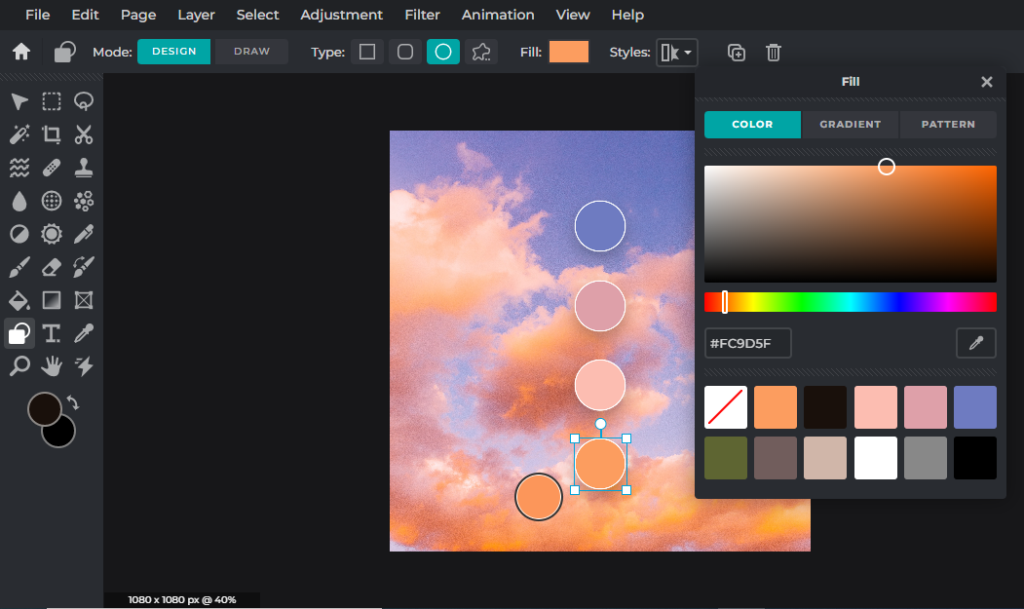
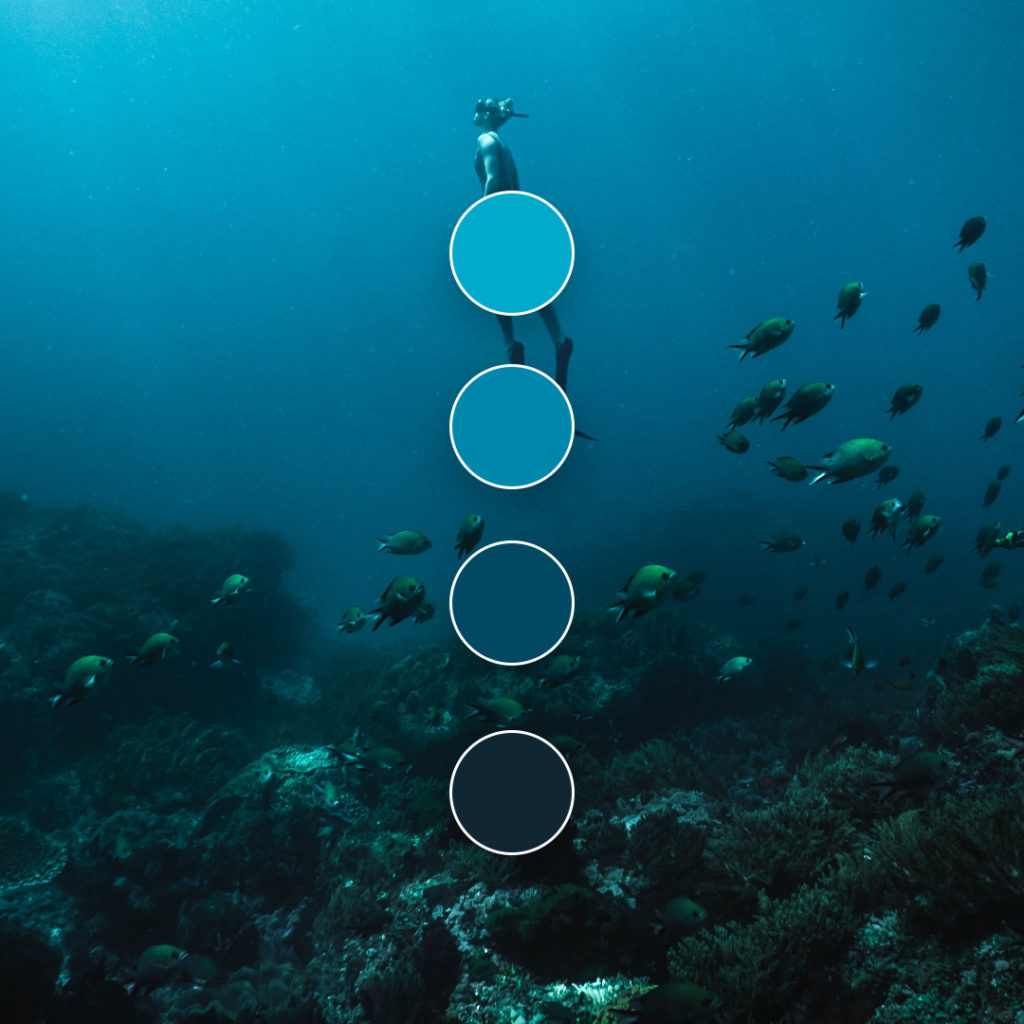
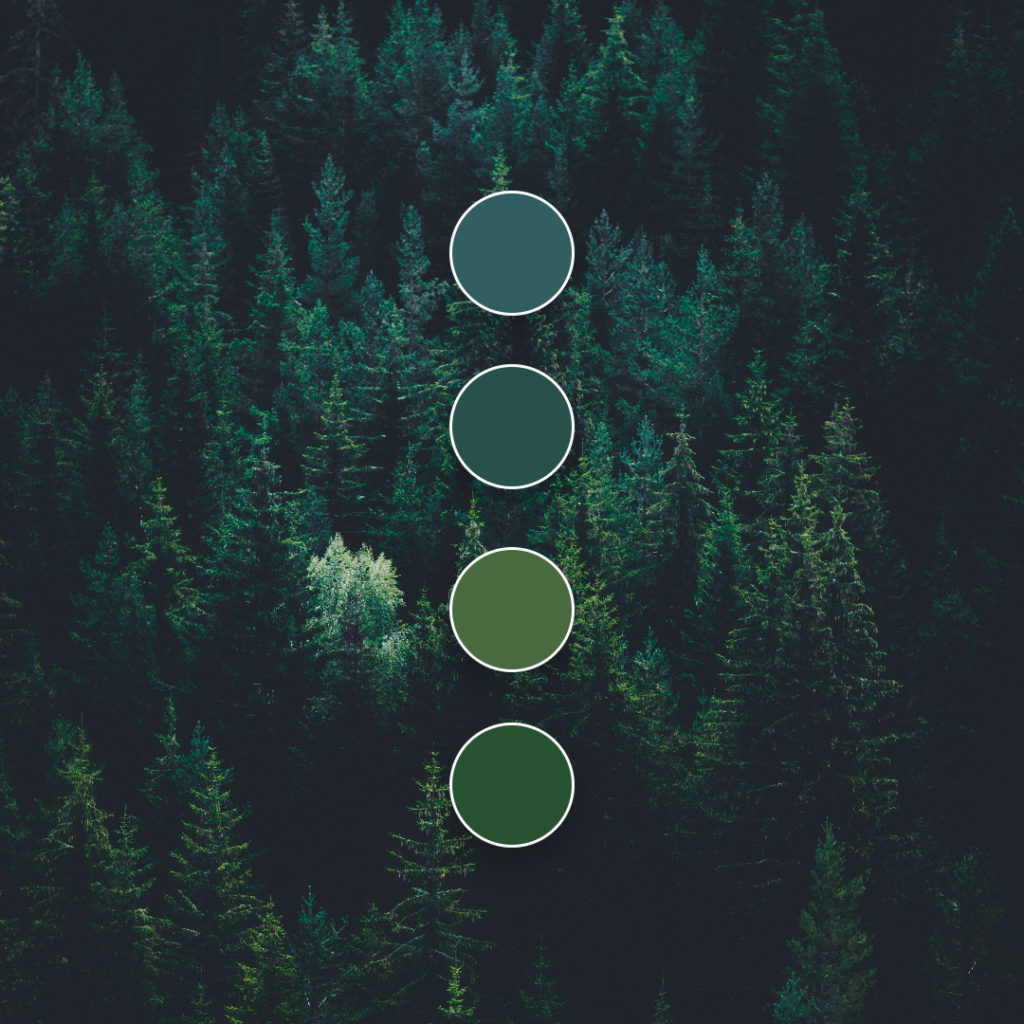
Fill in each circle with different colors you can find from your image and voilà – you have your beautiful color palette!
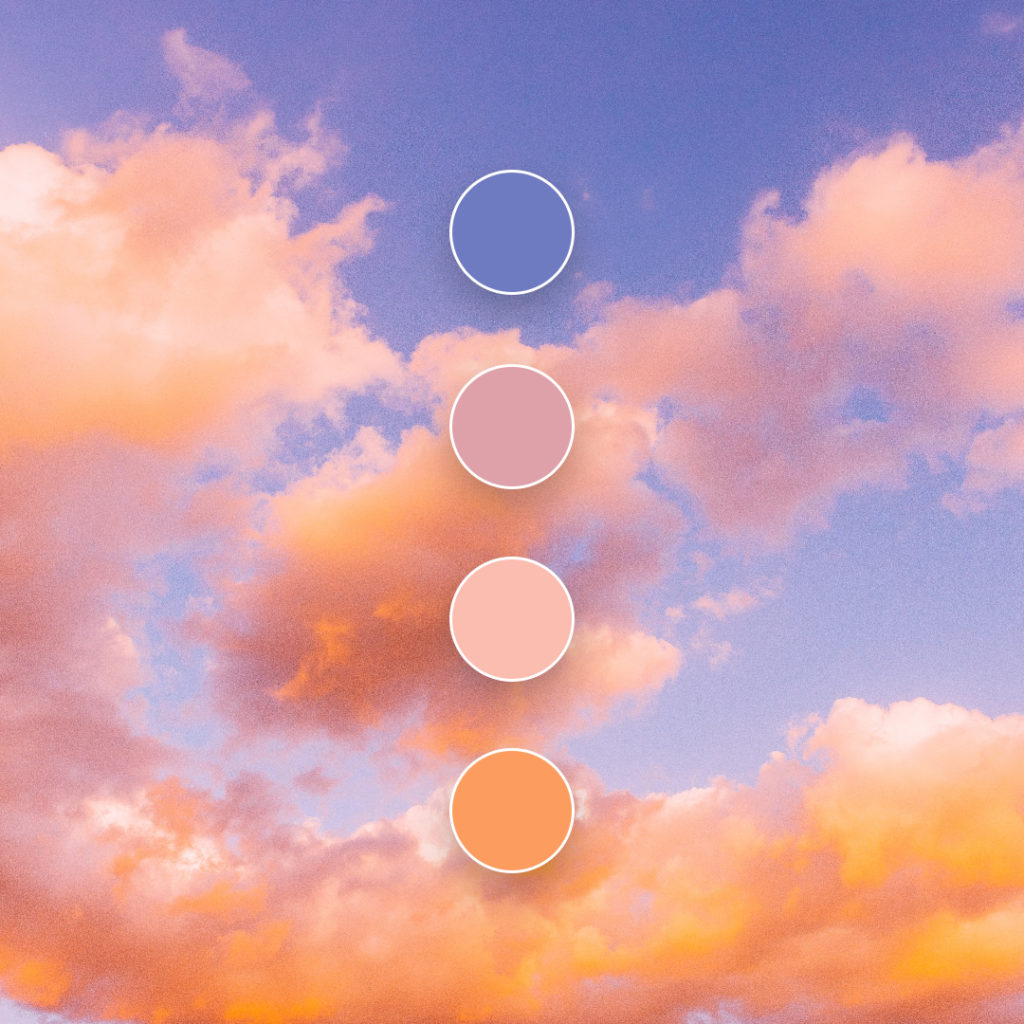
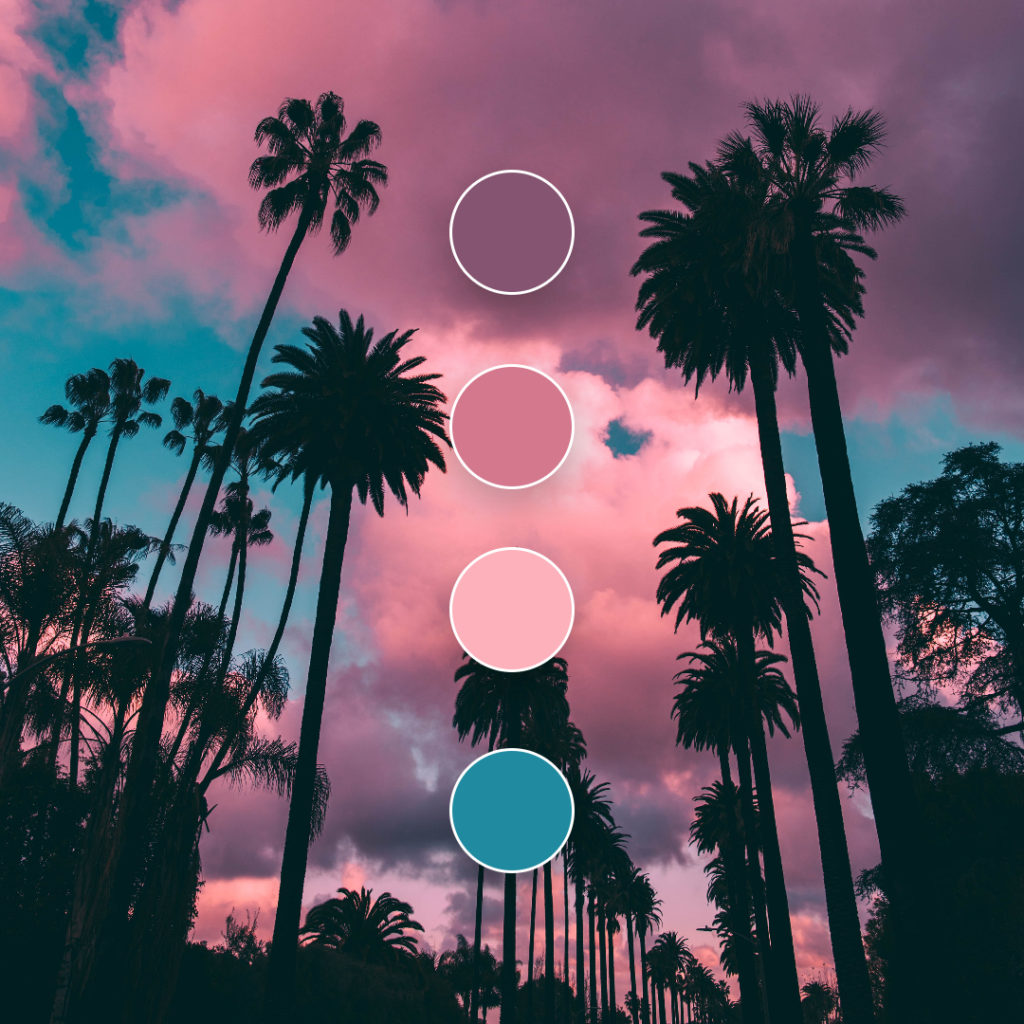
Here are a few other examples to help inspire your creations!
Start bringing color to life with Pixlr today!
Now that you know these two different methods and all the steps, you can now seamlessly create beautiful color schemes for your designs with all of Pixlr’s easy-to-use tools and features at your fingertips.