National Moon Day is celebrated every year on July 20th, the day Neil Armstrong became the first-ever human to take one small step on the Moon and make one giant leap for mankind.
To commemorate Neil Armstrong’s historical moon landing back in 1969, we here at Pixlr will show you how to create a surreal space-themed montage in just a few simple steps.
If you’re wondering what a montage is…
A montage, also known as photomontage, is a type of image editing in which multiple photos are cut up and combined to form a new image. With Pixlr, you can easily piece images and elements together, and bring your imagination to life.
1. Choose a concept
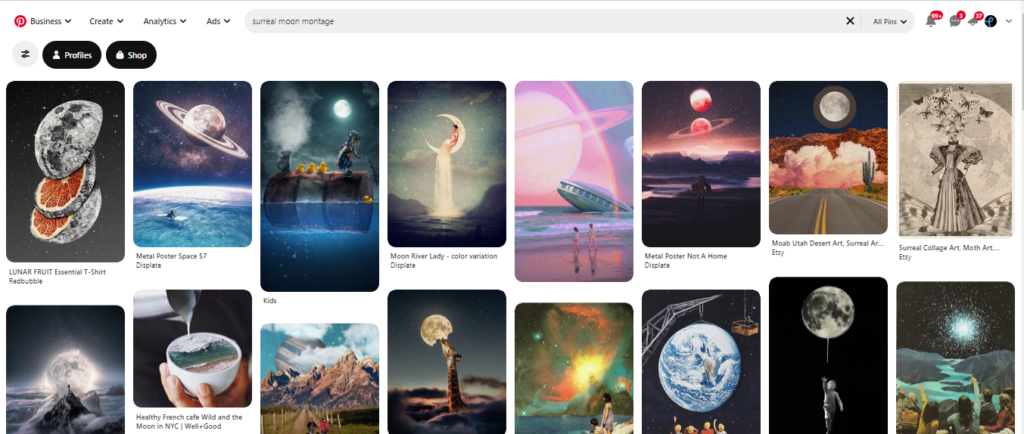
It’s always important to have an inspo or mood board before getting started on your montage. Pinterest, or even our Pixlr Instagram, is a good source of inspiration with tons of surreal artwork and photomontages that you can use as reference.
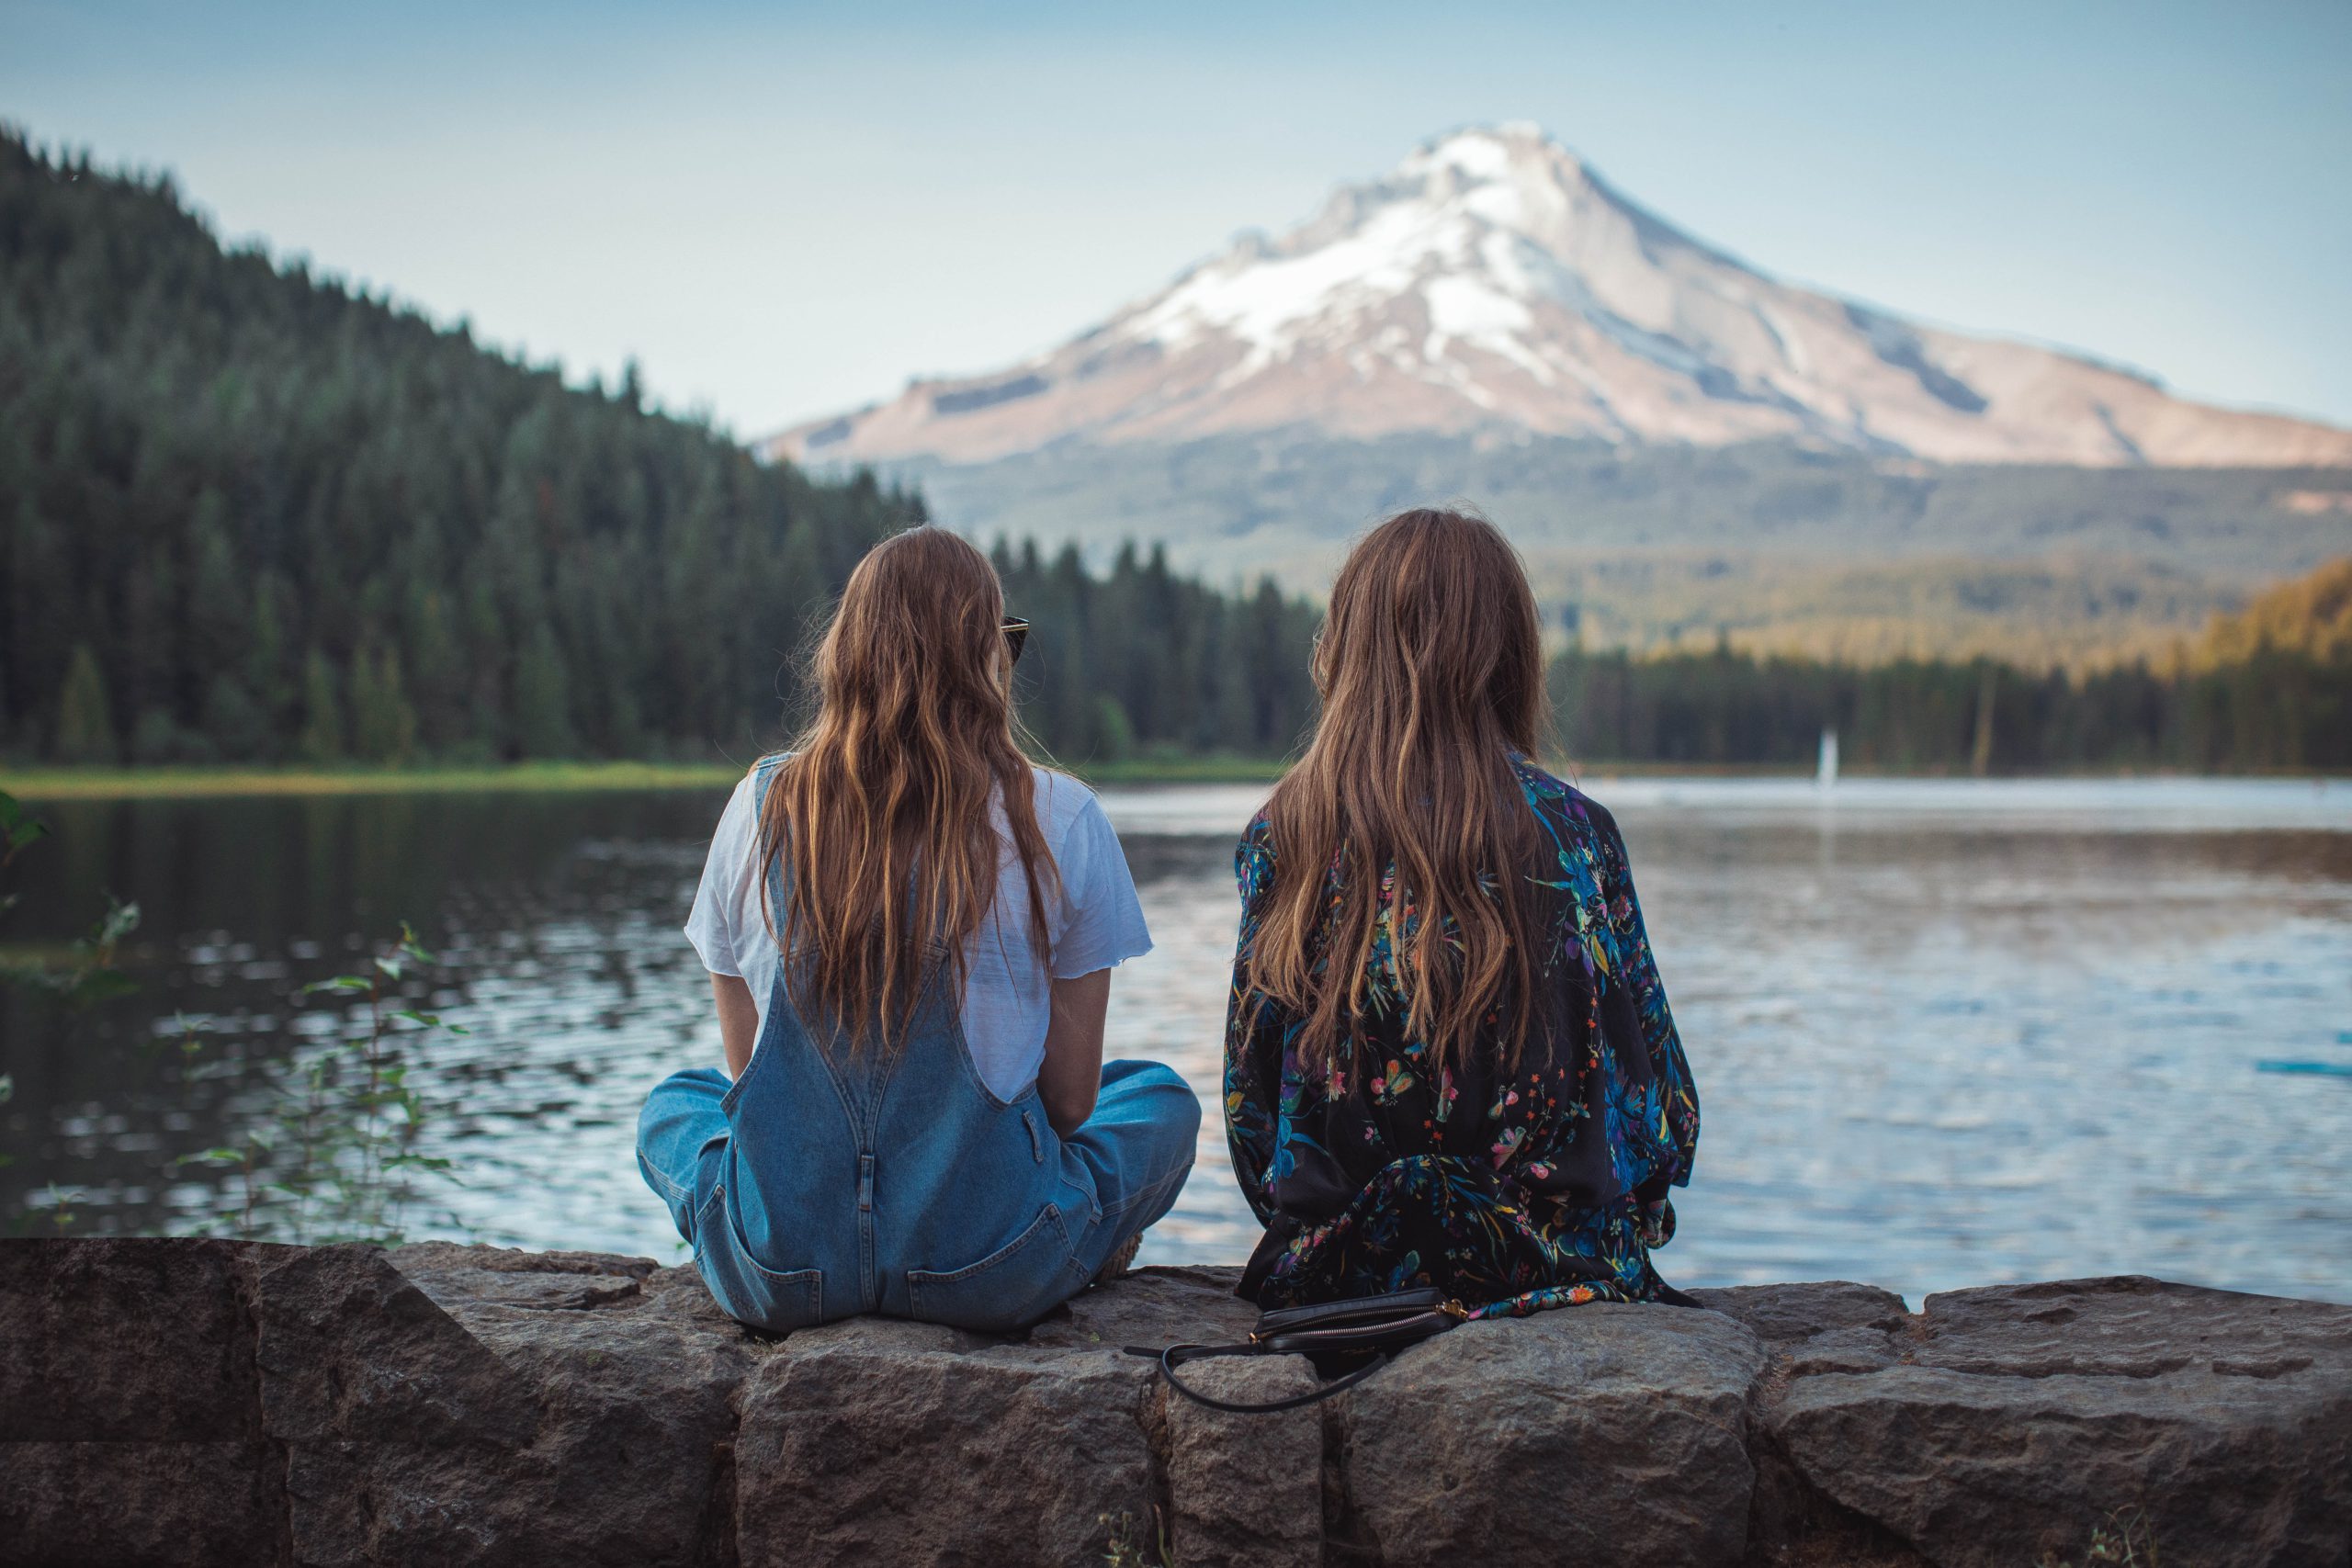
2. Choose your foreground
Once you’ve decided on a concept, you can start picking your images.
Here, we’re going for a photo of two girls sitting and enjoying the mountain scenery.
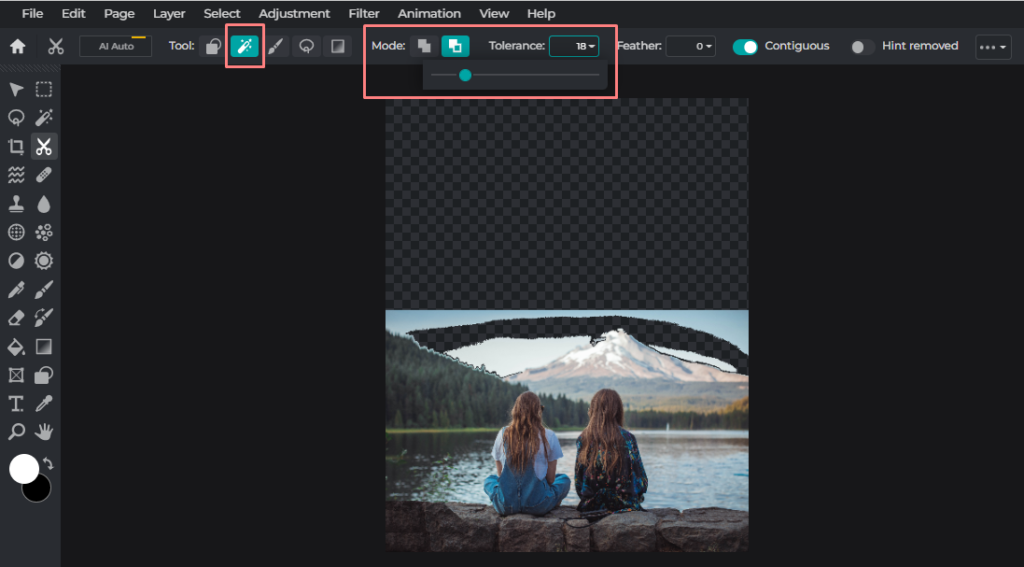
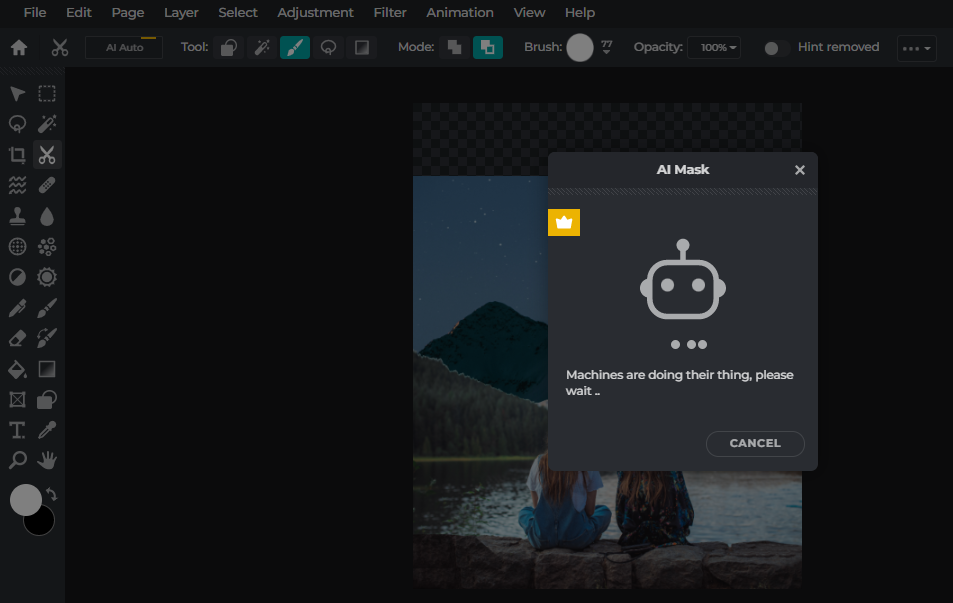
Here, we’re using the Magic Mask feature from the Cutout/Mask tool to magically remove the sky background from the image.
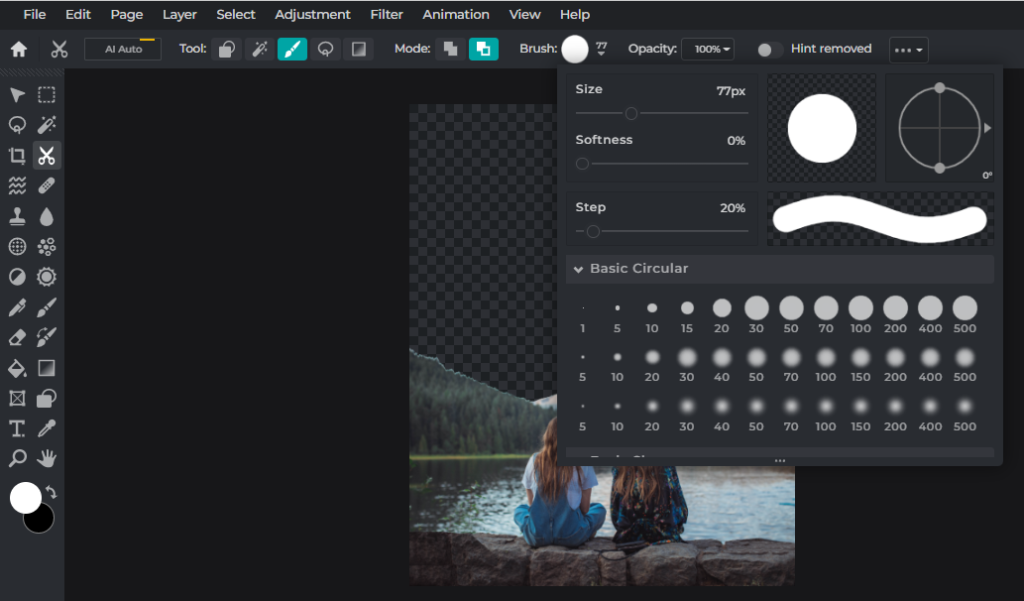
If there are still remnants of the sky background left in the image, you can always utilize the Draw Mask to erase the bits and pieces by choosing a hard, medium-sized brush with full opacity (as shown in image above).
3. Start layering

This time, we’re using the powerful AI Auto feature as the outline of the mountains in this image is more defined compared to the landscape image used earlier.
After having its background removed, we can freely move and adjust the mountain range to fit the foreground of the two girls.
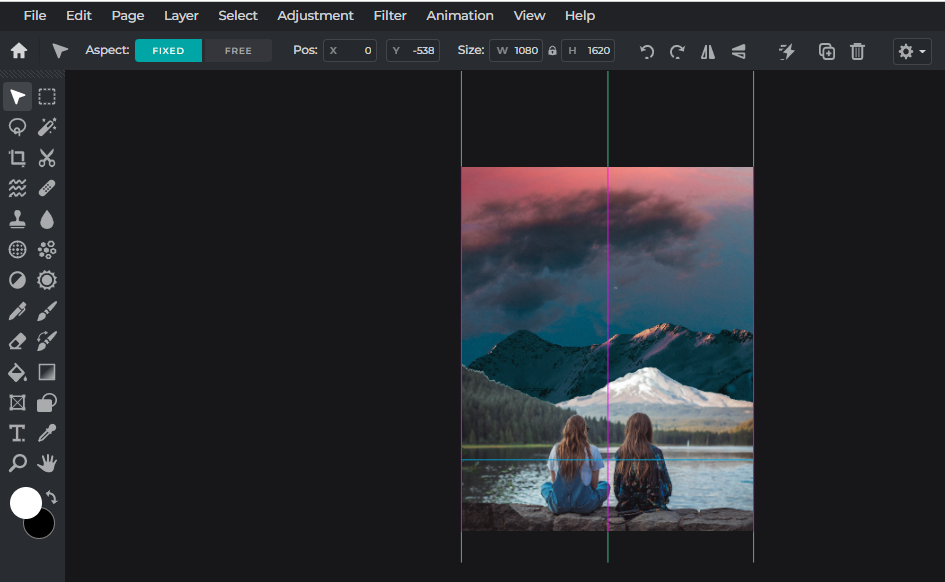
Here, we’re adding a sunset sky behind the mountain range so that it acts as the background.

Now that we have our 3 layers, it’s time to bring out the star of our show, or should we say the moon.
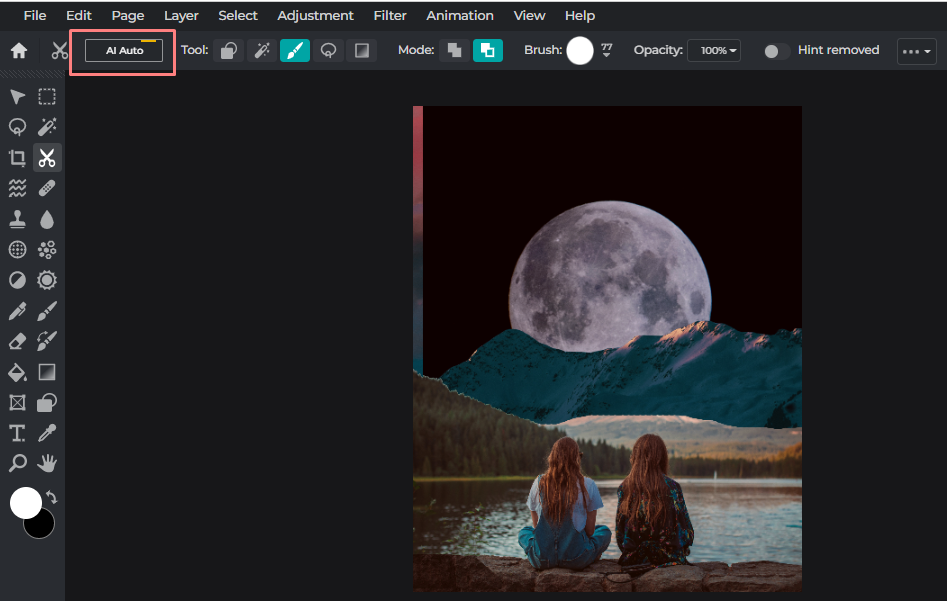
All we need to do is remove the black background using AI Auto and we’ll have our moon!
4. Make adjustments
When creating a montage, it’s important to maintain a consistent look and feel throughout all the images/layers. This means we’d need to make adjustments to exposure, contrast, highlights, shadows, temperature, etc.
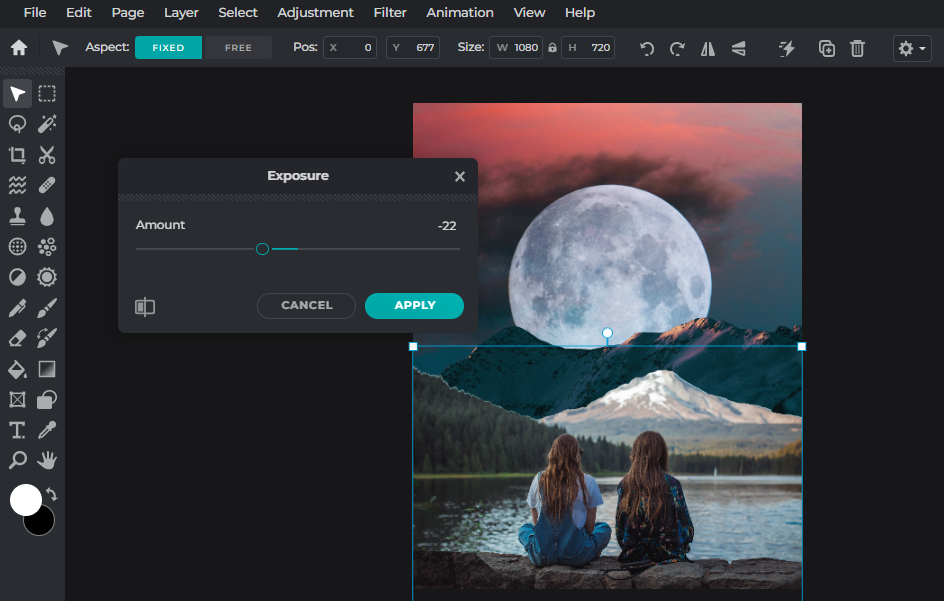
Here, we’re lowering the exposure of the foreground as it is clearly a photo taken during daytime.
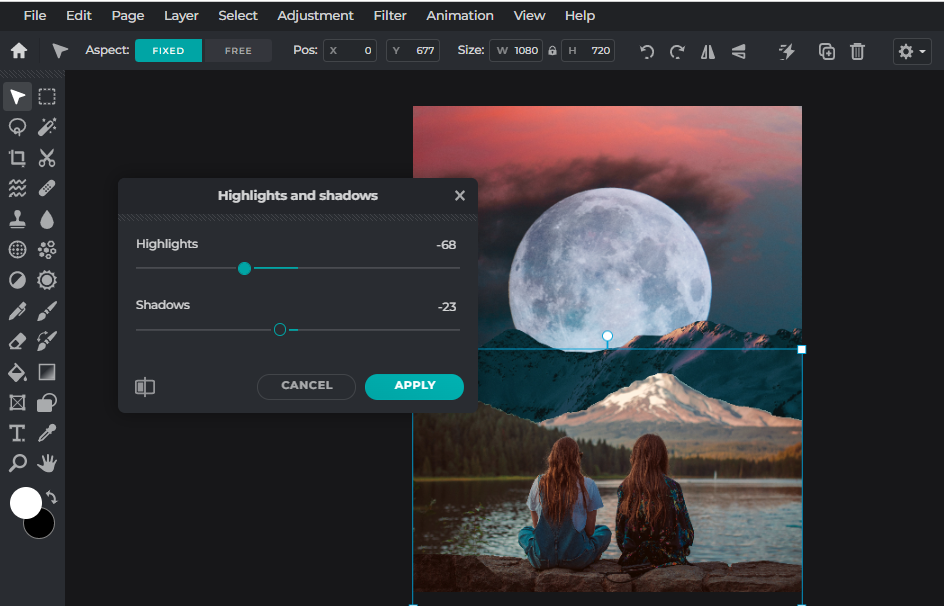
We’re also decreasing the highlights of the foreground so that it matches the other layers which are much dimmer.
5. Add overlay
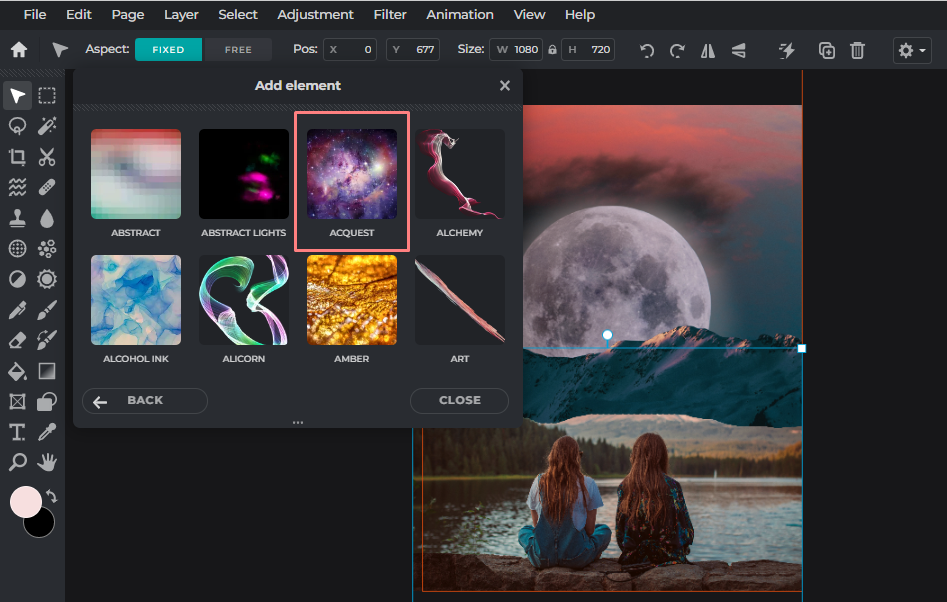
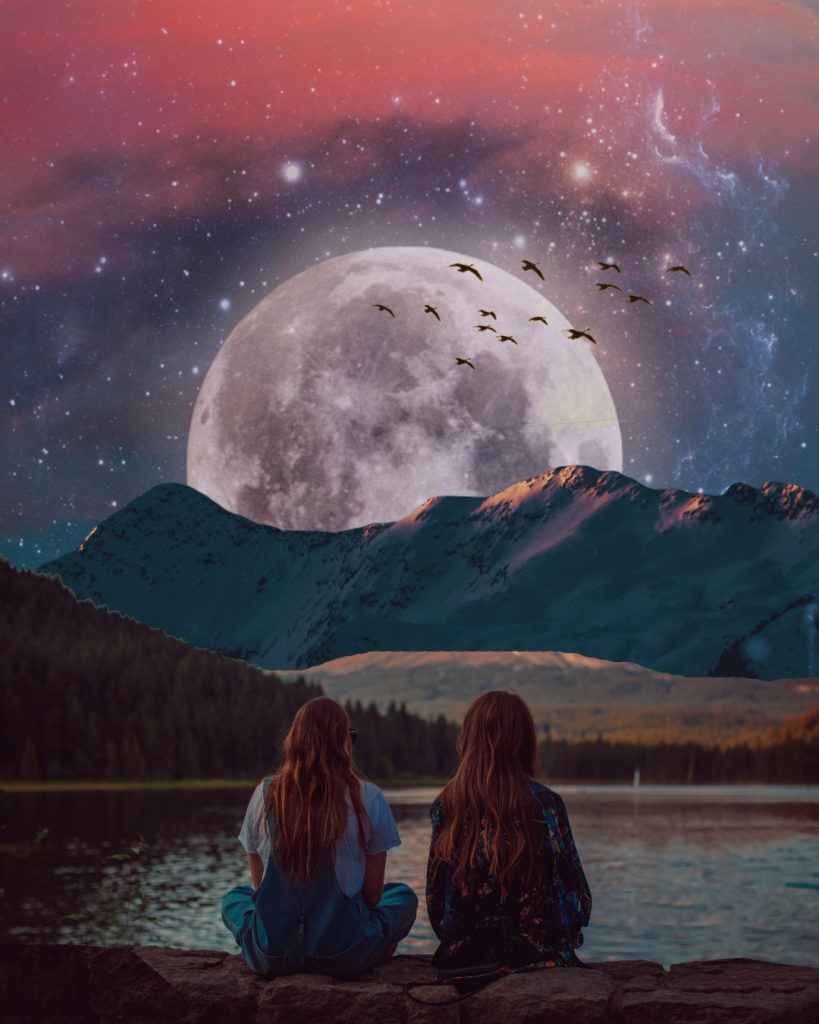
Now, in order to elevate the montage and make it more space-themed, we’re adding a galaxy overlay, Acquest, that can be found in Pixlr’s huge library of elements.
And there you have it – our space-themed montage!
Remember, you don’t have to follow our design – you can always let your imagination roam free and create your own version of this.
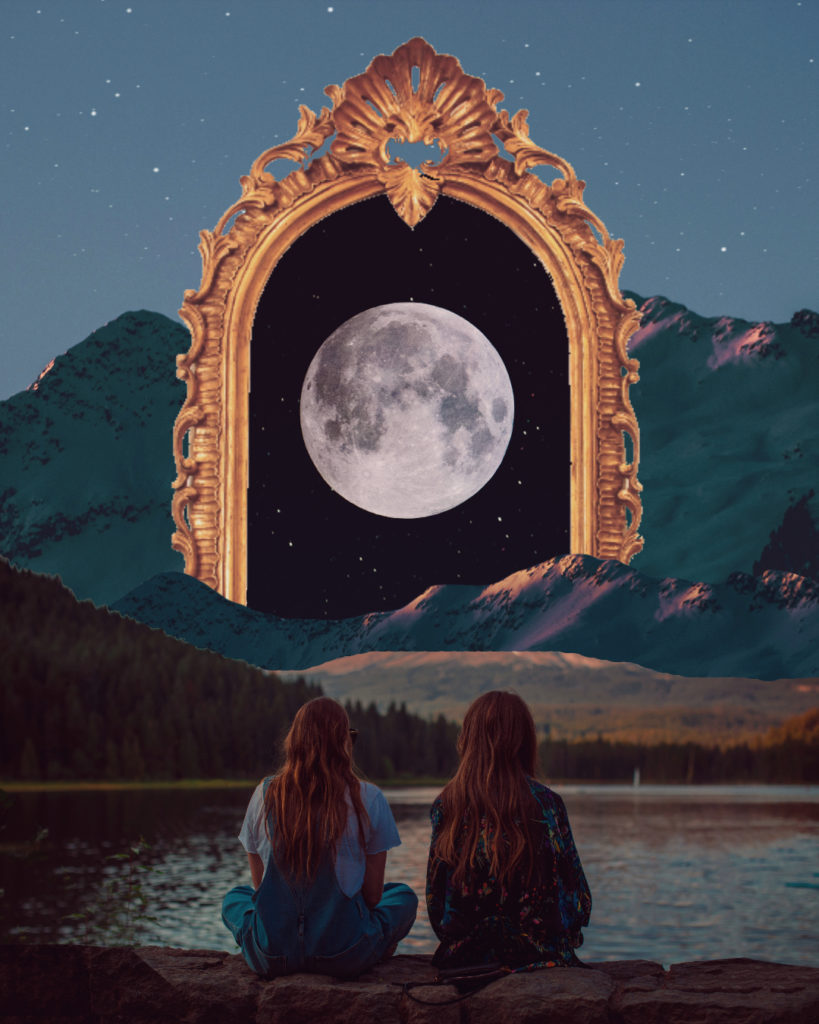
You can create a portal-like montage by adding a frame around the moon.
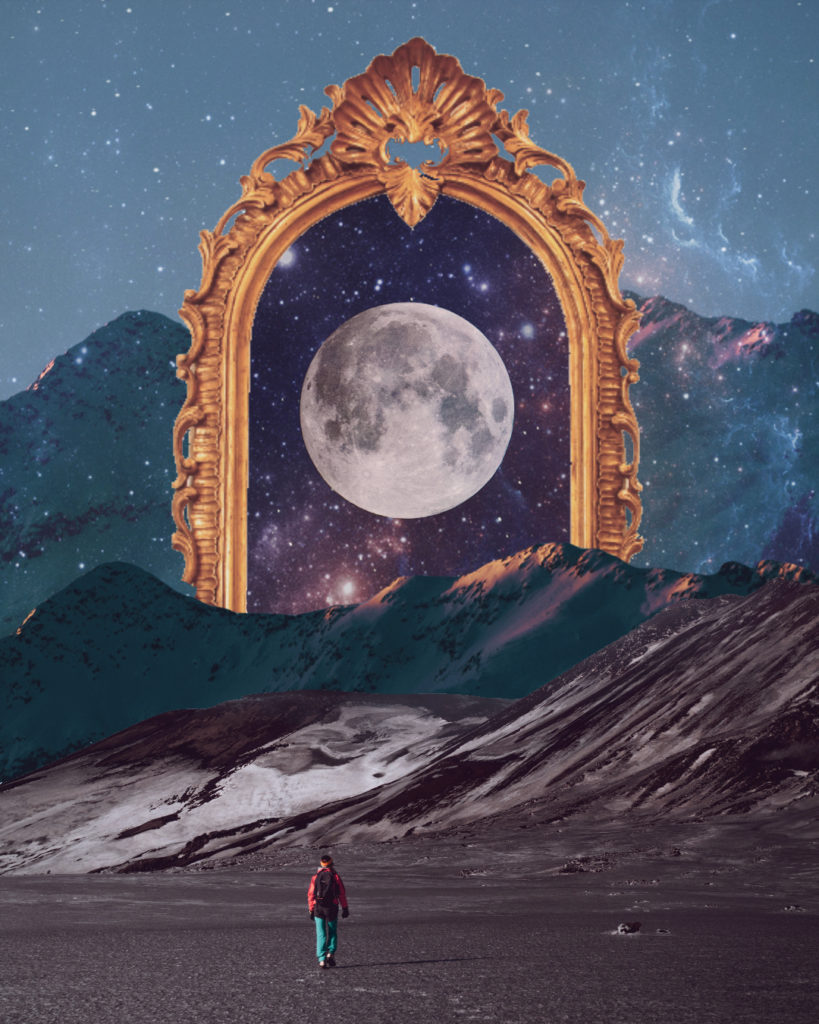
Or, you can go for a space vagabond theme by adding an explorer/traveler into your montage.
The possibilities are truly endless with Pixlr! So, don’t wait, explore Pixlr today!