Are you dreaming of a White Christmas? We’ll show you how to create your very own misty, magical winter wonderland in just a few simple steps with our user-friendly, AI-powered photo editing tool – Pixlr.
Tis’ the season for hot cocoa, fuzzy socks, and snowball fights! But if it’s not snowing where you are, do not fret – we got you covered!
In today’s tutorial, we’re going to show you how to create a surreal winter wonderland artwork with Pixlr.
1. Set your background
#MadewithPixlr
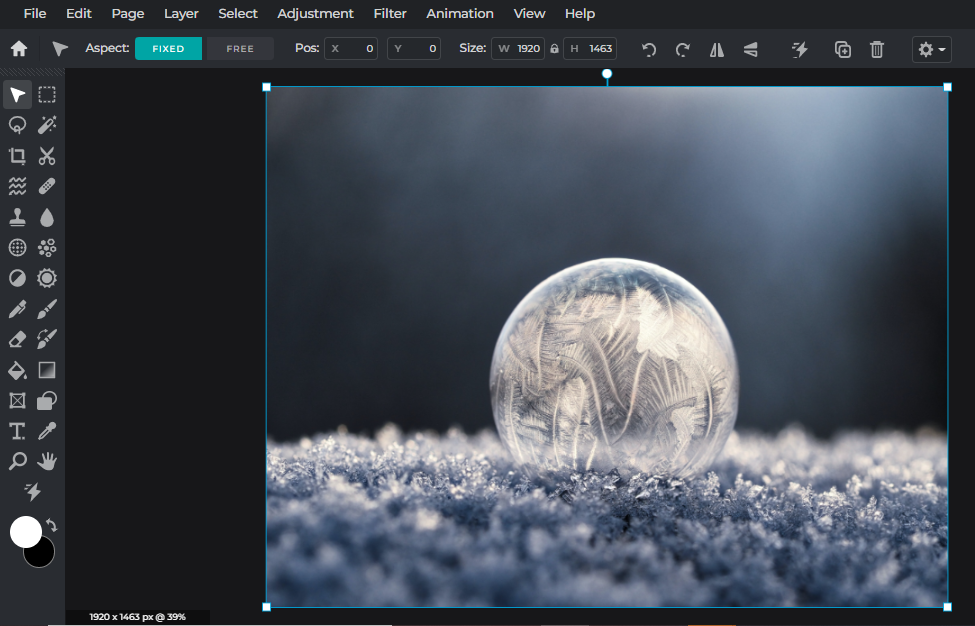
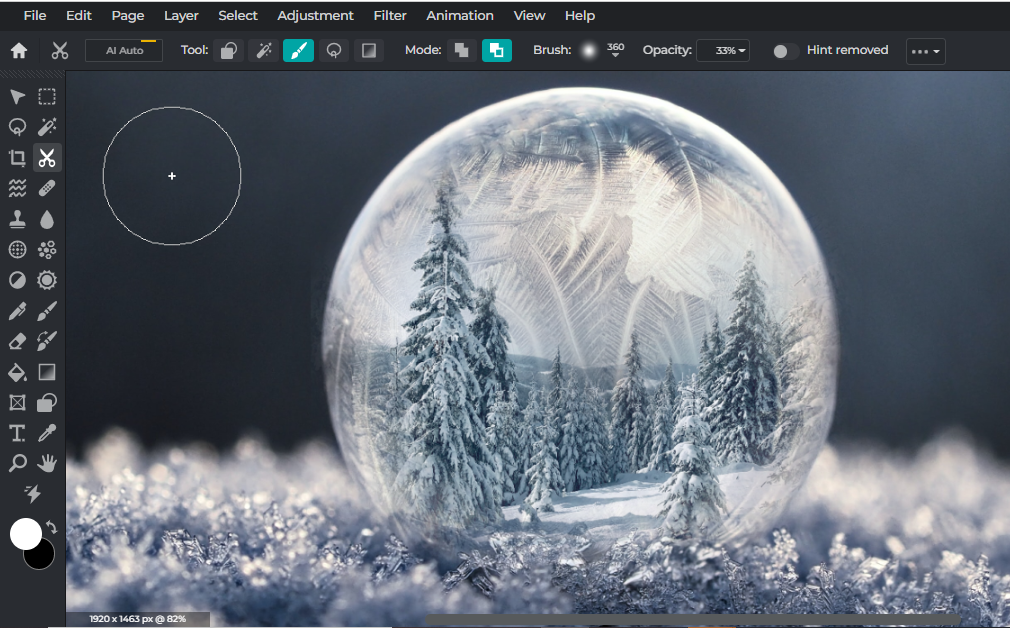
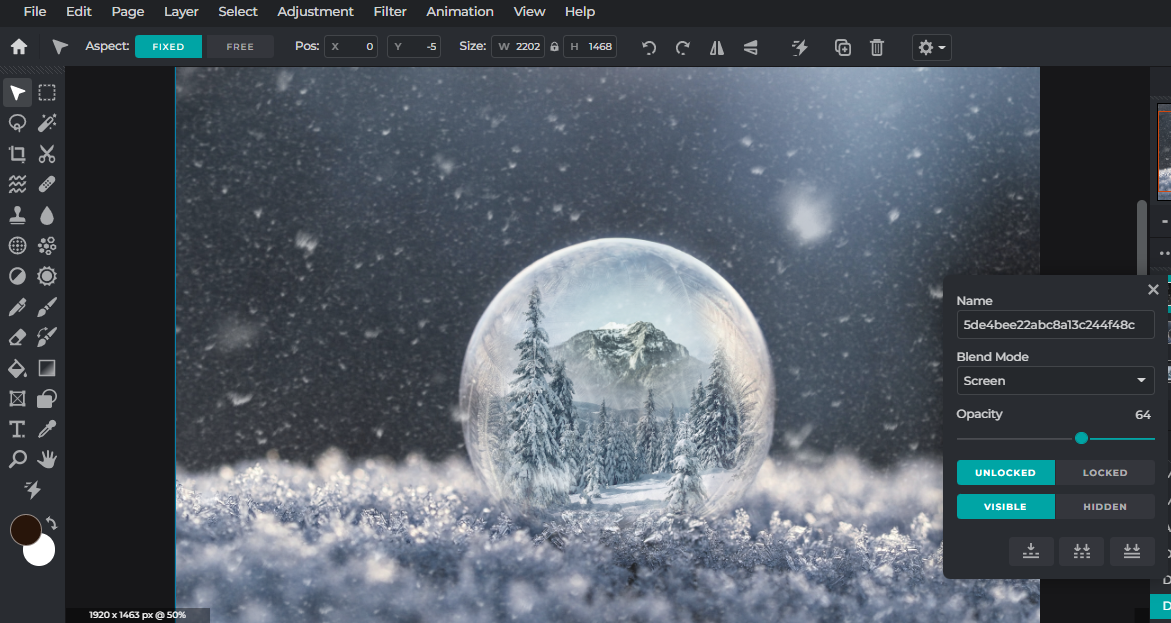
For this artwork, we want to create a magical frozen wonderland within a “snow globe,” so we will be starting off with a photo of a frozen bubble.
2. Start layering
#MadewithPixlr
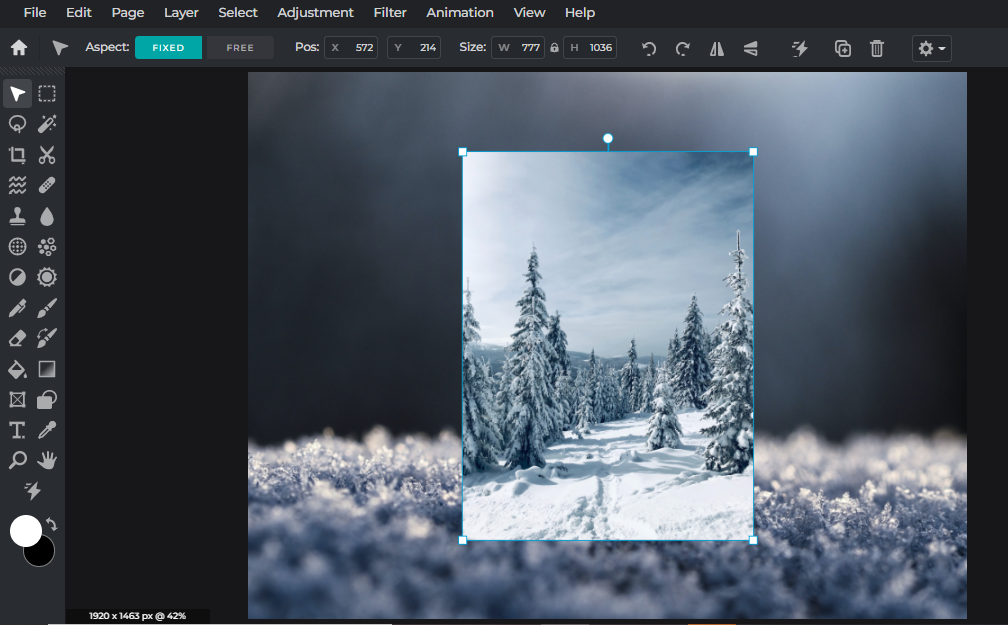
Now that we have our background, we’re going to layer another image above it. Here, we’ve chosen an image of snow-covered trees.
You’d have to readjust the size of the image and reposition it to fit within the “snow globe.” Once you’re happy with the size and positioning, you can move the image layer to the very bottom – hidden behind the background.
#MadewithPixlr
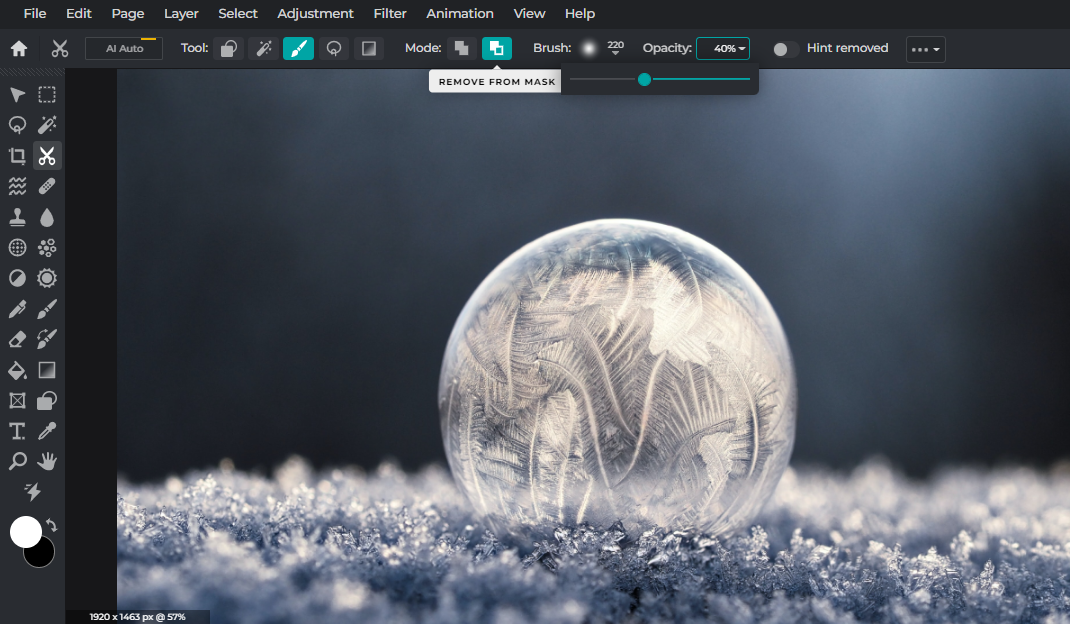
Now, go to your frozen bubble image, click on the Cutout/Mask feature and choose the Draw Mask. Make sure the brush is soft, has a low opacity, and most importantly Removes from Mask.
#MadewithPixlr
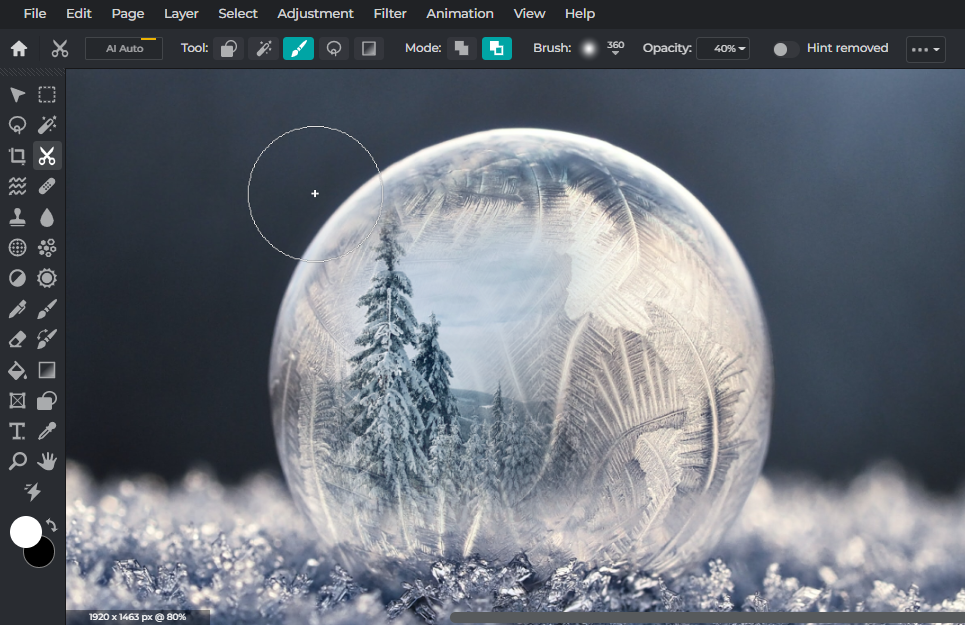
Once you have your brush, you can start gently dabbing across the frozen bubble to reveal the trees underneath it.
#MadewithPixlr
You can see how certain parts of the frozen bubble are starting to vanish and the trees which you’ve hidden are beginning to emerge.
If you’ve accidentally removed too much of the frozen bubble, you can always switch your brush to Add to Mask.
#MadewithPixlr
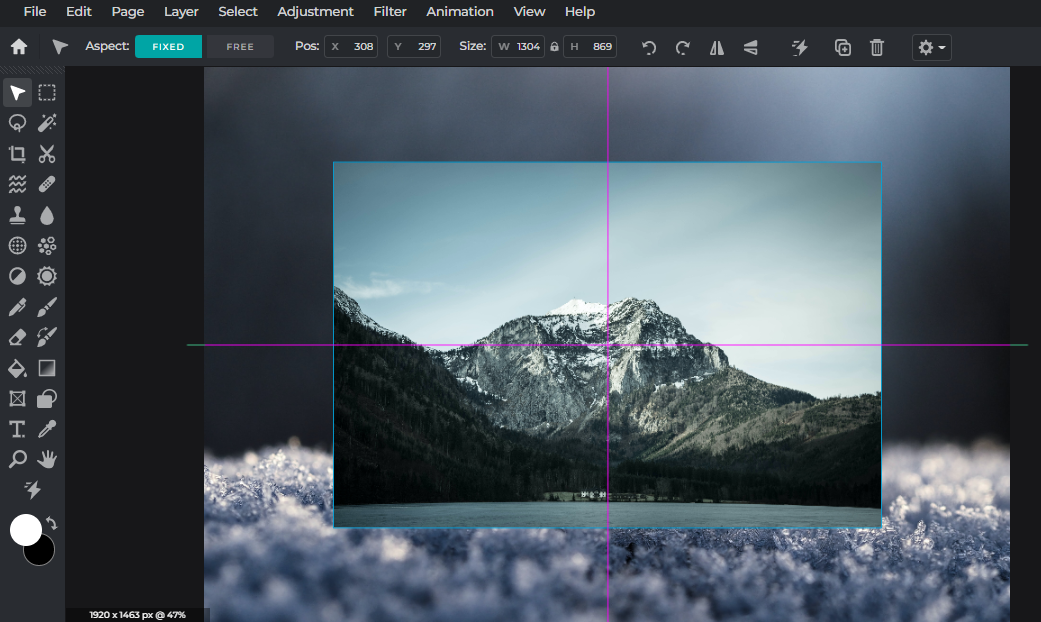
A snow globe isn’t really complete without a snow-capped mountain. So after placing trees into our frozen bubble, it’s time to add a mountain layer.
Similarly to the tree image, you’d have to readjust and reposition your mountain layer to ensure it fits within the frozen bubble. Once you’re satisfied with it, move it to the very bottom.
#MadewithPixlr
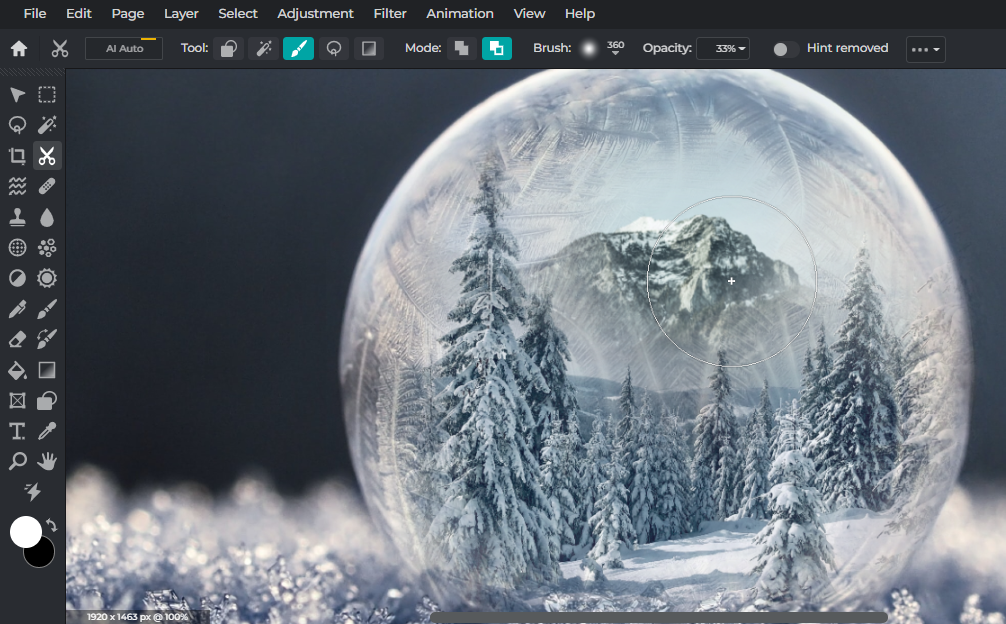
Apply the same method to the tree layer by gently removing some parts of it to reveal the peak of the mountain.
3. Let it snow, let it snow!
#MadewithPixlr
Now it wouldn’t be called a winter wonderland if it weren’t snowing, would it?
#MadewithPixlr
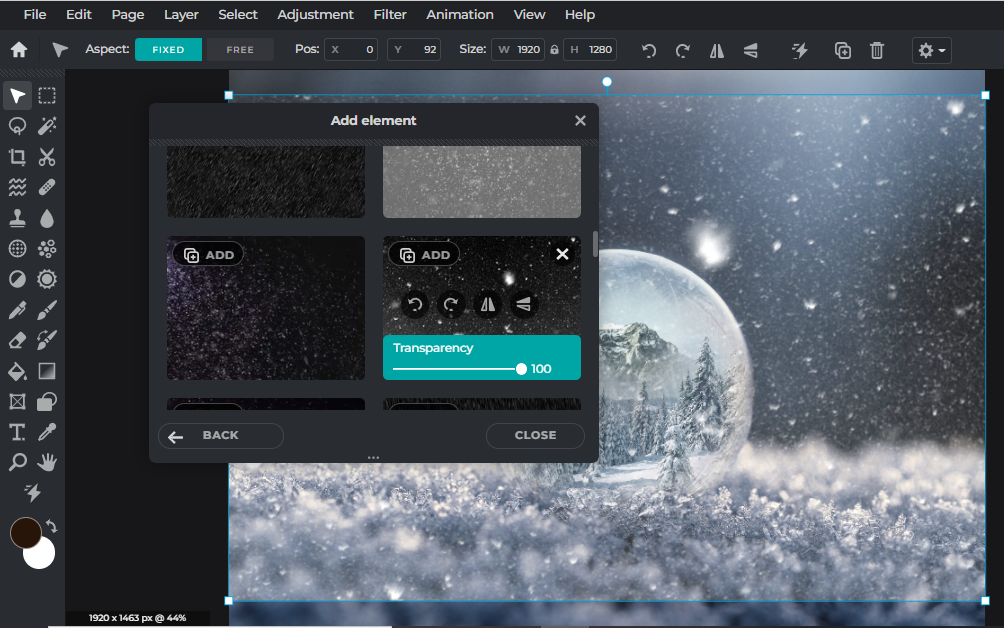
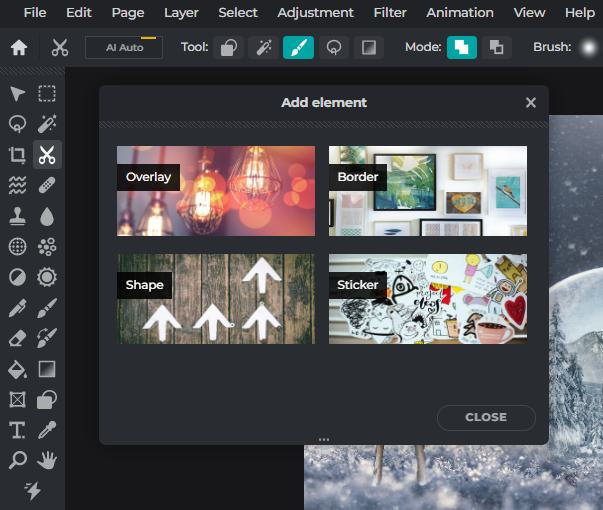
Simply go to File > Browse Elements > Overlay.

#MadewithPixlr
Scroll all the way down until you see Weather. Click on it and choose your favorite snowy overlay.
#MadewithPixlr
You can always adjust the opacity of the overlay to your liking.
4. Oh deer!

#MadewithPixlr
This step is completely optional, but we just feel that the entire piece is lacking a little woodland magic and would like to add an animal to the artwork.
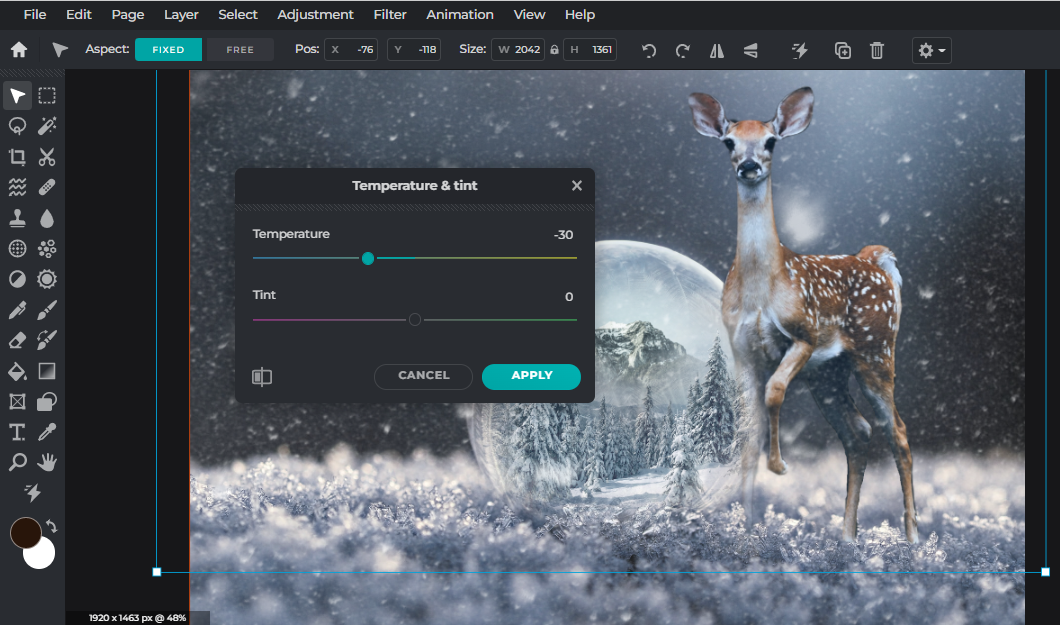
Here, we’ve chosen a photo of a white-tailed deer. We’ve already removed the background by using our favorite AI Auto cutout tool.
#MadewithPixlr
To make sure the deer blends in with the rest of the artwork, you’d need to readjust its temperature by dragging it to the left and making it appear “cooler.”
#MadewithPixlr
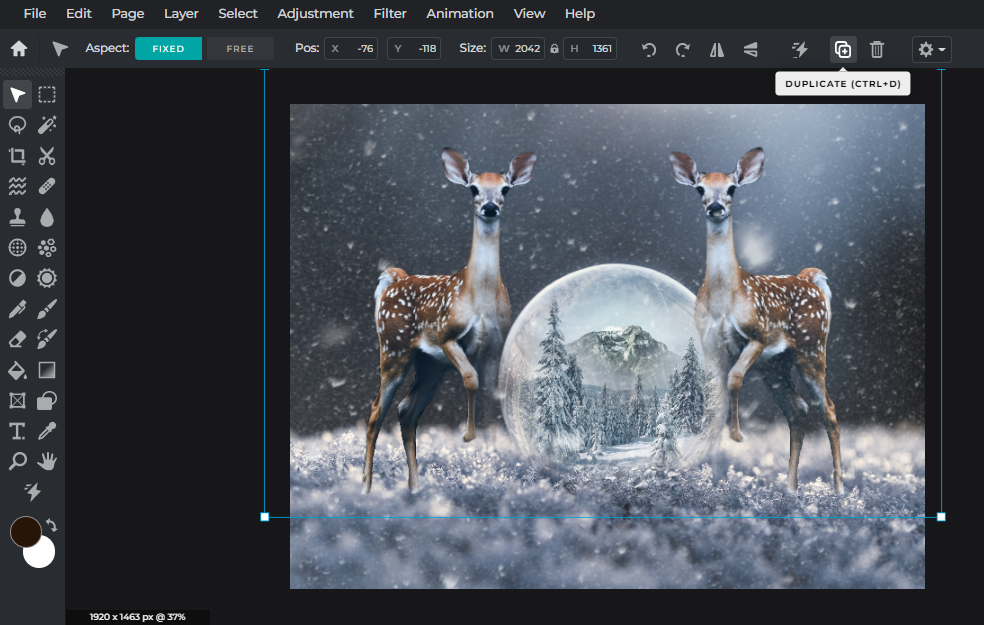
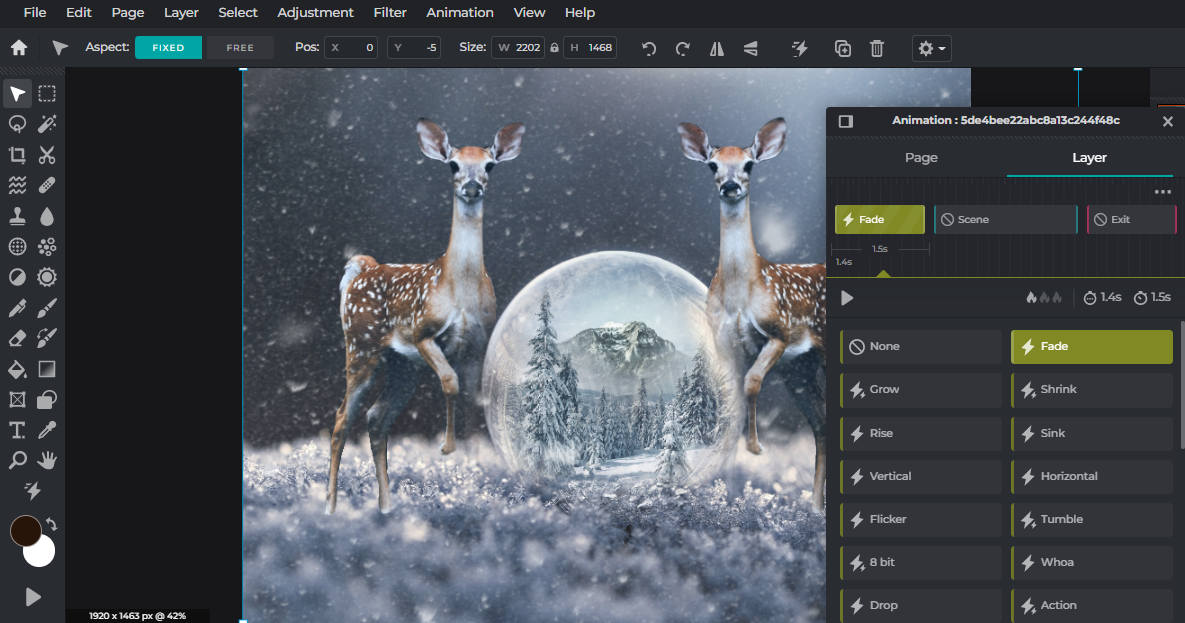
Now, duplicate the deer and reposition it so that the two deer are parallel to each other.

#MadewithPixlr
And there you have it – a surreal winter wonderland artwork completed in just a few steps!
#MadewithPixlr
If you want to up the wow factor of your artwork, you can always add in some animation with Pixlr’s easy-to-use Animation tool.
#MadewithPixlr
It’s the most winter-ful time of the year with Pixlr!
Now that we’ve shown you the steps to create your own winter wonderland and some extra tips to spruce up your artwork, you can get started today! We can’t wait to see all your magical winter creations – share them with us by tagging @pixlr on Facebook or Instagram.