Want to enhance some low-quality or grainy images in just a few simple clicks but don’t have fancy software?
Do not fret, because Pixlr is the only photo editing tool you need!
With Pixlr, you can easily elevate your mobile captures and turn them into professional-looking photos in a few easy-to-follow steps. And of course, there are different methods to give your photos the right finishing touches. In this tutorial, we will show you all the tips and tricks!
1. Mimic HDR
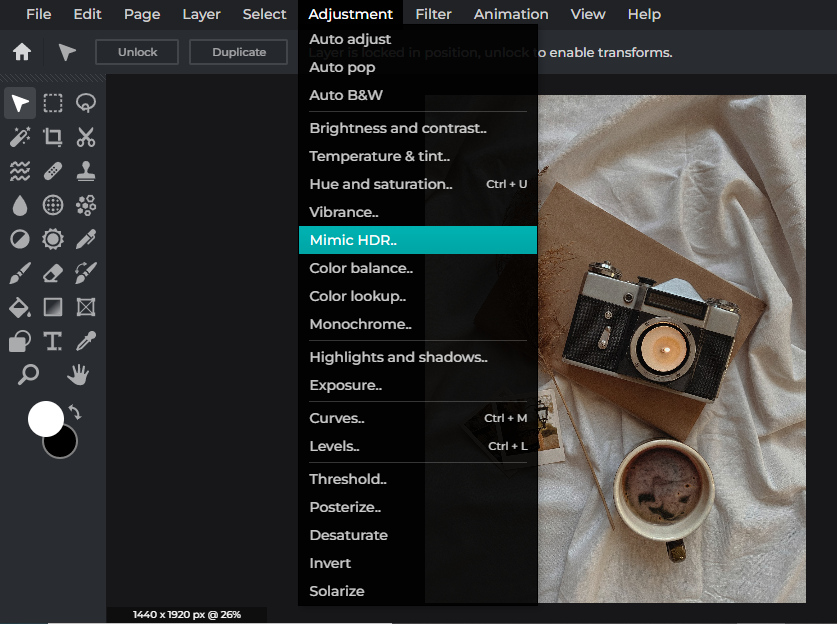
The first thing you can do is use the feature Mimic HDR, which automatically brings more highlight and shadow detail to your photos.
HDR, also known as high dynamic range, creates detailed, high-contrast images, resulting in dramatic and inspiring photography.
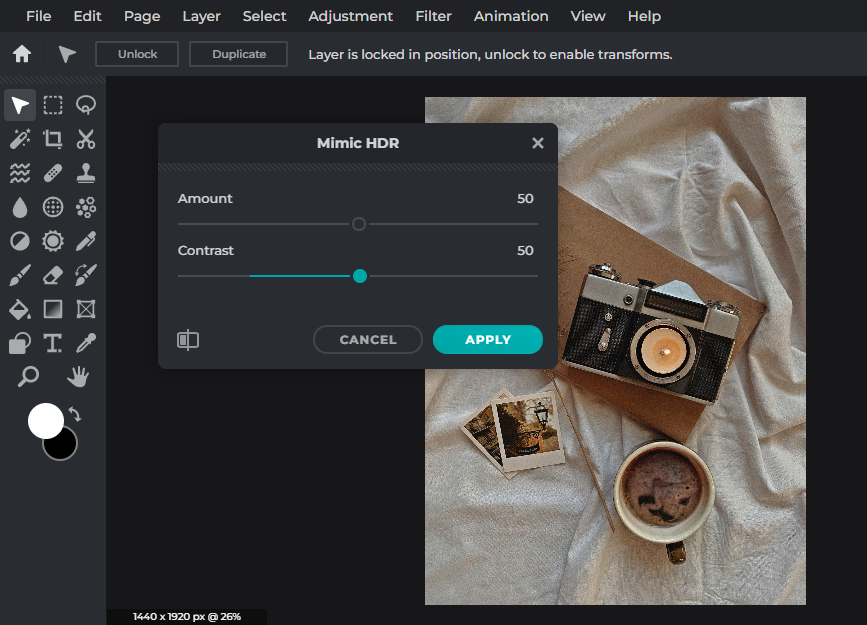
But of course, you wouldn’t want to overdo it. So this is where you can adjust the amount and contrast of your HDR settings.
2. Adjust contrast

After adding HDR effects to your photo, you can play around with the brightness and contrast settings. Here, we are not changing the brightness but increasing the contrast to 10.
3. Fix highlights and shadows
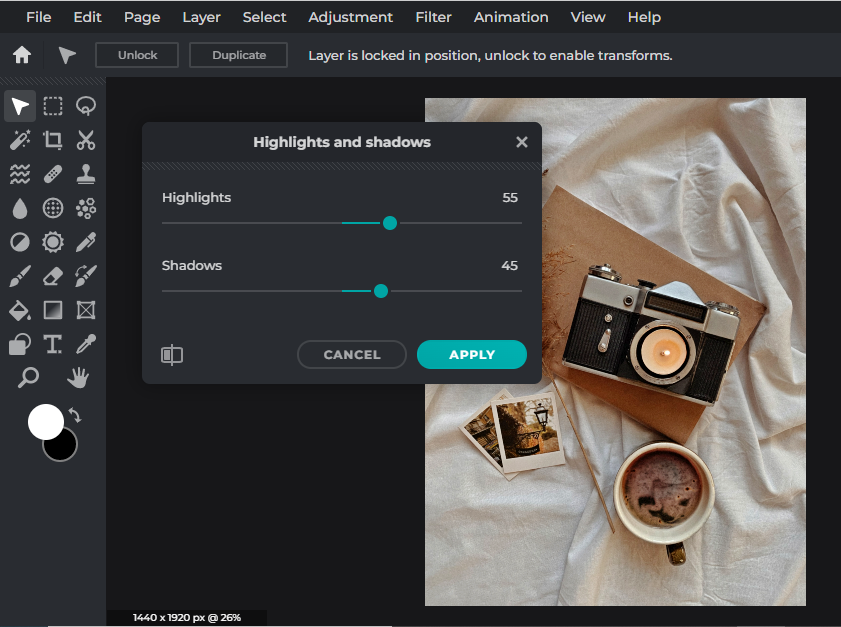
Now, you can play around with highlights and shadows. For this photo, we want to add more highlights to the light tones and increase the shadows for the dark tones. This way, the camera (dark tones) will stand out more from the white sheet (light tones).

And here’s the difference – Before vs. After!
4. Reduce graininess
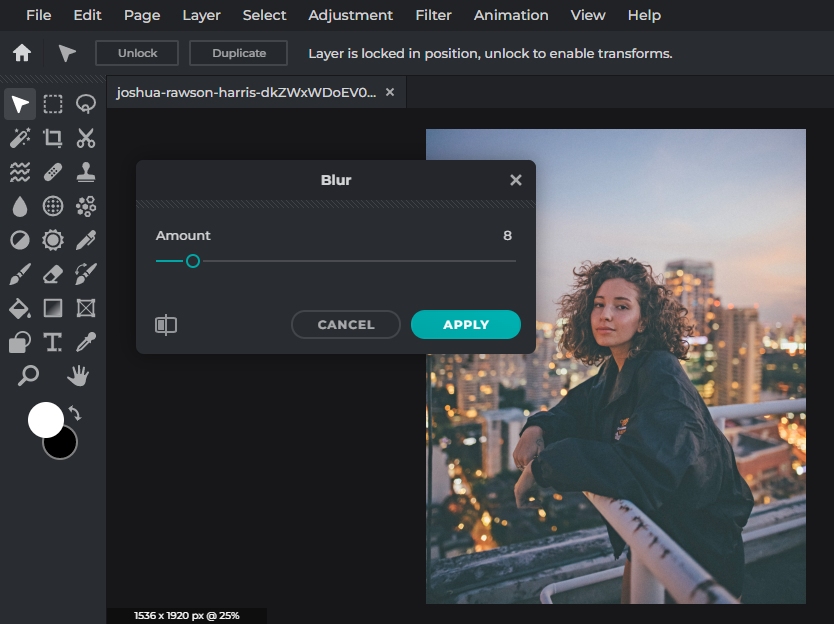
We all know grainy photos are a huge trend now, but if you’re not a fan of grain and want to get rid of it from your photos, we have a tip for you!
On Pixlr, you can reduce graininess by adding the blur effect to your image. You might think it sounds crazy, but it actually works. A grainy photo is when the noise – dots, specks and pixels, is overtly visible. So when you add a slight blur to your image, the pixels are blurred, hence making the grain less visible.
5. Increase vibrance
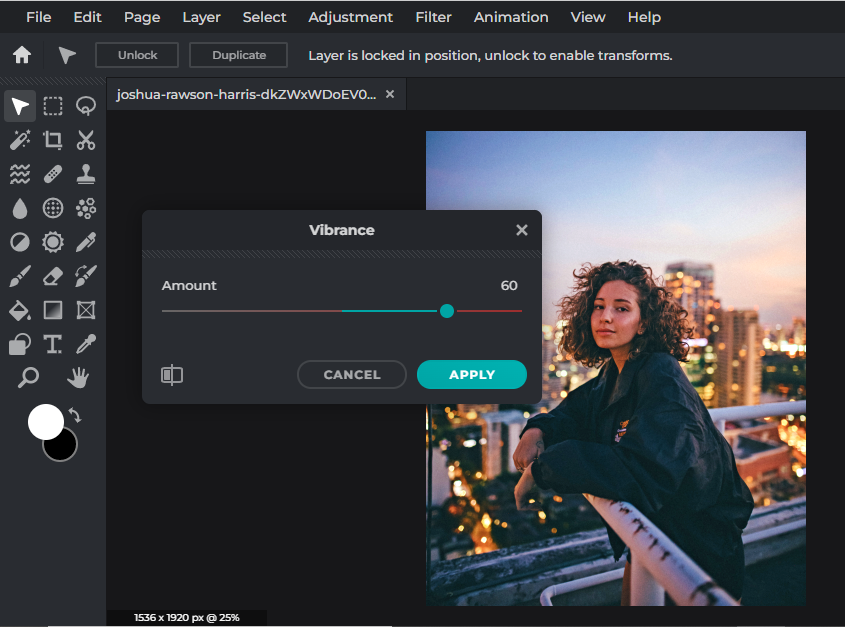
For this image, we want the colors of the dusk sky to pop, so we’ve decided to increase the vibrance by 60. But of course, like anything else in life, balance is key so it’s crucial not to go overboard with it as well.
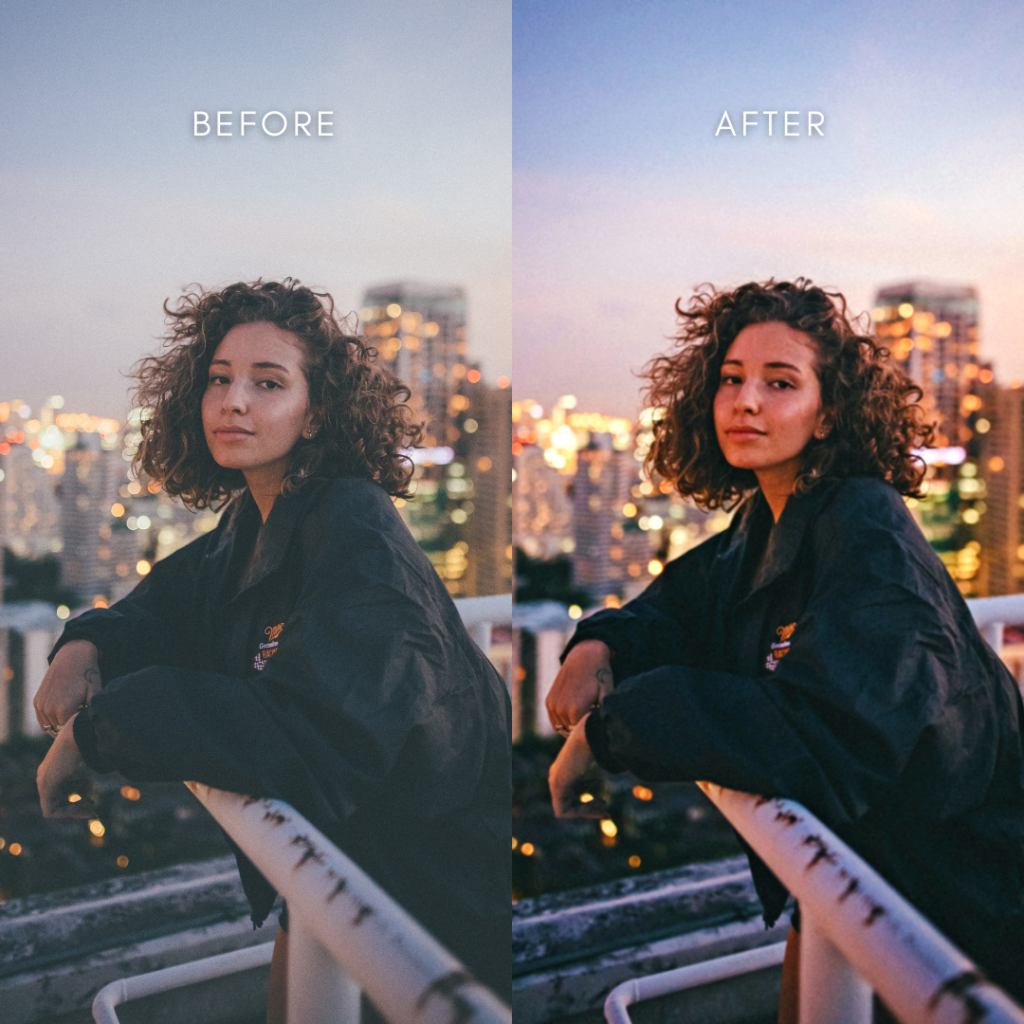
Spot the difference between these two images!
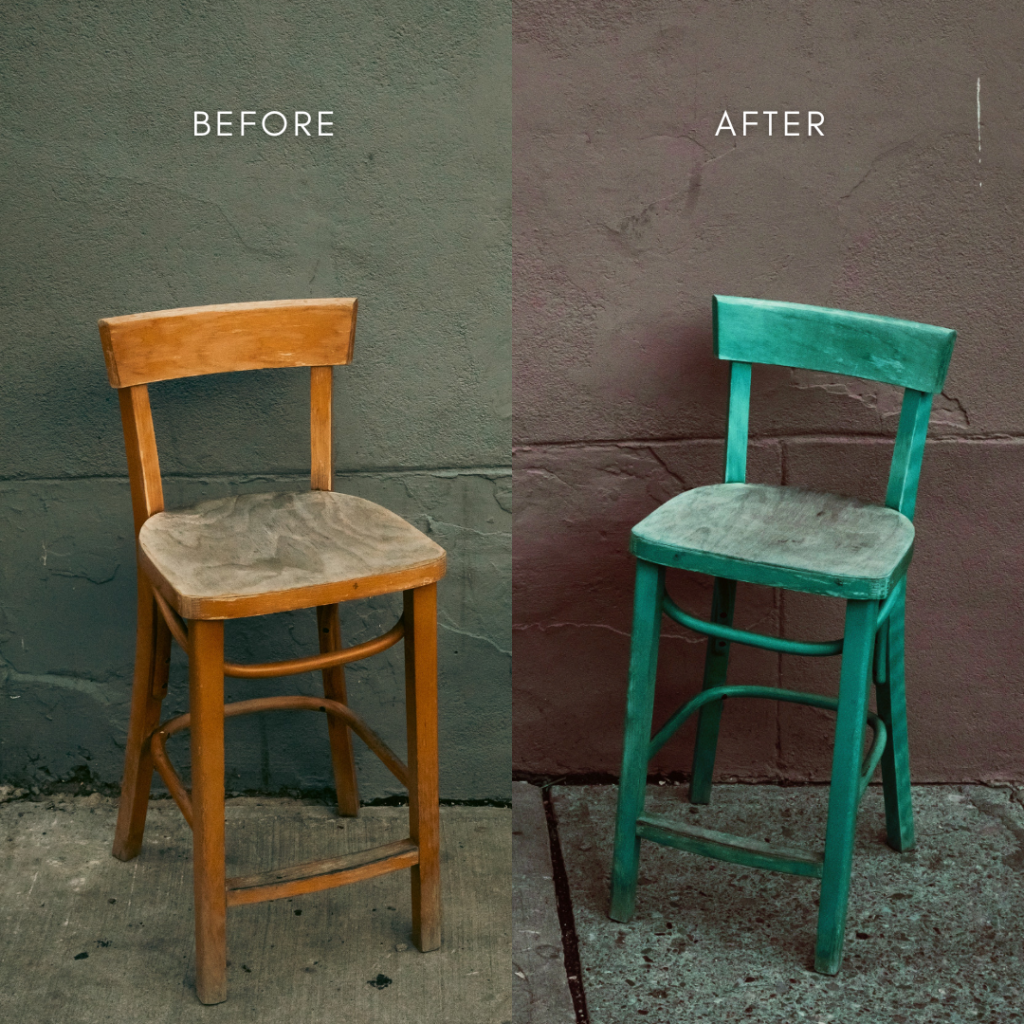
6. Change the hue
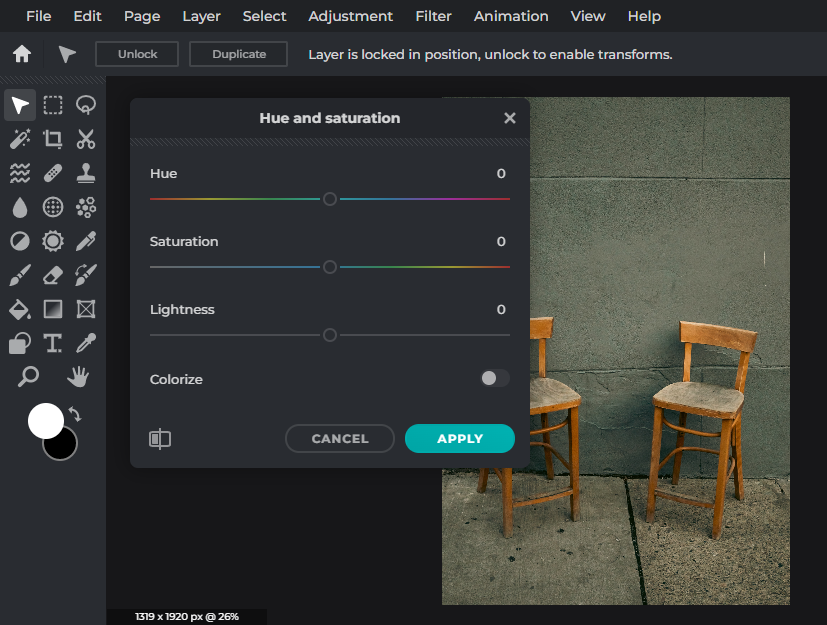
Now, we’re going to show you how to change the colors of your image.
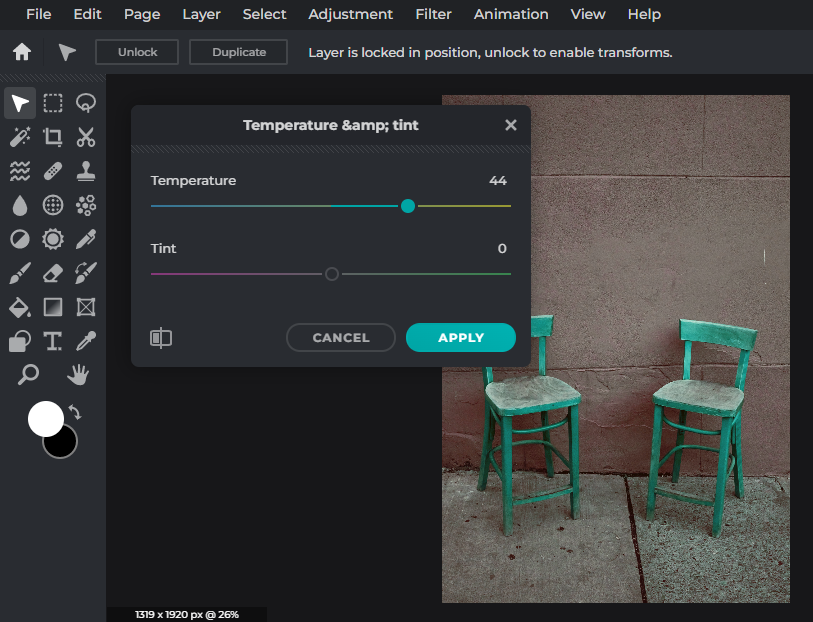
Here, we’ve turned the yellow chairs cyan/teal simply by dragging the hue slider to 144. It basically shifts all pixels of an image to a different point on the color wheel. For instance, if you change the red pixels to green, the green pixels turn to blue, and the yellow pixels turn to cyan.
7. Adjust temperature
After changing the hue of the image to cyan, we want to add a bit of warmth to the image. So we’ve decided to amp up the temperature.
Now which do you prefer – Before or After?
Start editing with Pixlr today!
Now that you know these tips and tricks, you can now enhance your photos with ease and without the hassle of downloading expensive apps or software – Pixlr is the go-to photo editor for all!