A mood board (inspiration board) is essentially an amalgamation of ideas, a digital (or physical) collage of concepts, whereas a photo collage is an assemblage of several images to create a whole new form for artistic expression.
Both of these things are different, but they do have certain similarities. For instance, they both consist of scattered elements and both require assembling. But before you create a photo collage, you’d first need a mood board. With Pixlr, you can easily do both!
From the 26th of August to the 12th of September, Pixlr is giving out 40% off any subscriptions when you sign up with promo code: B2S40. Learn more here, https://bit.ly/btsglbpixlrpromo!

We will start off by showing you how to create a mood board below.
1. Use a template
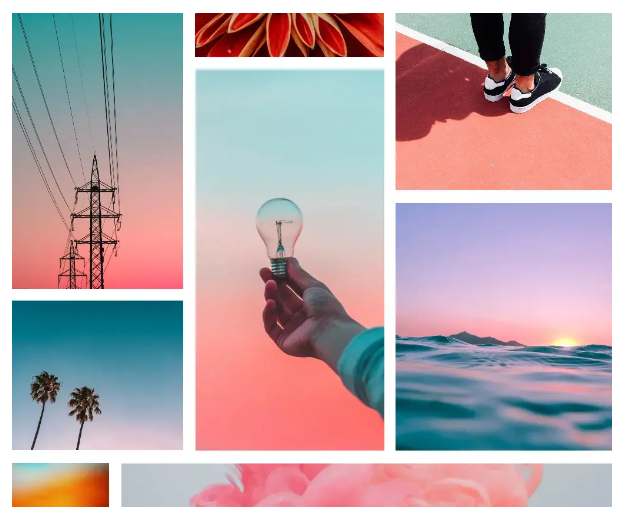
If you want to assemble photos and create a mood board on the fly, you can use our built-in pre-made collage templates.
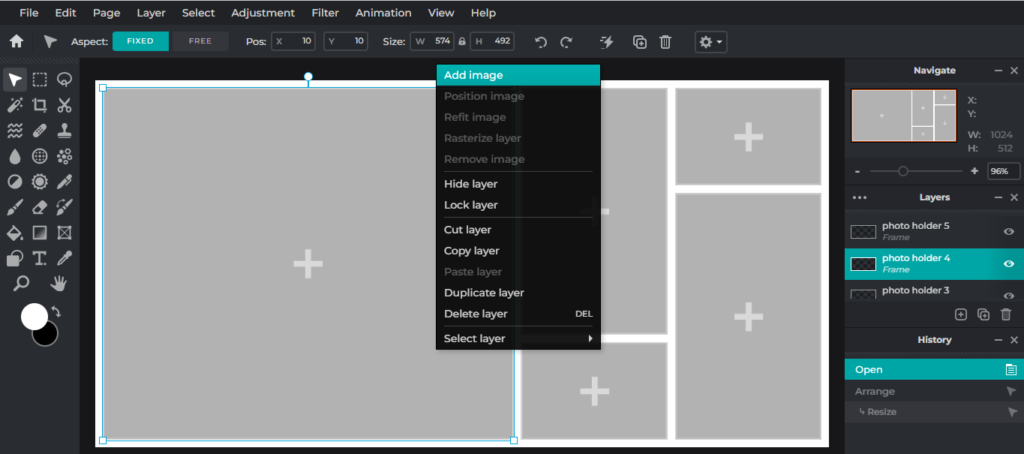
Just select a grid layout and start adding your images into the empty boxes. You can even change the background color and adjust the image borders.
2. Choose the right images
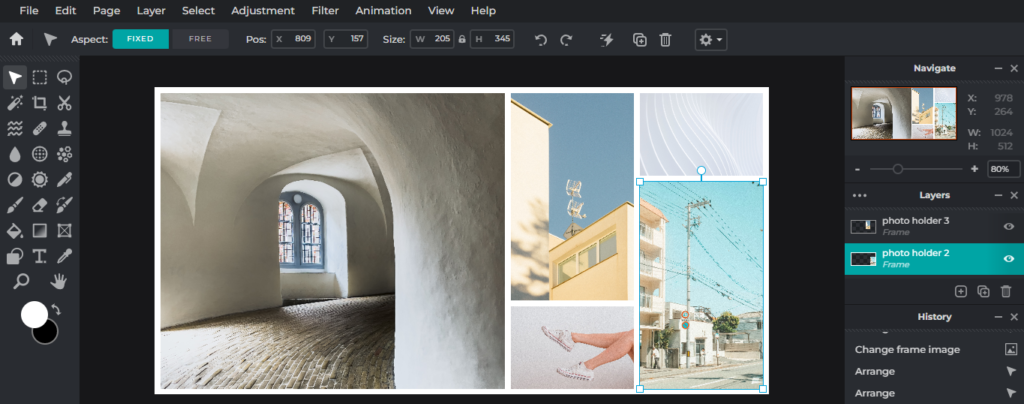
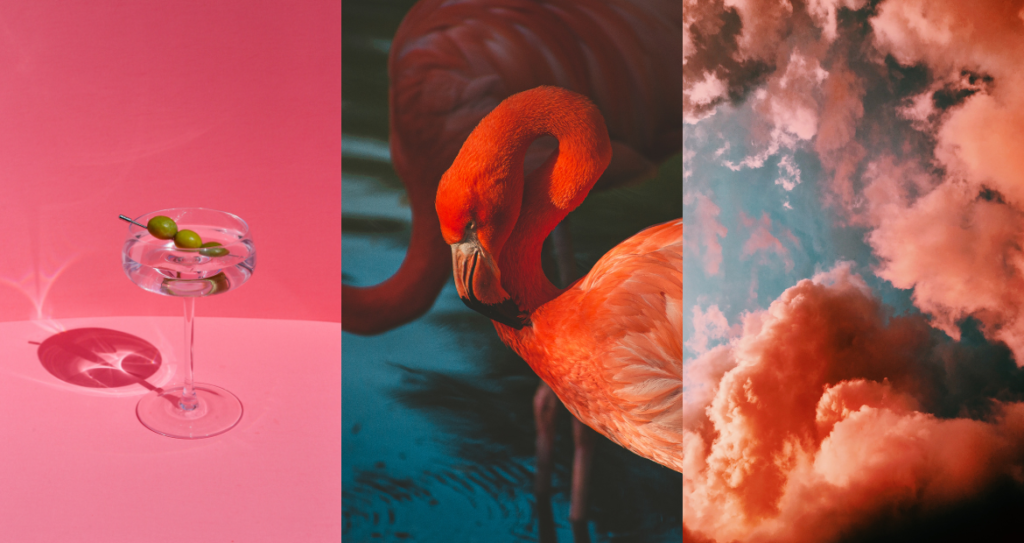
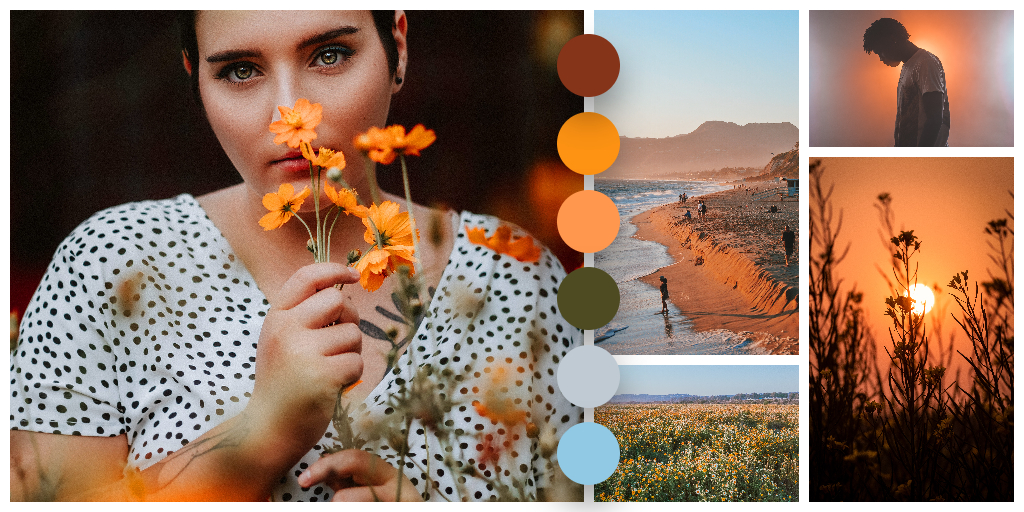
It is crucial to pick the right images for your mood board, ensuring a consistent and thematic look that represents your brand, or tells your story. You will need to choose images that have similar qualities or elements.
For instance, a martini with green olives, a pink flamingo, and an orange sunset sky share similar visual and thematic qualities – summer.
3. Use the color picker
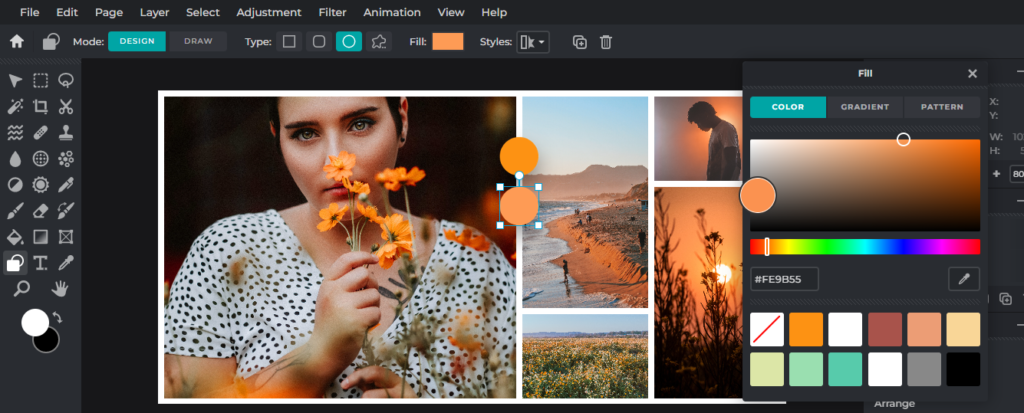
Once you’ve assembled your images, you want to make sure the colors from all the different photos actually complement each other and stylistically match.
Here’s where you can create colored bubbles by using the Shape tool and the Fill/Color Picker feature. All you need to do is duplicate the circles, pick a color from each image and arrange them in a row.
In previous tutorials, we’ve shown you how to create a collage or montage step by step from scratch. So, in today’s tutorial, we’ll only be taking you through the essential steps behind creating a good photo collage.
1. Concepts matter
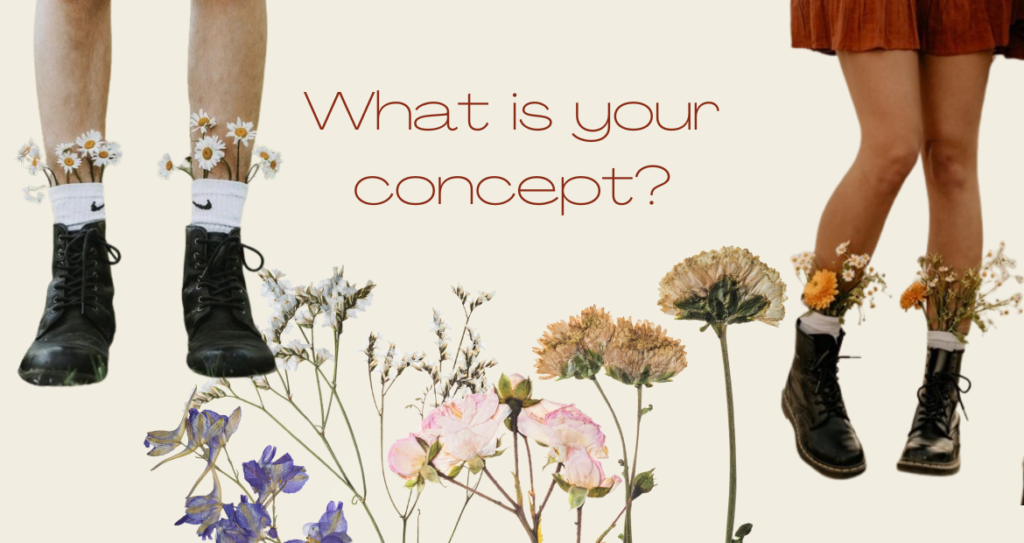
As always, before creating a collage, you’d need to ask yourself, “What story do I want to tell? What message do I want to convey?”
You’d need to decide on a concept! Search for ideas, seek inspiration, and create your mood board (treat it like your idea dump).
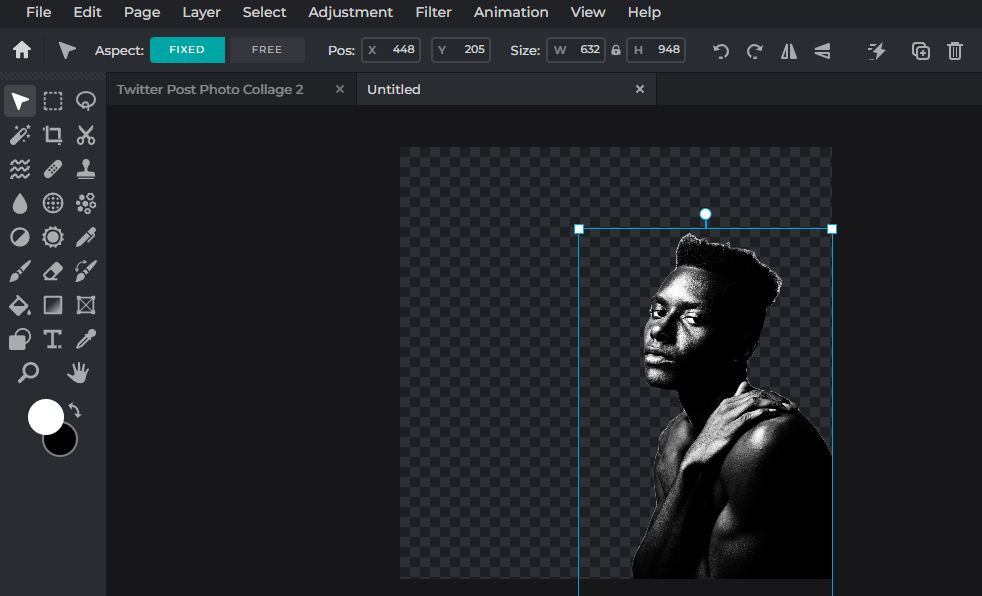
2. Remove background
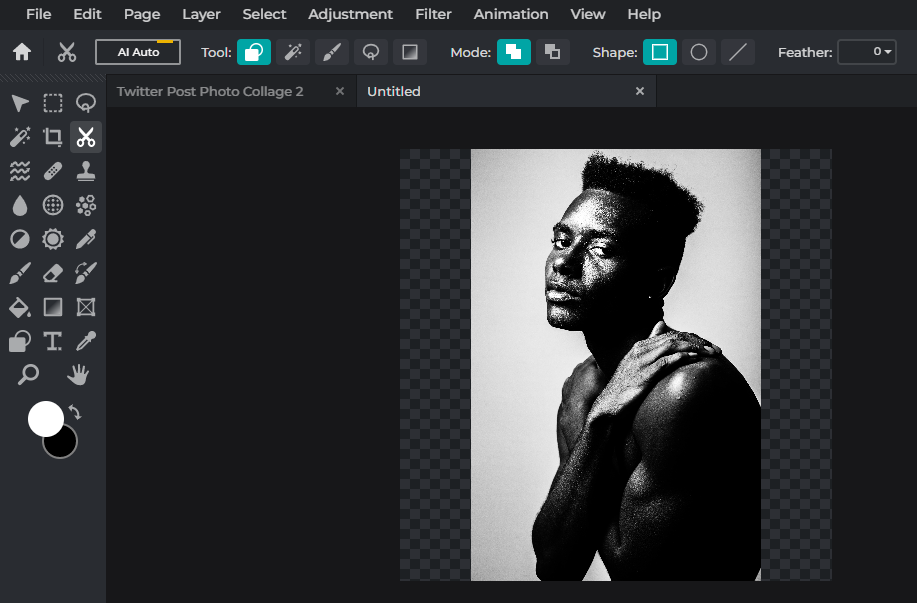
The quintessential step in making a collage is to remove the original background of an image so that you’re able to combine it with other images with ease.
You can use our user-favorite AI Auto Cutout tool, or you can do it manually by using our Draw Mask.
3. Layering is key
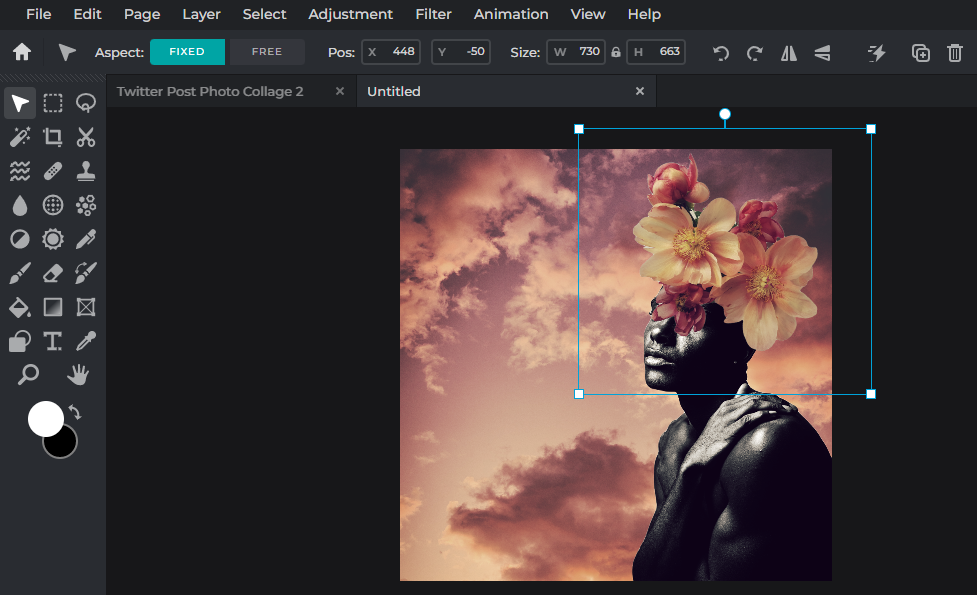
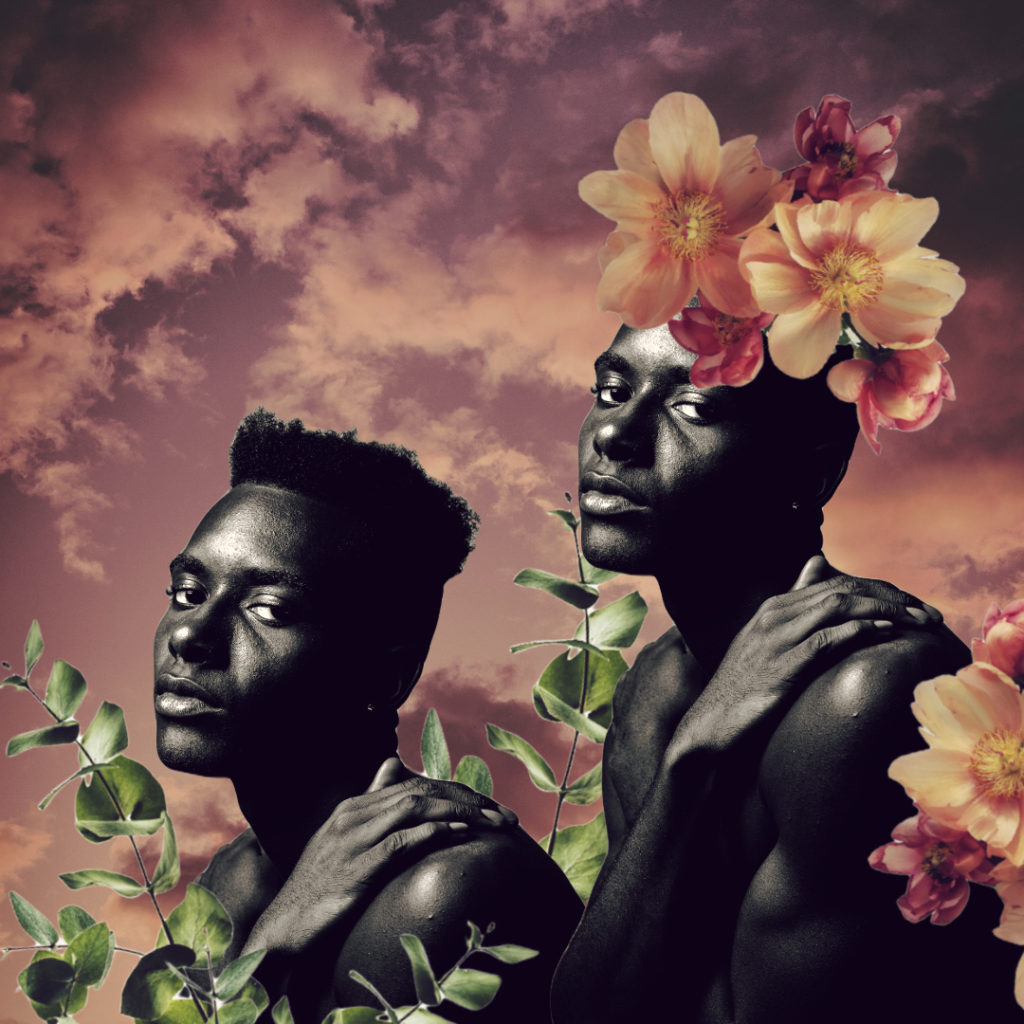
Once you’ve removed the background of an image, you’d need to add a new background by layering it behind the subject of your collage.
Here is where you can let your creativity roam free as you can add layers to the foreground to create fun textures and concepts. For instance, we’ve decided to add a sky background behind our model and a bouquet of peonies above his head.
4. Consistent effects
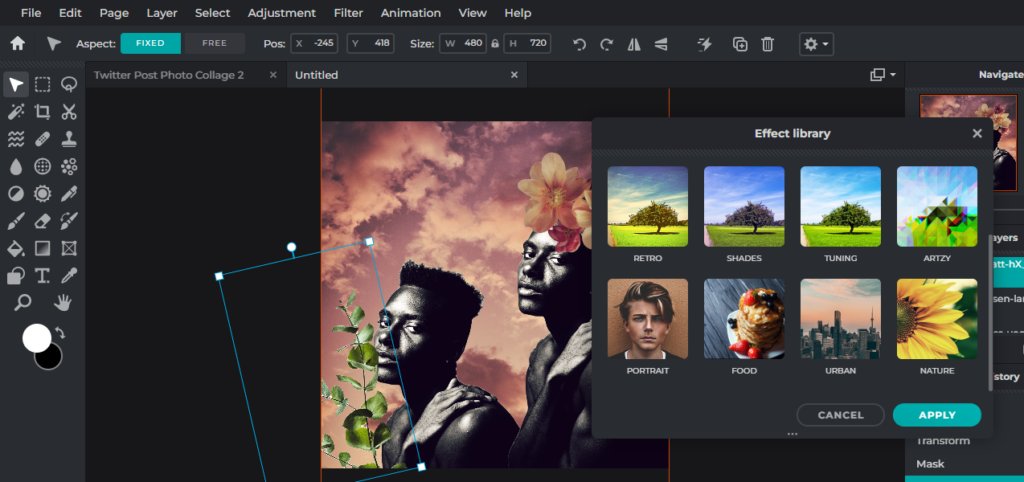
When combining different images into a single artwork, it’s important to keep the styles consistent so that the end result doesn’t look overly busy or visually disjointed.
For instance, when applying filters or effects, make sure each layer uses the same preset.
5. Final touch-ups
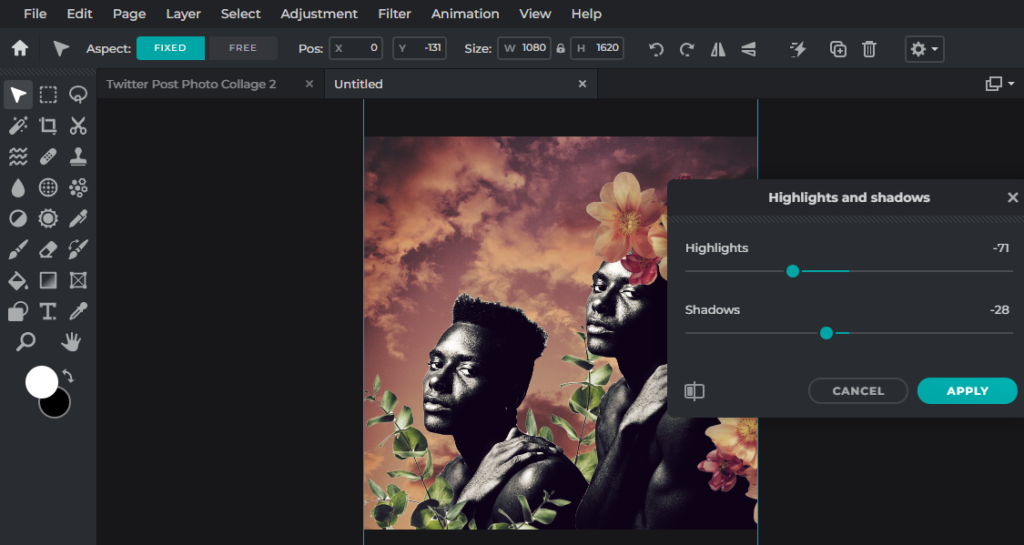
Finally, the finishing touches! Adjust your highlights and shadows, fix the hue and saturation, check your contrast, reduce graininess, and so on.
And voila, there you have it – the end result in under minutes!
Start your creative process with Pixlr today!
Now that you have these tips up your sleeve and Pixlr’s easy-to-use tools at your disposal, you can now easily make your own mood board and photo collage like a real professional. Have fun creating with Pixlr! Get 40% off any subscriptions when you sign up today, learn more here: https://bit.ly/btsglbpixlrprom🌟
