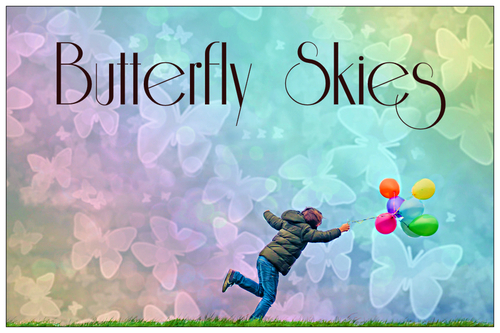
There are a bunch of really fun overlays in Pixlr Express, and one of our favorites is the Butterfly overlay. It’s located in the Bokeh effects pack, and today we’re going to show you how to use it to create a recipe we like to call “Butterfly Skies.” It’s a fantastical effect that works great for both portraits and landscapes to give the sky a magical effect. We’re using the web version of Pixlr Express, but you can do all of this in the mobile versions just as easily.
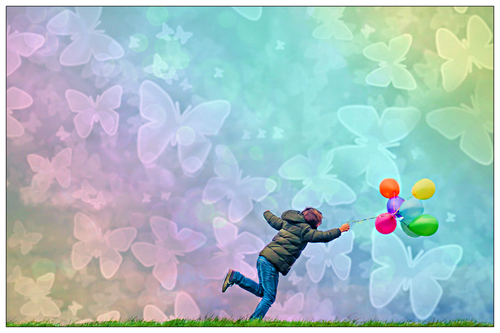
Of course, you’ll want to start with a photo that is either all about the sky or where the sky is an important element. We’re starting with this absolutely beautiful photo of a kid and some balloons practically being blown away on a windy day.
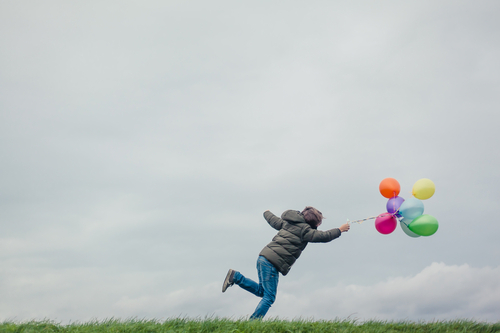
This is a stock photo, but we sure wish we would’ve taken this photo because it’s quite good. If you don’t have any great photos of the sky and want a good photo to try this technique out, go find one on Morguefile or Freestockphotos.biz or some other free stock site. Or support a service that offers stock photos like our friends at Creative Market and purchase an affordable image.
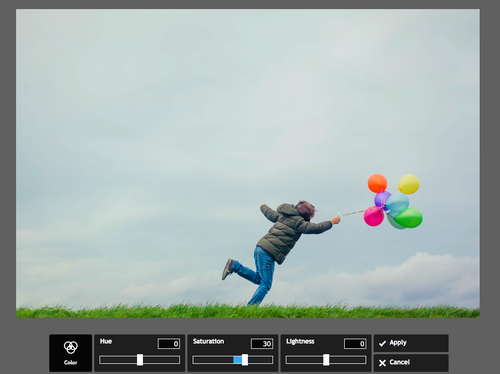
Step one: basic editing
You always want to do basic editing to get your lights and darks balanced. When using a lot of overlays or layering on a bunch of effects, one thing to consider is that adding a lot of overlays may ultimately darken your photo, so you may want to make sure it’s sufficiently light at the outset. Or you might even want to sharpen the image if you think it might be muddied by layering on tons of stuff. For this photo, all we did was bump up the saturation a bit. We want this to be a very colorful image.
Step two: Butterfly
Next, apply the Butterfly overlay. Notice that the overlays have a few additional options. Try rotating the overlay or flipping it to get the butterflies to work with other elements of the image. We applied this at 89% because we really want these butterflies to stand out. You’ll notice that the Butterfly overlay is really a non-color overlay, but you’ll quickly see how we can make this white butterfly sky way more colorful.

Step three: History Brush
This is an important step if you want your image to really pop. We use the History Brush (located in the Adjustments menu) to paint away the butterfly overlay that we just added in some spots. We do this only on the boy and the balloons and the grass, which is going to make the butterfly effect really only affect the sky. Notice in the photo below how the butterflies stop at the balloons. Get to know the History Brush in this way because it can really help you make richer, more illustrative edits.

Step four: Dreamscape
Next, we want to add some kaleidoscopic color. We use another effect from the Bokeh set, the one called Dreamscape. We set this at about 75%, but you can go full-on 100% if you like it.
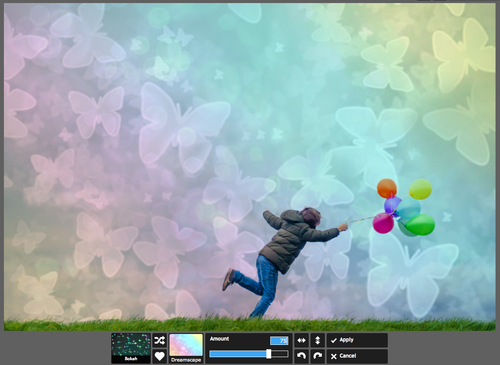
Again, we use the History Brush to remove the effect on the boy, balloons, and grass. We want those balloons to really stand out in all their original beauty.
Step five: finishing touches
For our finishing touches, we sharpened the image a bit and bumped up the vibrance. And, we slapped a border on it. We chose the simple, classy border from the Default set called “Clean.” How you finish your image is up to you, but one good option at this point are the Color Correction overlays. If you want your butterfly sky to be a little more pink or a touch more blue, those options will help get you there
As you can see, adding a few bokeh overlays completely lifts up this photo and makes it something more magical. While we bumped the effects up significantly to make our Bokeh Butterfly Dreamscape sky look completely out of this world, these overlays can be dialed down to provide just hints of bubbly texture if you like.
If you follow this recipe, let us know! Point us to it with a tweet: We’re @pixlr on Twitter.