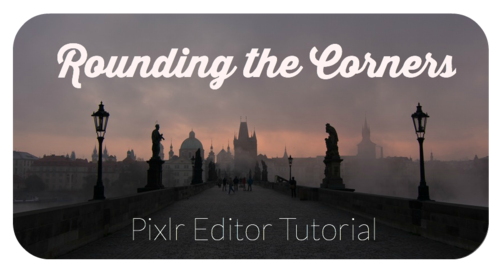
Sometimes, images that have rounded corners look more sophisticated. It’s a look you see on the web quite a bit. Avatars on social networking sites often have this rounded look, and sometimes images with this treatment can really stand out and look almost like a postcard or membership card. There are a few ways to do things like this, but we’re going to show one of the easiest ways in Pixlr Editor using a very simple layer mask.
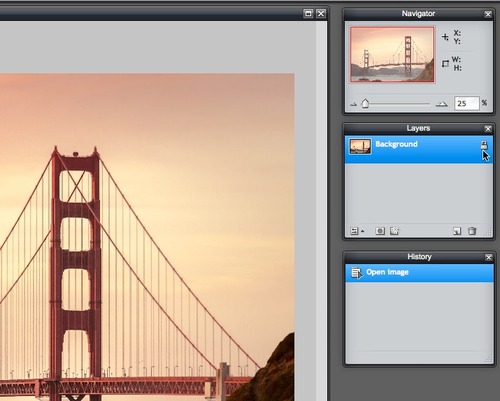
We’ll start with a photo of the always stunning Golden Gate Bridge. We open it in Pixlr Editor and double click the background layer’s lock icon so we can modify the layer.
If you’ve never created a layer mask, you’re going to be very surprised at how easy it is in this simple demonstration.
Choose the rounded shape tool and adjust additional settings
Click on the Drawing Tool and notice the many Additional Settings that pop up above your canvas.
![]()
Choose the rounded rectangle option and keep the opacity at 100%. For this simple demo, we’re not going to mess with the Blending Mode, and we’re going to make our Border size = 0. The Radius setting will control how rounded your rectangle will be. We’re going to choose 135. You will want to fill the shape that you’re creating, so make sure that box is checked (by default, it is checked).
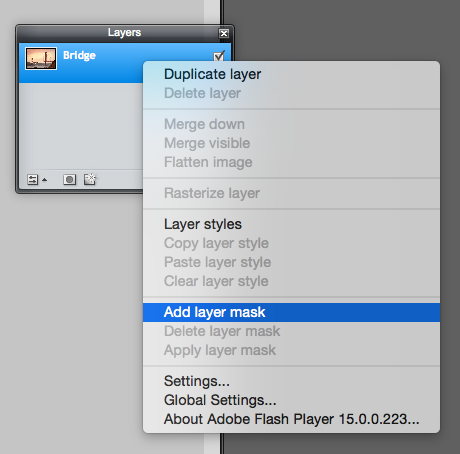
Activate a layer mask
You can create a layer mask on any layer, and you can do it in two different ways. You can do it from the menu by choosing Add layer mask from the Layer menu. Or, you can right click on a layer in the Layers toolbar and choose Add layer mask:
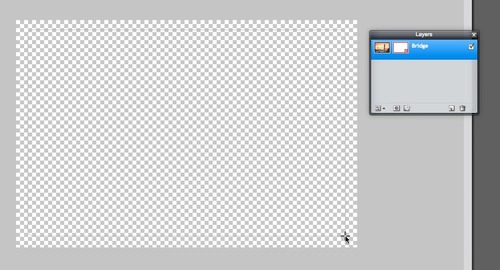
Once you’ve done this, your image will appear to have disappeared, but a white mask icon will show up in your Layers toolbar to indicate that a layer mask is present and active:

Draw your layer mask
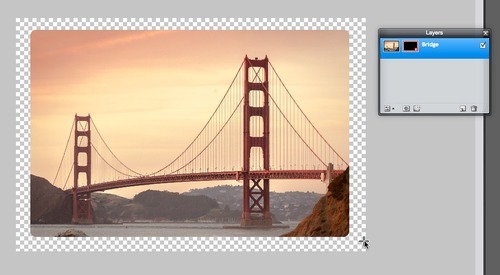
Now, you’re going to draw your rounded rectangle. This will become the outline of your final image. Click on the upper-left corner where you want you border to be and drag down and to the right to make a rectangle:
Once you release the mouse button, you’ll see that your image now peeks through this layer mask:
That’s it. Save your image out, and it will have rounded corners with a transparent background. You can save it as a JPG with a white background, or you can save it as a PNG with a transparent background — whichever works best with how you need to display it.
A few extra effects
You can give this card-like image a little extra oomph by adding layer styles (Layer > Layer styles) if you like that kind of embellishment. Here, we’ll add a subtle drop shadow and an inner glow:

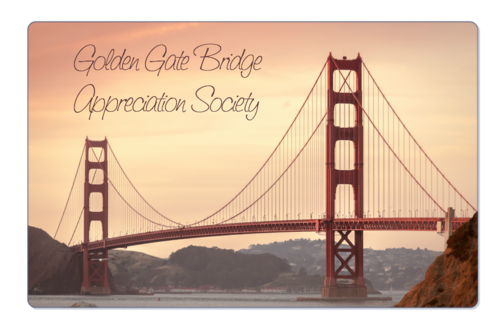
We add some text with a pretty font and save it out. We have a very striking image — we’re card carrying members of the Golden Gate Bridge Appreciation Society: