Wouldn’t it be cool if you could make your own overlays? Well, dear user, you can. And we’d like you to do just that this week for our #mypixlroverlay challenge.
You may not have thought about the Double Exposure feature as a way to add a custom overlay, but that’s basically what it does: It adds an image to your current image and gives you blending modes and opacity controls so you can choose how seamlessly you want the two images to blend together.
How overlays work in Pixlr in general
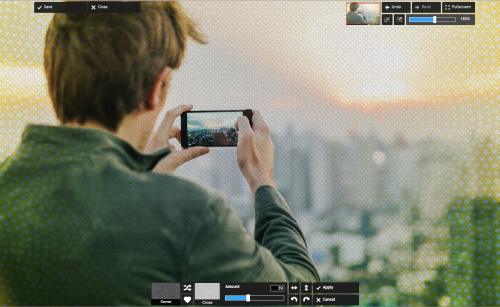
When you add a Canvas overlay (just to choose one at random) you’re adding a textured image with a specific blending mode we’ve pre-chosen. Here’s an example of using Pixlr with a pre-made Canvas overlay being applied:
How to make your own overlay
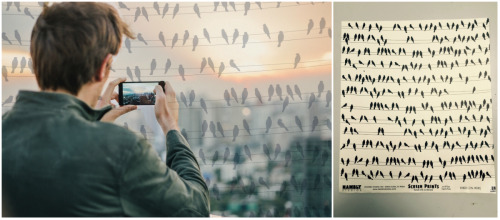
These kinds of textured overlays are really neat, but you can make your own very easily — and with more control. First, you’ll need a photo of some kind of texture. We dug around in a box of craft supplies we had lying around in our office at Pier 9 in San Francisco and found a print of birds on a wire. We simply took a photo of it and added it to our image. Then we wiped away the birds from the figure using the History Brush. Voila. Instant overlay:
You can use any kind of pattern or texture you like. Look around and you’ll find something. An argyle sweater, wood grain, an upholstery cover, a basket full of grapes — any kind of repeating pattern or texture works.
Go further with Blending Modes
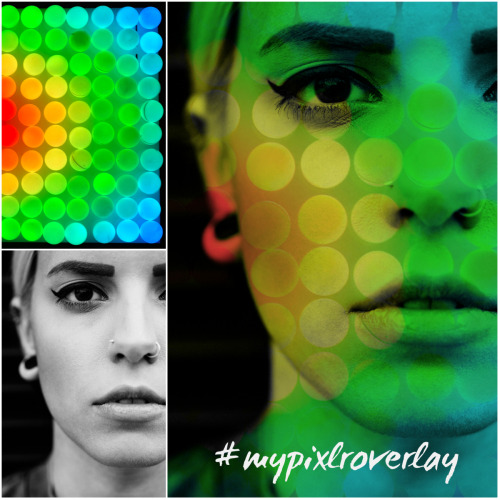
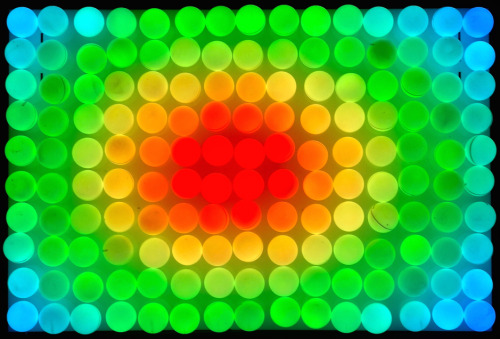
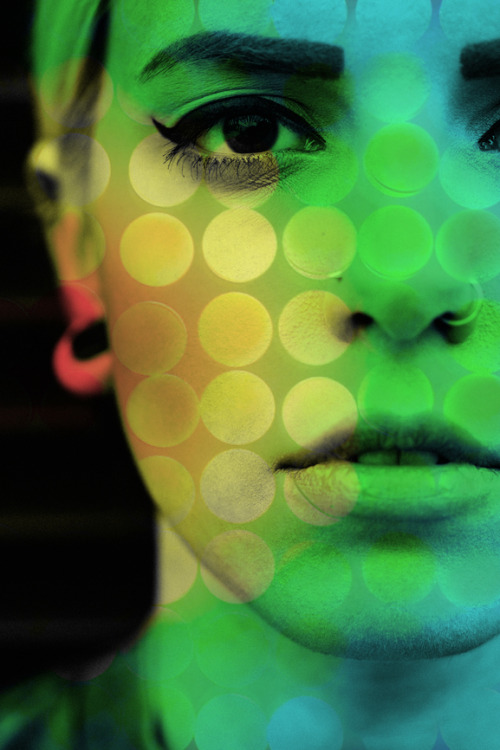
We wanted to make something even cooler. Something out of colored lights. We dug into the camera roll on our iPhone and found this cool photo of lights that we took at Maker Faire, a DIY convention in the Bay Area. Someone made these lights that had a neat pattern to them, and we captured a photo with our iPhone:
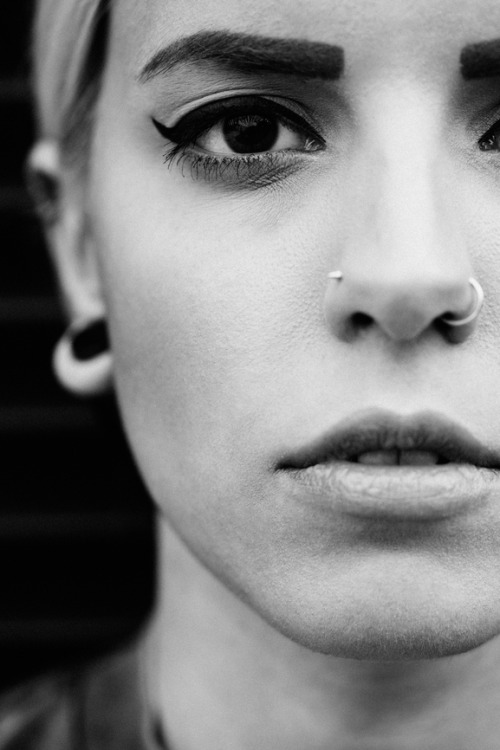
Once we had our pattern, we took this very lovely photo of a model:
We used the Double Exposure option to add our colored lights to the image. We experimented with blending modes and decided that the Darken Blending Mode worked best with this photo, and we dialed the opacity back to about 90%. As you can see, the results were quite stunning:
Your turn! Join our challenge.
Get creative and make your own overlay for our challenge this week. When you post your image, we’d love you to include details on 1) what pattern or texture you used, and 2) which blending mode/opacity settings you chose. It’s not essential to include those details, but it always helps others see how you did it so they can try something similar. Tag your photos with the hashtag #mypixlroverlay, and we’ll dig up the best on Instagram, Tumblr, Twitter, Facebook, and Flickr. We’ll feature the best, with a reward of hand clapping, thumbs up, and sometimes thousands of Likes. Glory!
Need more help? Check out this video that show how we did it: