Spring is finally in full bloom, breathing life into earth once again with lush greenery and garden-fresh flowers.
To celebrate the most beautiful season of the year, we want to breathe life into your garden of creativity by showing you how to create a surreal floral montage in Pixlr E in just 7 simple, easy-to-follow steps!
Get 30% off all plans now with promo code: SPRING30. Hurry, promo ends 28 March 2022!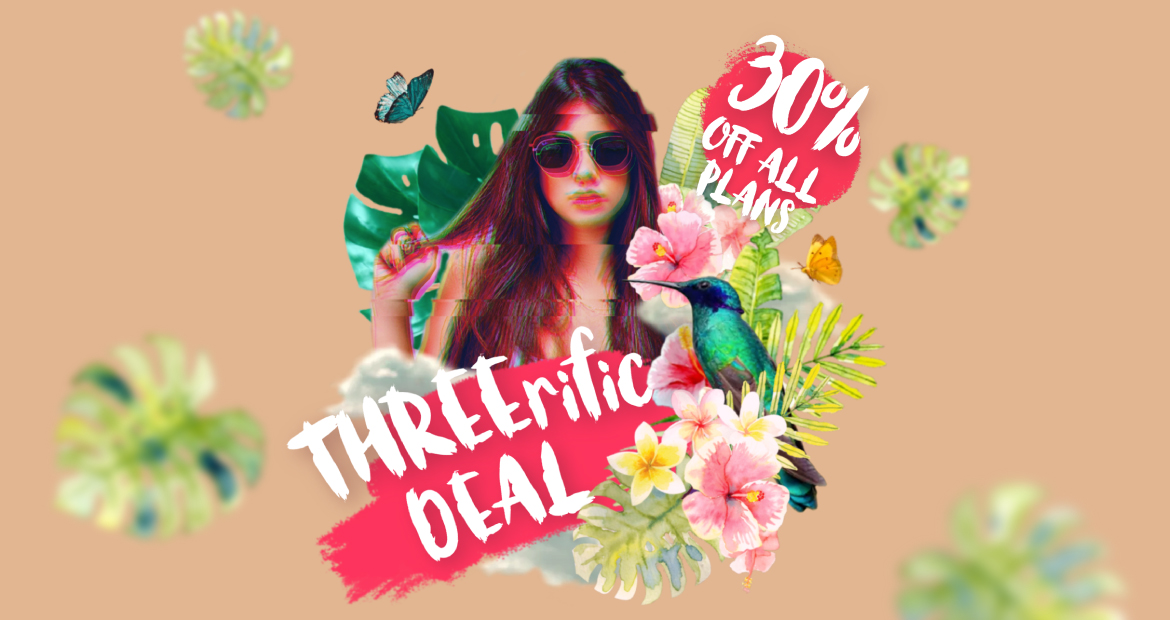 Without further ado, let’s spring into action!
Step 1: Choose the right image

Image from Unsplash
To create a montage, you’d need to first choose the right “hero” image, preferably a portrait with the human subject against a plain background. This is to draw attention to your human subject, instead of its surroundings.
Step 2: Remove background

It’s much easier to remove a plain background compared to a patterned or clustered one using Pixlr’s Cutout/Mask tool.
You can either opt for the classic Magic Mask or our user-favorite background remover AI Auto. 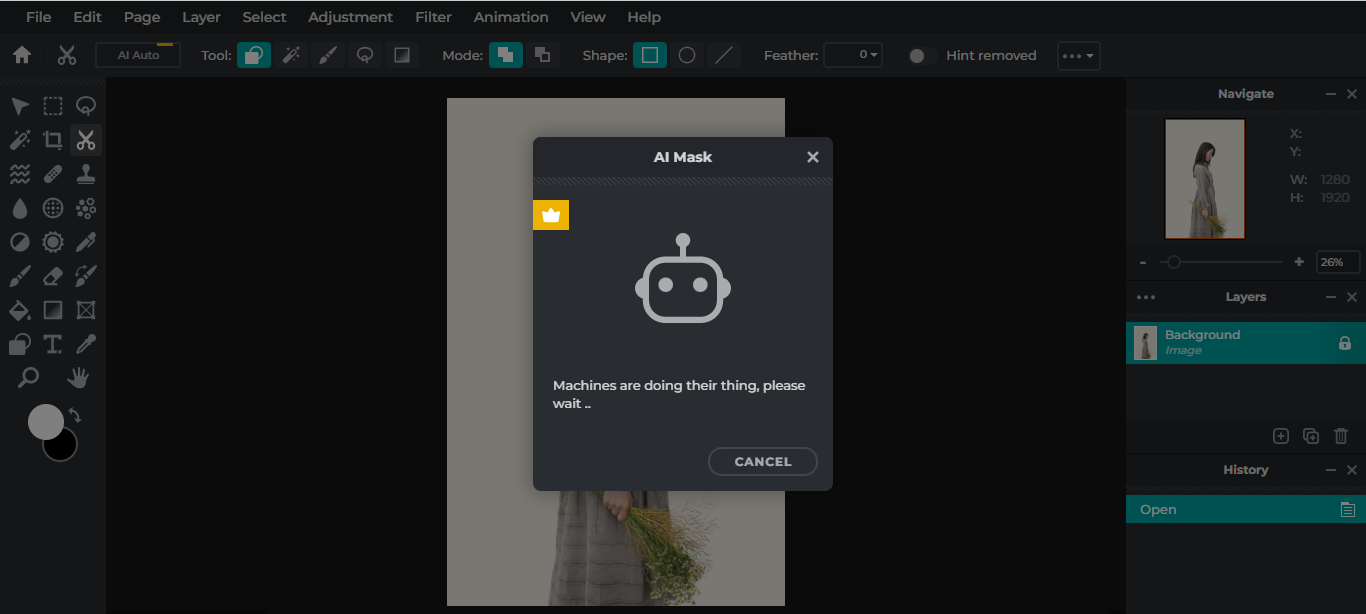 AI Auto works best on plain backgrounds as the AI will automatically identify any subject in the foreground and cut around it.

In just one click, you can seamlessly remove the background from your image. You can now unlock the layer and freely enlarge/rearrange your human subject.
Step 3: Add a new background
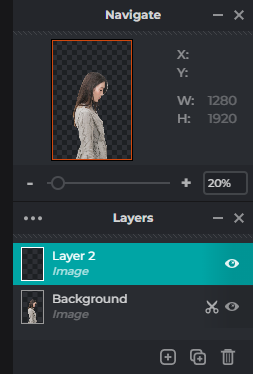
Now you might be thinking, “Why would I want to remove a background just to add a new one?”
Well, that’s because this new background will act as a separate layer – it is not bound to your foreground/human subject. You will be able to freely alter/move the new background without causing any changes to your foreground.
 Now, all you have to do is add a new empty layer in the Layer Bar on your far right.
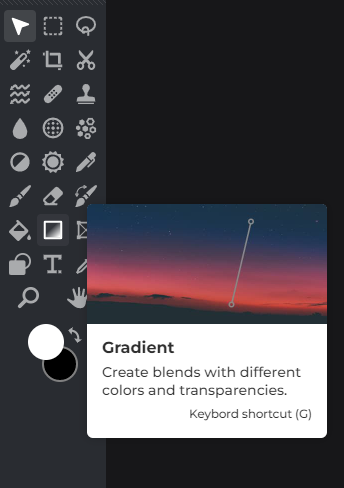 Click on your new layer and select Gradient.
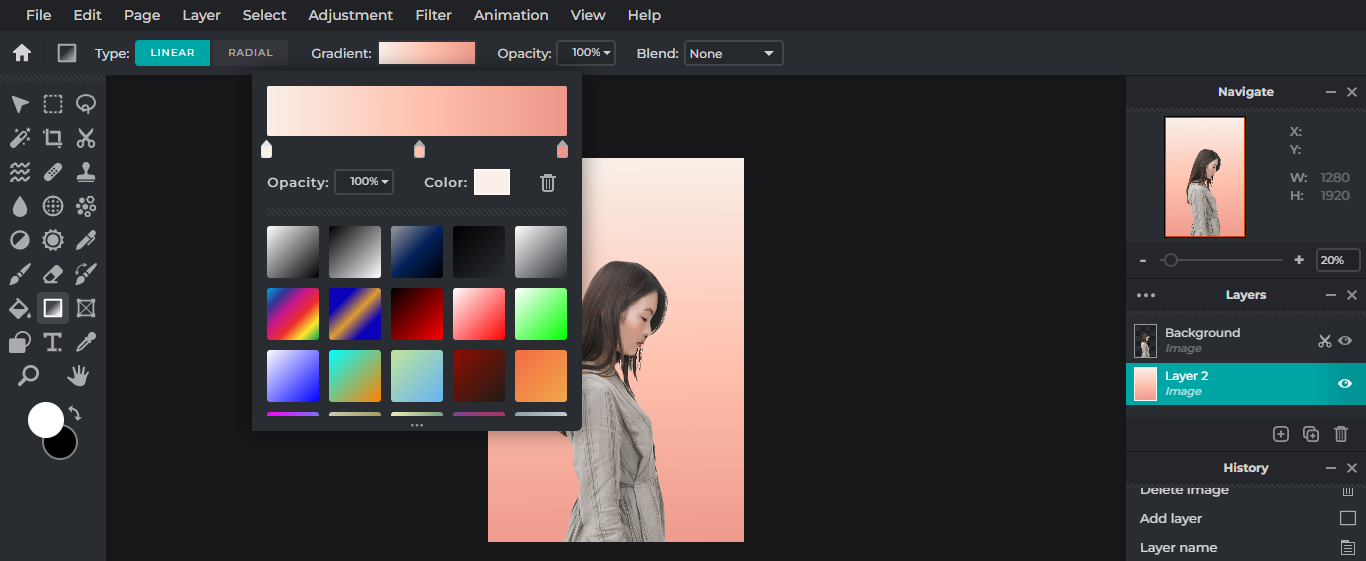 You can either choose an existing gradient background from the Gradient Library or create your own. Here, we’ve opted for a soft pastel pink gradient to epitomize the dreamy qualities of spring.
Step 4: Add floral elements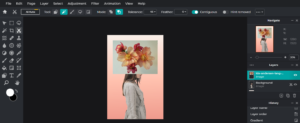

Now that you’ve got your foreground and background in place, it’s time to add floral elements to your composition.
Here, we’ve chosen an image of pink peonies against a plain white background, which we’d be removing with AI Auto or Magic Mask.
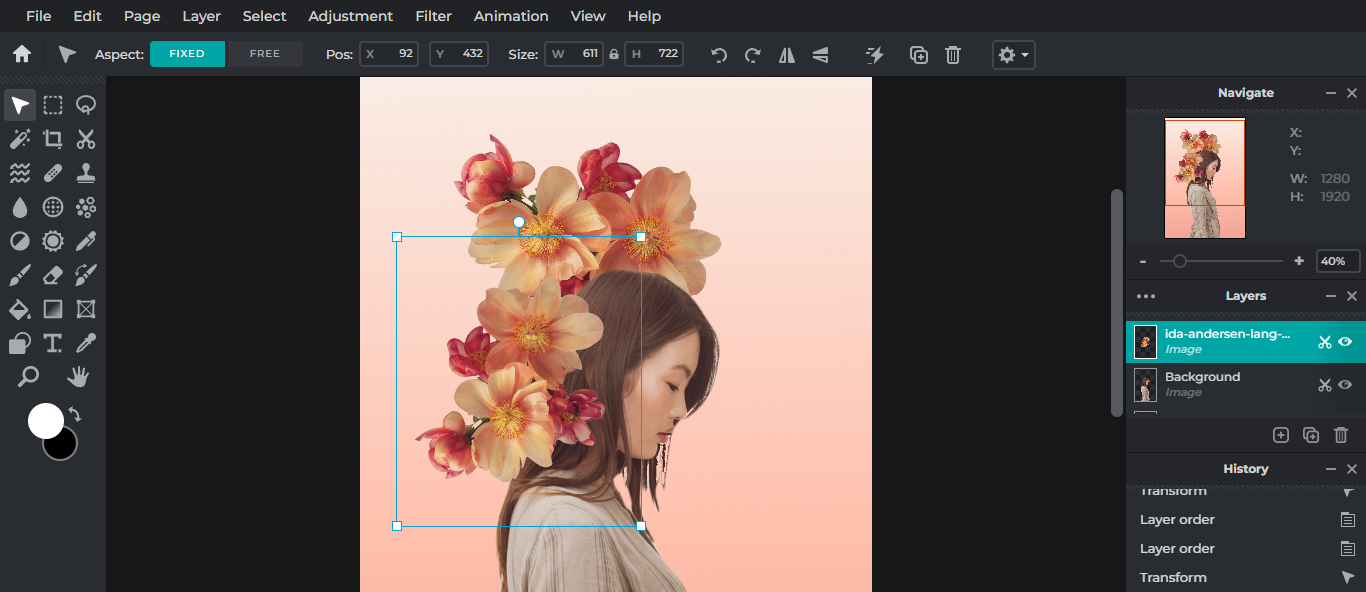 After removing the background from the floral image, you can duplicate the image layer and stack them over each other to create a collage effect. You can arrange them however you want as long as they fit the composition.
Step 5: Add supporting elements
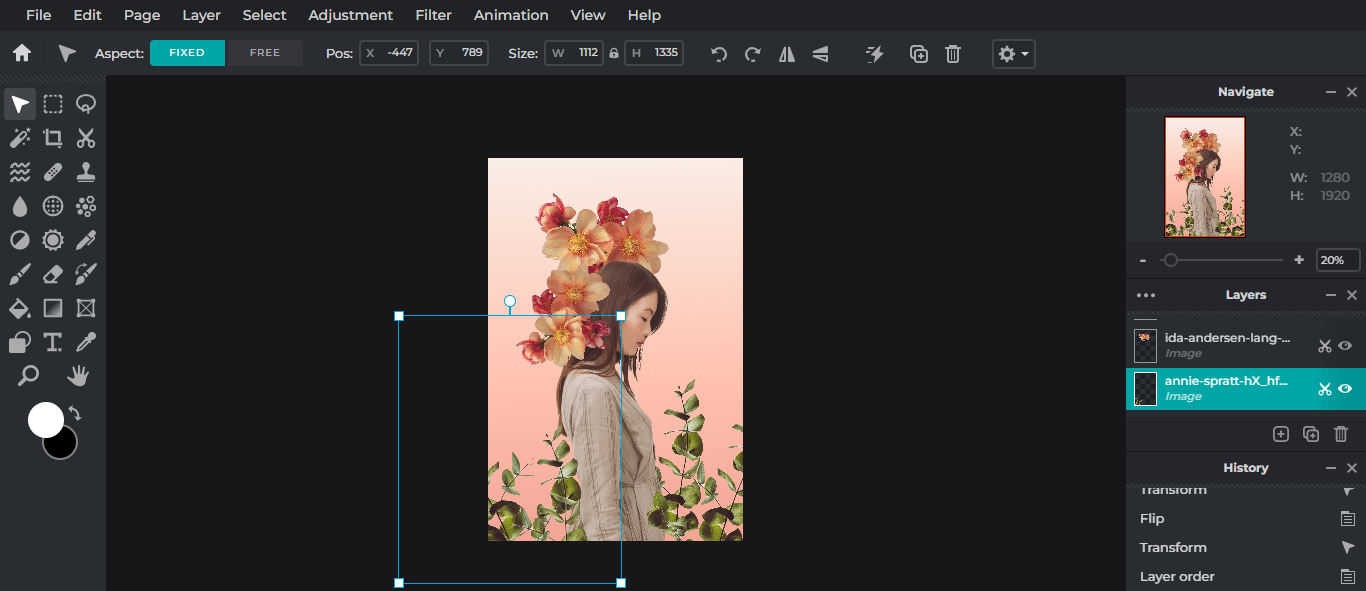 This step is actually optional because it’s entirely up to you whether you want to add supporting elements e.g. some greenery/plants to your montage.
Step 6: Animate the right elements

With Pixlr’s Animation tool, you can easily bring your work to life by adding motion and rhythm to certain elements of your design.
It’s important to note that not everything in your design should be animated – you wouldn’t want it to seem like there’s too much happening simultaneously. So do choose your elements wisely.
For instance, in our design above, we’re only adding Action animation to the two blue butterflies to make them look like they’re flying into the image.
Step 7: Export your final work in your desired format

You can choose to export it as a GIF or MP4, or even a PNG.
And voilà, there you have it – your surreal floral montage for spring!
Get creative with Pixlr
With Pixlr, you can quite literally bring your imagination to life in just a few clicks, thanks to its AI-powered tools, user-friendly interface and trendy features.