In the realm of digital artistry, the power of subtlety cannot be overstated. A touch of blur here, a hint of softness there, and voila! Your image transforms from ordinary to extraordinary. Pixlr’s Blur Tool, with its user-friendly interface and diverse range of blur types, is your magic wand to achieving this transformation. Whether you’re looking to add depth to your images or create a dreamy atmosphere, this tool is your ticket to a world of stunning visuals.
Why Pixlr’s Blur Tool is Your Go-To Photo Editing Companion
Pixlr’s Blur Tool is not just another tool in your photo editing toolbox. It’s a versatile companion that can help you achieve myriad effects. Here’s why it’s a must-have for your creative pursuits:
- A Spectrum of Blur Types: From Gaussian to Motion, Tilt-Shift, and more, Pixlr’s Blur Tool offers a wide array of blur types. Each type brings a unique aesthetic to your images, allowing you to experiment and find the perfect fit for your vision.
- User-Friendly Settings: With intuitive settings like Blur Strength, Feather, and Zoom, you can easily control the intensity and area of blur. These settings are designed to give you maximum control over your editing process.
- Precision with a Brush Tool: Want to blur only specific areas of your image? The Brush Tool lets you do just that. With this tool, you can apply blur effects with pinpoint accuracy, ensuring that your vision comes to life exactly as you imagined it.
Mastering the Art of Blur with Pixlr
Using Pixlr’s Blur Tool is as easy as a breeze. Here’s a quick guide to get you started:
Step 1: Open and Select
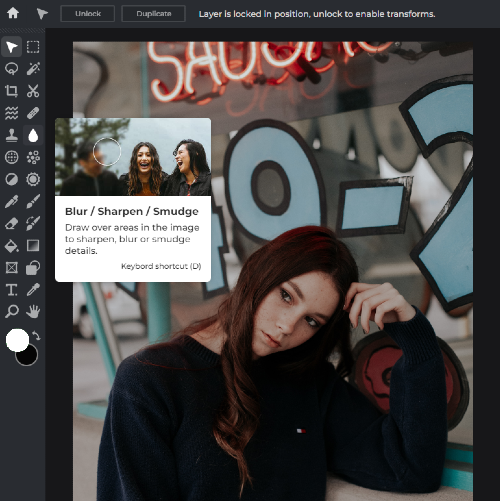
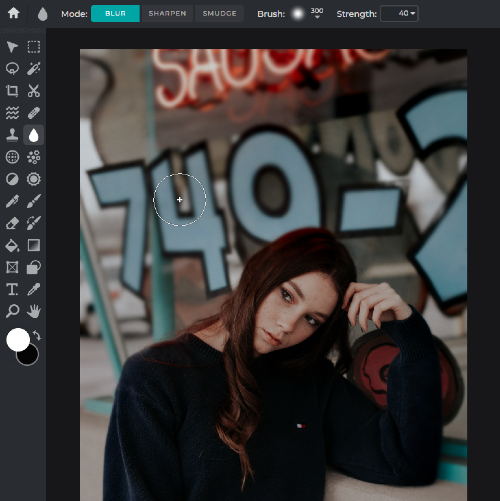
Launch the Pixlr editor and upload your chosen image. Once uploaded, select the “Blur Tool” icon on the toolbar, which resembles a water droplet.
Step 2: Choose Your Blur
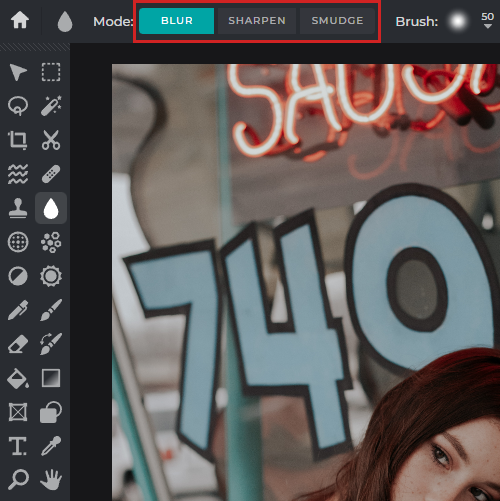
Decide between Blur, Sharpen, or Smudge. Blur creates a smooth, dreamy effect, Sharpen reverses the blur, and Smudge blends parts of the image for a unique effect.
Step 3: Adjust the Brush Size
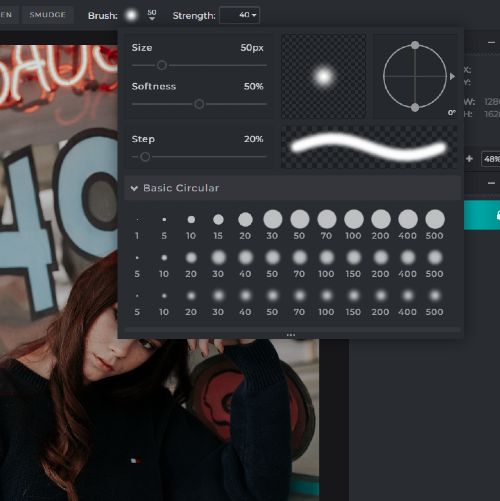
Use the drop-down menu above the canvas or the bracket keys on your keyboard to adjust the brush size. This determines the area of your image that will be blurred.
Step 4: Apply the Blur
Click and drag your mouse over the desired area. The more you drag, the more intense the blur. If you make a mistake, simply use the “Undo” button.
Step 5: Preview and Save
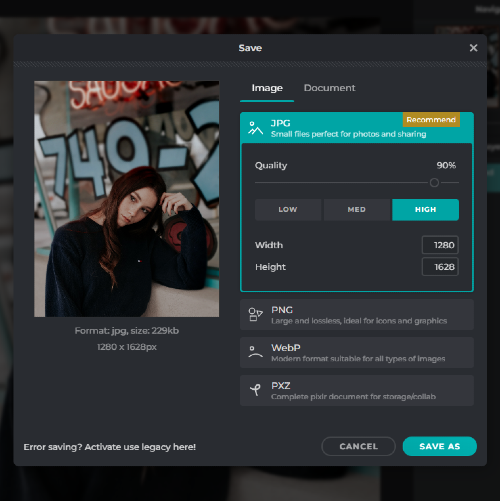
Use the “Zoom” tool to preview your masterpiece. If you’re happy with the result, save it to your device by clicking on the “Save” button.
Unleashing the Power of Blur
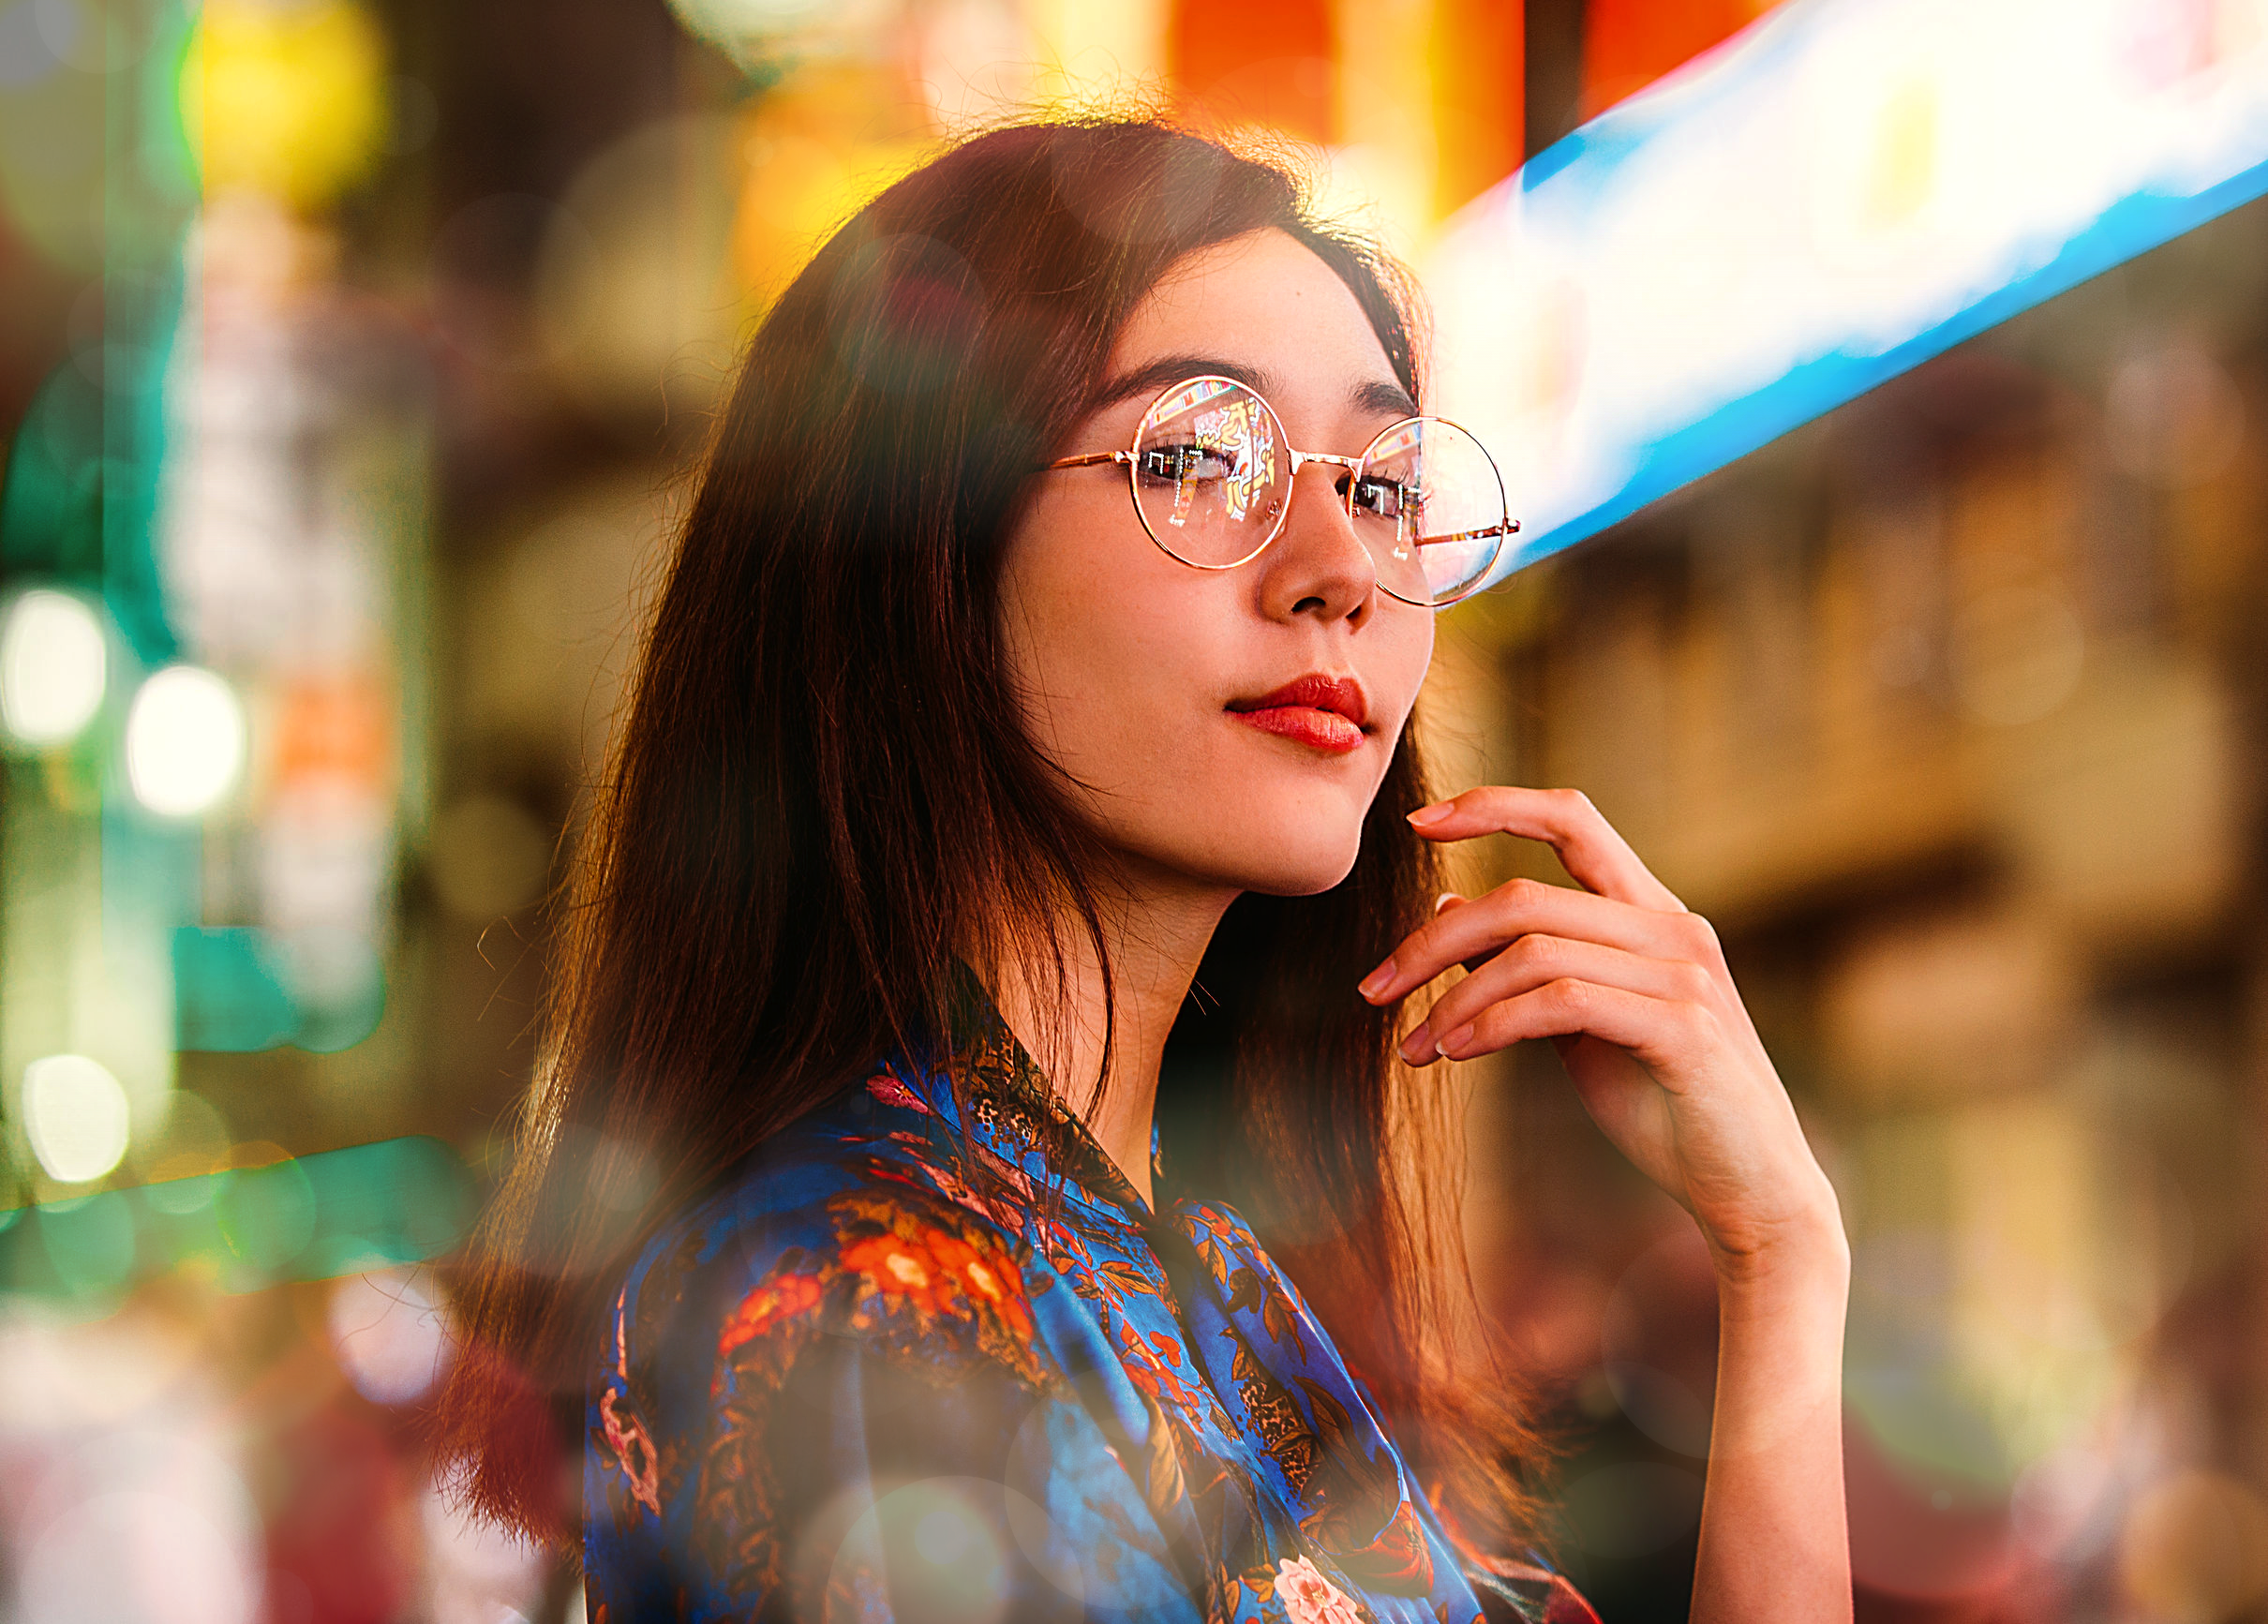
The Pixlr Blur Tool is more than just a tool; it’s a gateway to endless creative possibilities. Whether you’re aiming for a stunning bokeh effect, adding depth to a landscape, or creating a dreamy portrait, the Blur Tool is your trusted ally.
With Pixlr’s Blur Tool, you don’t need to be a professional photographer or photo editor to create breathtaking images. It’s time to blur the lines between reality and fantasy, and create your own artistic masterpieces.
So, why wait? Dive into the world of Pixlr’s Blur Tool and start creating your own stunning visuals today. Remember, in the world of photo editing, the only limit is your imagination. Happy blurring!
Share your art with us by tagging @pixlr on Facebook, Instagram, and TikTok for a chance to be featured on our feed.