Batch editing: your one-stop solution for increased efficiency
Have you ever struggled when it comes to editing and renaming a large sum of files? Oftentimes, content creators and photo editors alike tend to have numerous images that they need to alter and beautify just for a single project. The question is, how can this process be made simpler? This is where Pixlr’s batch editing feature comes in handy!
What is batch editing?
Batch editing allows Pixlr users to apply the same action, edit, or effect to several images simultaneously. This feature saves the time and effort of the editors, as they no longer need to rename or edit the images one by one.
Ultimately, batch editing is an excellent tool to cut down your editing time, hence cutting your workflow by 70%. With this latest feature, your productivity is guaranteed to multiply as it ensures a quick and easy way to apply the same edits to a large group of images.
How to batch edit on Pixlr
#Step 1: Open up Pixlr E
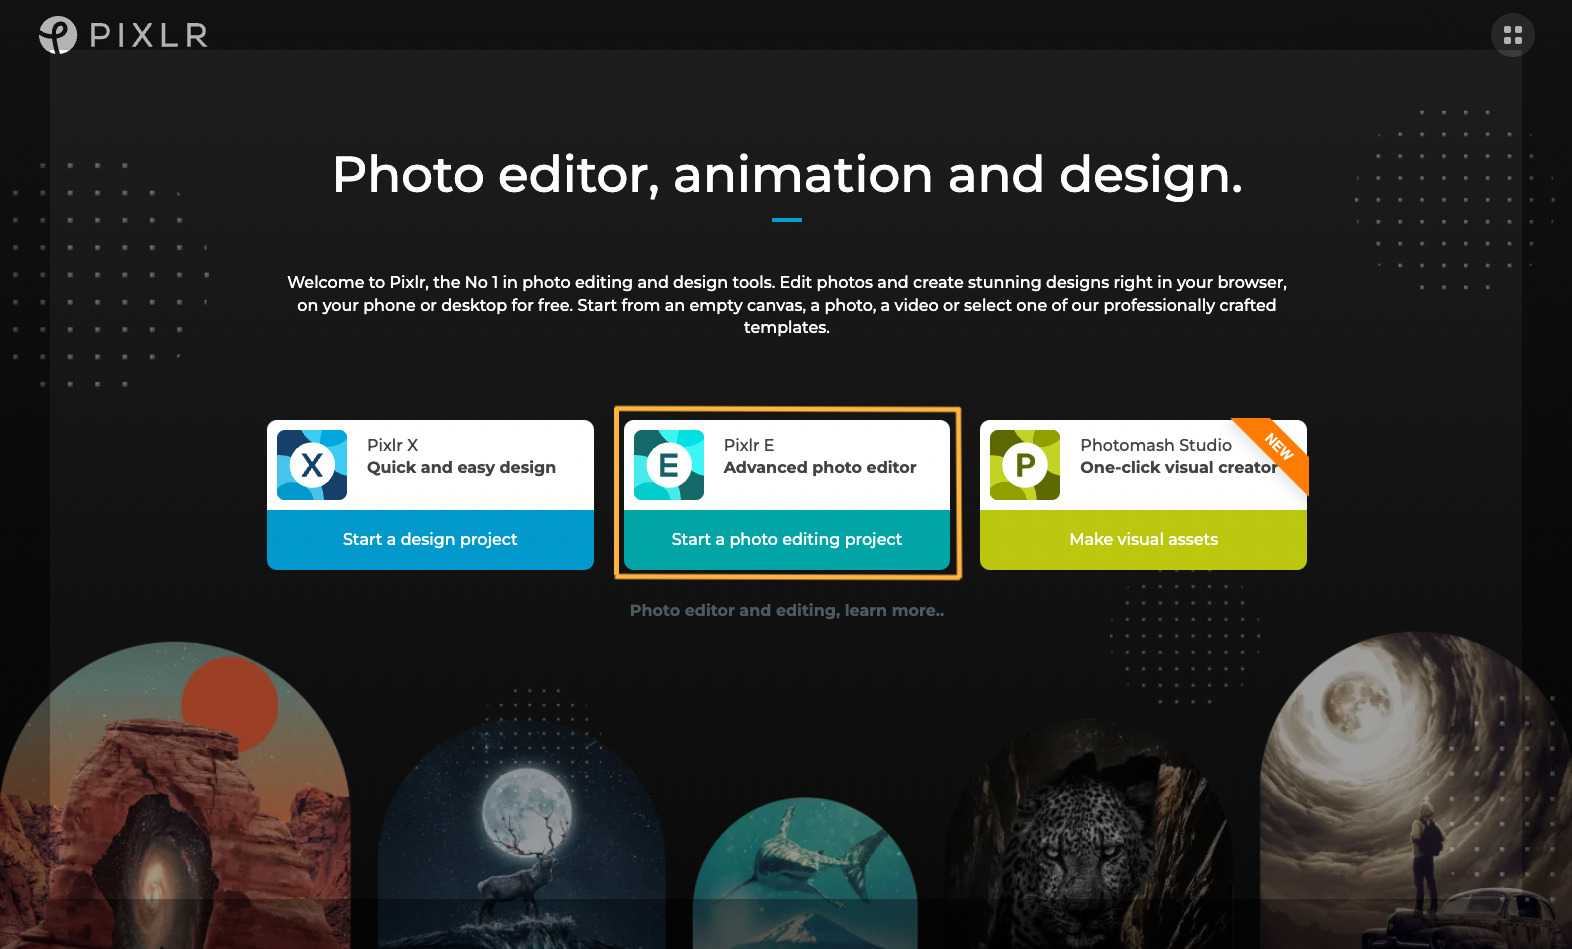
For the first step, go ahead and visit Pixlr’s website on your web browser. You will then see the three options presented above. Select Pixlr E by clicking on it. Be sure to log into your existing account or create a new one if you have yet to sign up.
#Step 2: Click on Batch Edit
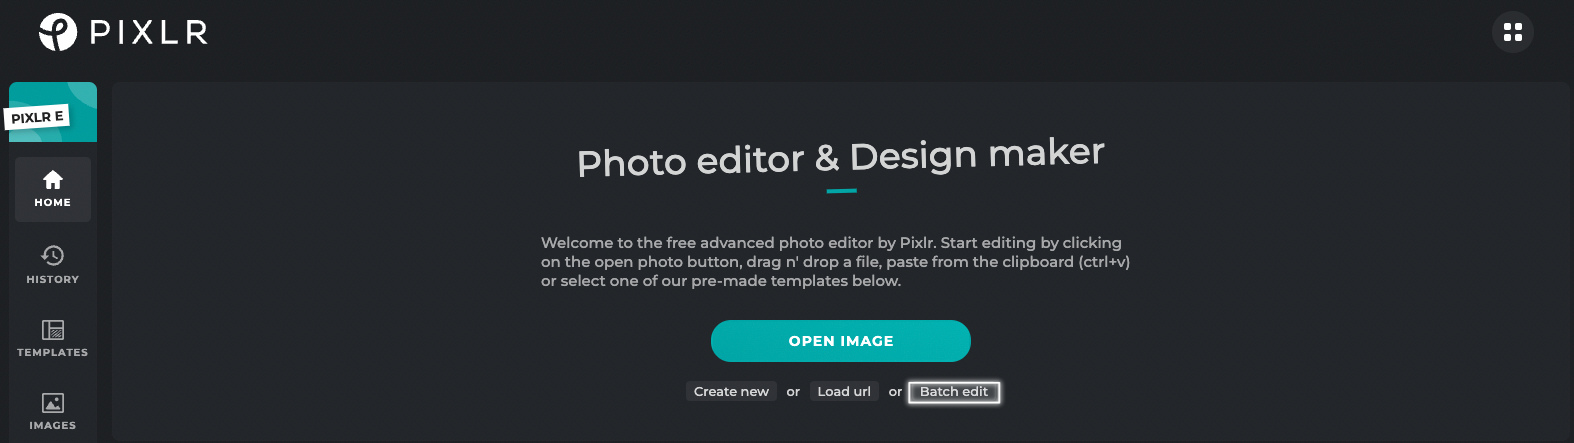
Once you are directed to Pixlr E’s homepage, you can see the option Batch Edit under the Open Image button. Once you find the option, simply select it.
#Step 3: Select desired images
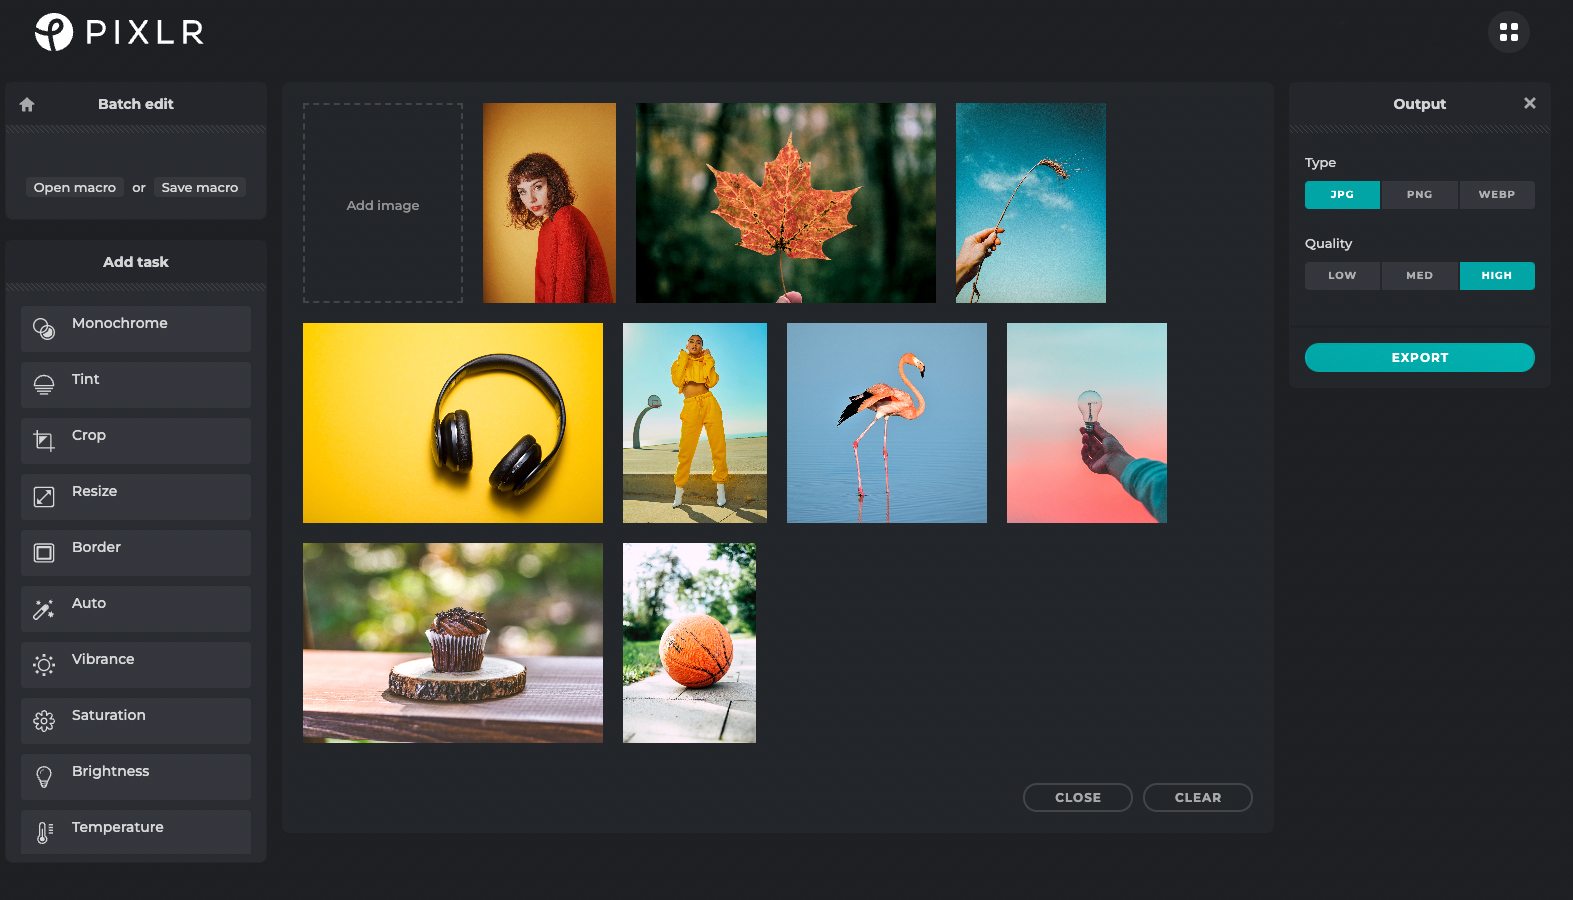
Once you select the Batch Edit option, you’ll be directed to the editing page. This is where you get to choose the images you would like to include. The feature allows up to 50 images in one batch, where users can enjoy the privilege of editing them all at once.
#Step 4: Edit with a variety of tools
Pixlr allows a wide selection of editing choices available for its users – this of course, also applies to batch editing. Below are among the functions that you can choose and apply to your images;
Reshape
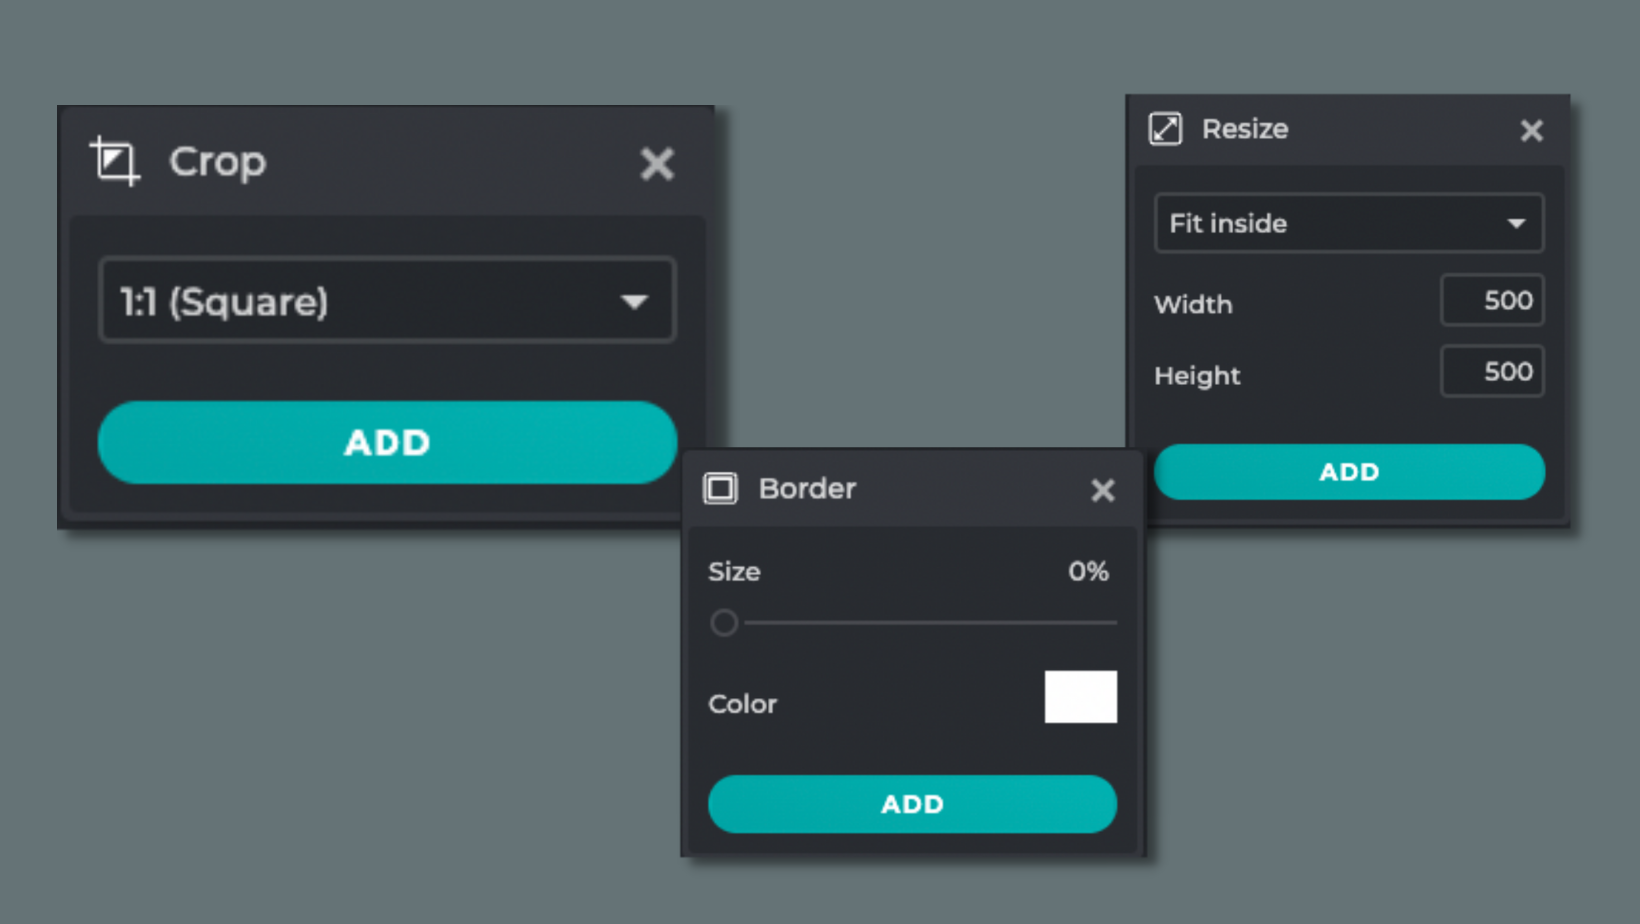
With the Crop tool, you can apply the ratio you prefer to all of your images in just one click. From up to 17 ratio selections, rest assured that you can modify your images to fit onto any kind of social media platform.
As for the Resize option, you can adjust the images according to the customized height or width you set. Whereas for the Border tool, you can have a simple frame (of any color and thickness) surrounding your images.
Balance
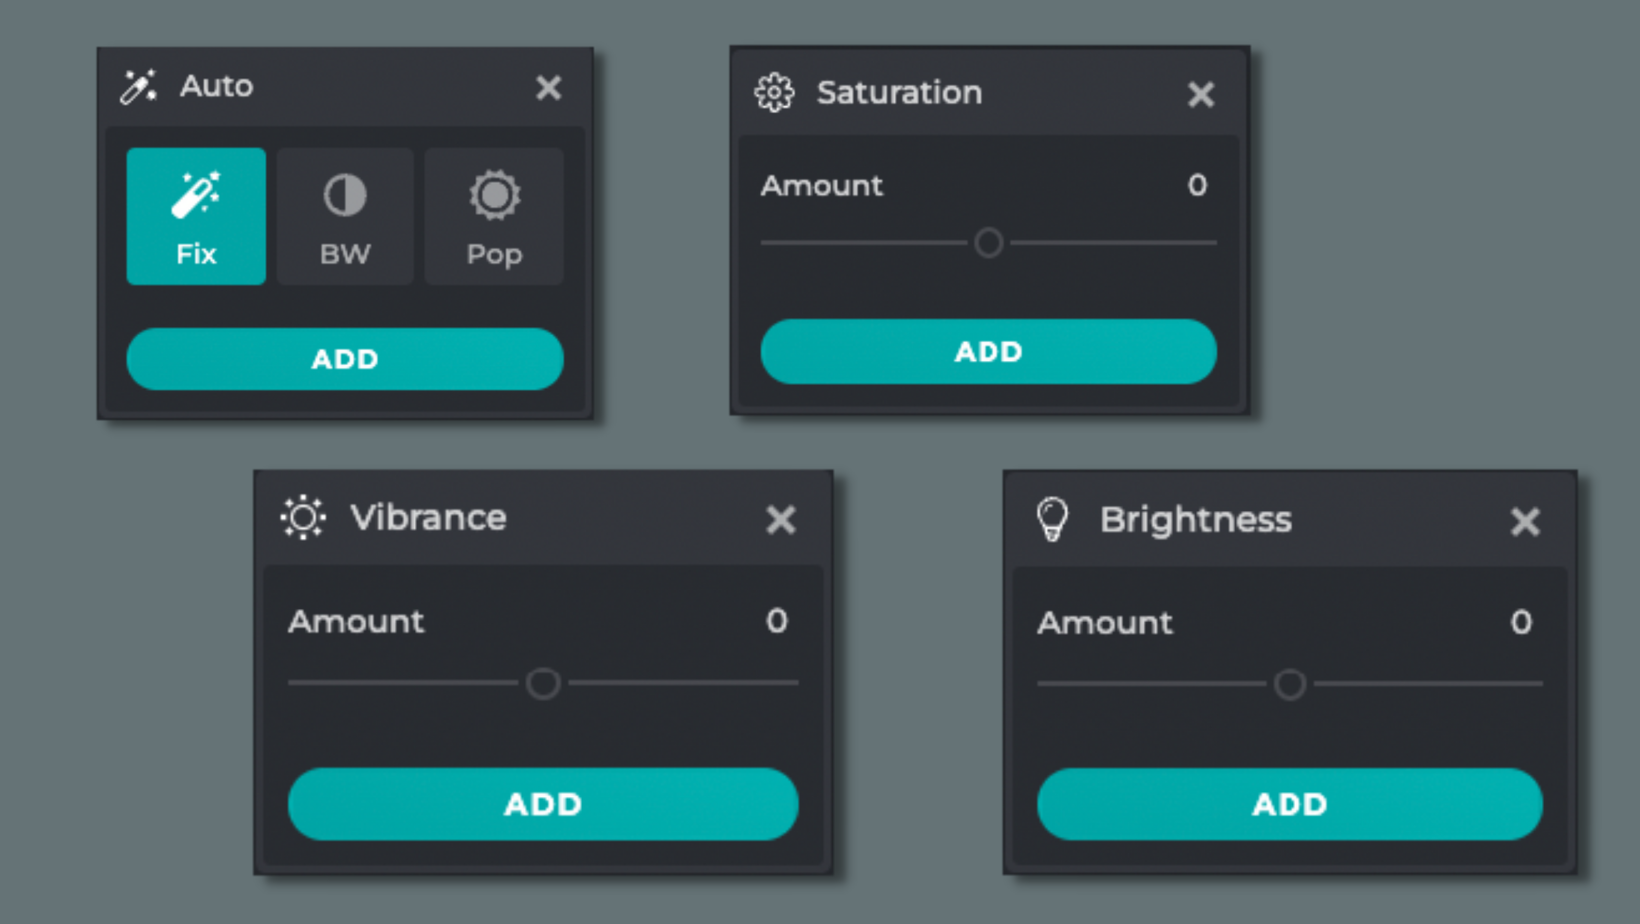
For beautifying your set of images, Pixlr is here to help you with several tools. With the Auto feature, you can apply instant changes whereas the AI-powered platform will apply necessary changes to make your images all the more enthralling.
As for the Vibrance, Saturation, and Brightness functions, you can also utilize them to manually adjust the tone and color of your images.
Enhance
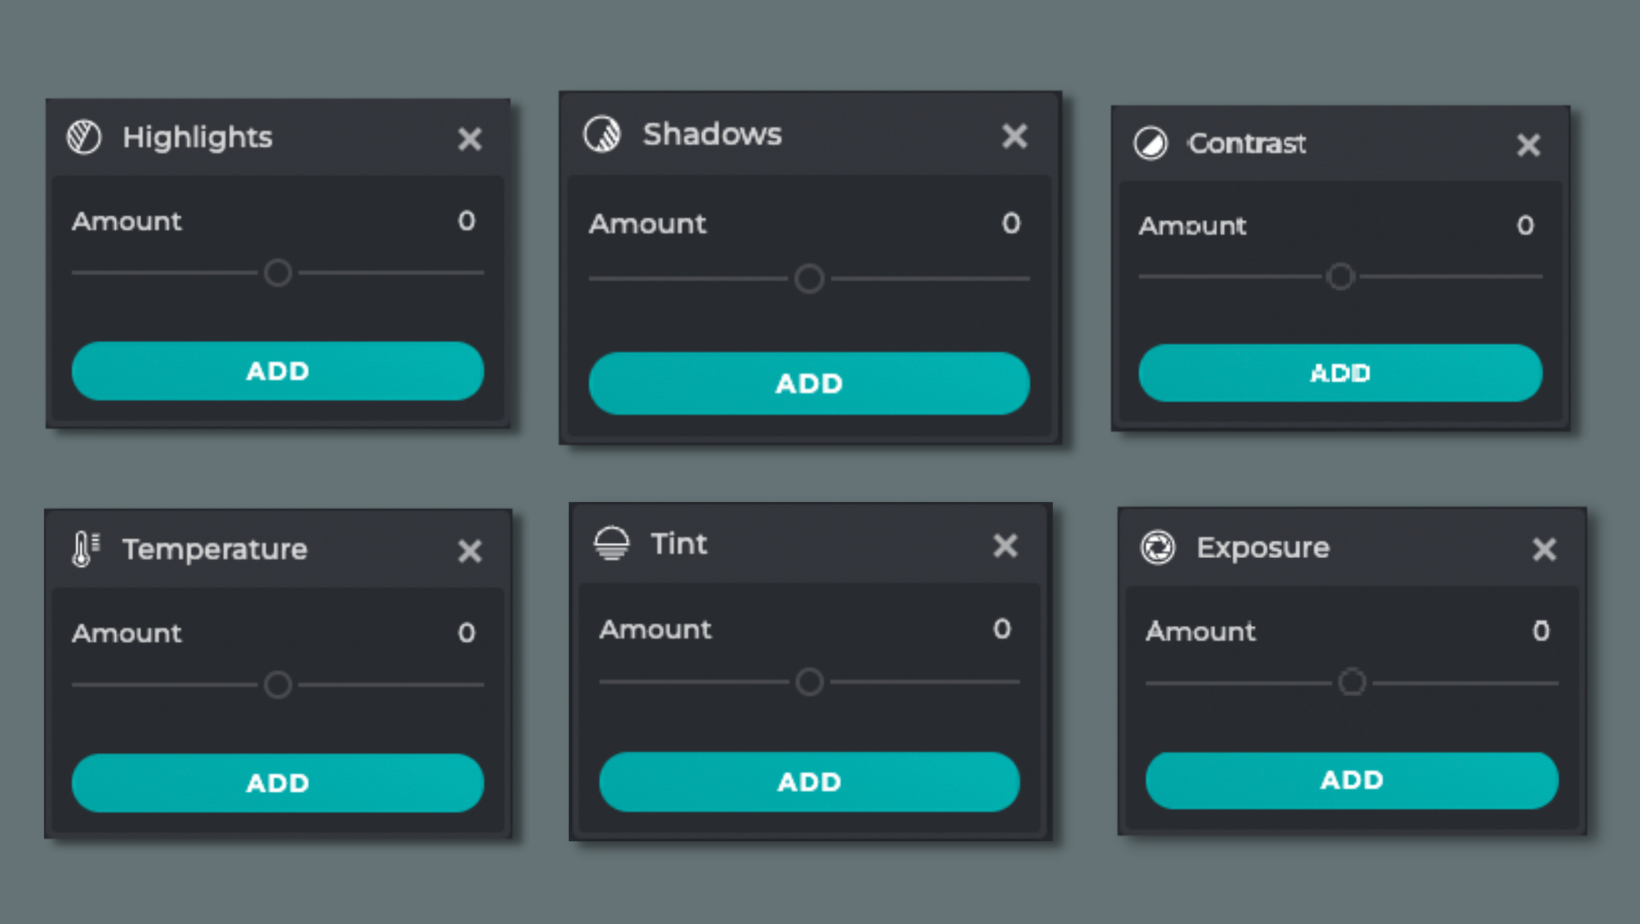
For enhancing your batch of images, take a look at the variety of tools that Pixlr has got to offer. In getting the right lighting, be sure to optimize the following tools Highlights, Shadows, Contrast, and Exposure.
If you’d like to tweak the images’ warmth or give a specific hue to them, utilize the Temperature and Tint tools and adjust them to your liking.
Effects
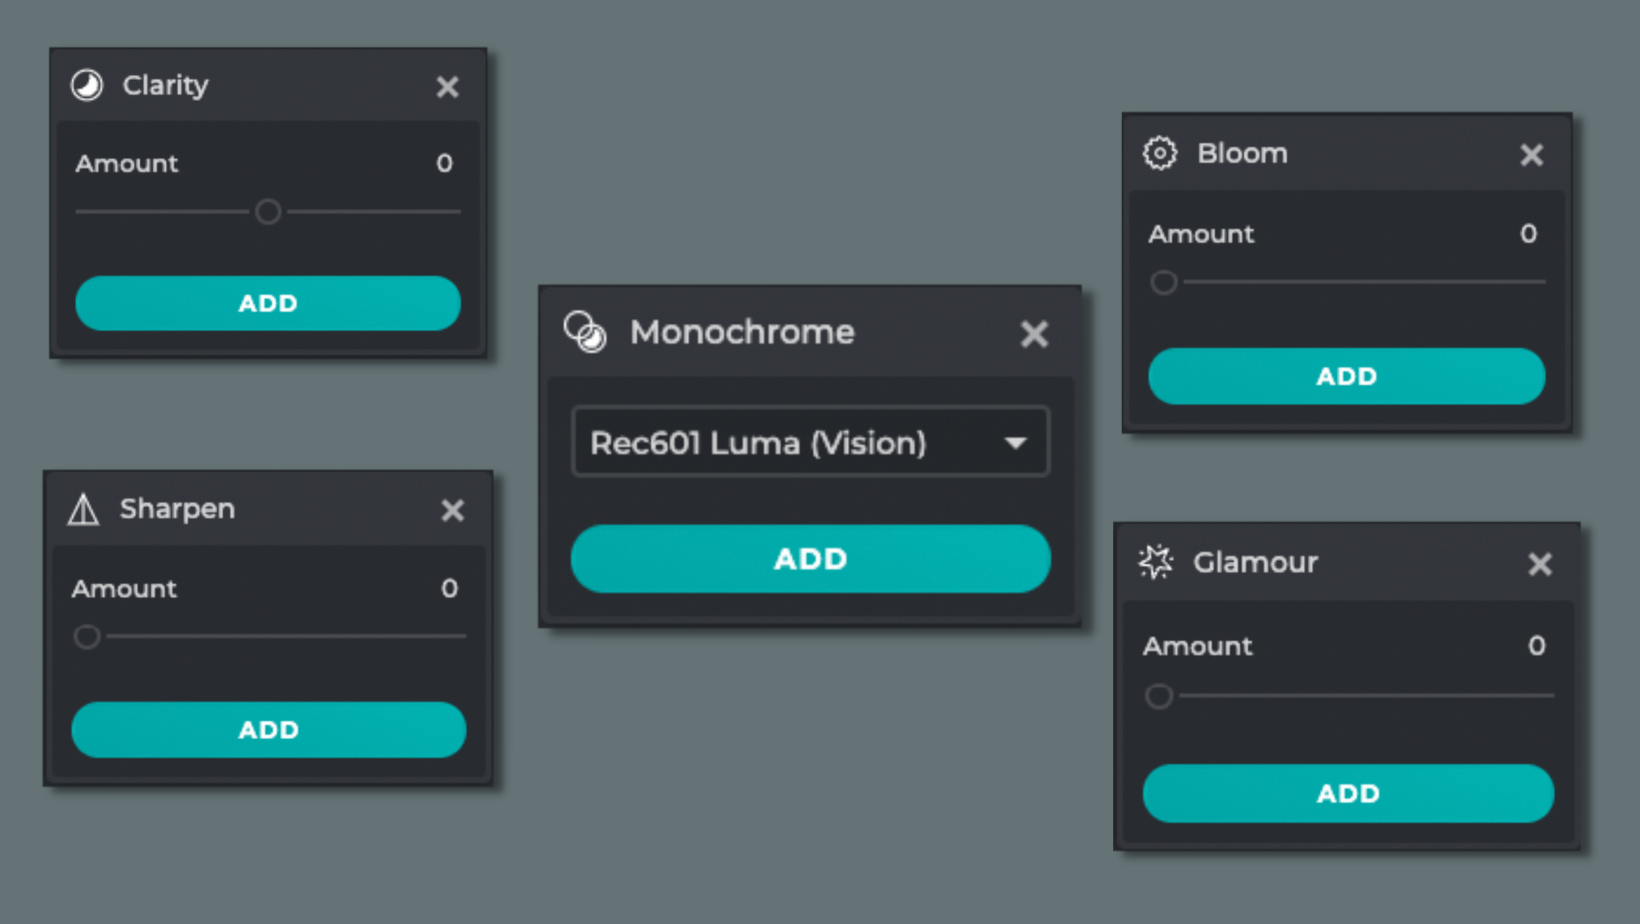
To give the batch of images a whole other look, you can turn to the various effects that Pixlr offers. If you are looking for a melancholic undertone, try using the Monochrome effect. If you’d like the images to be more defined and clear, you can use the Clarity and Sharpen tools.
The Glamour effect, true to its name, gives an ethereal glow to elements within the image, making it look more sophisticated. Whereas the Bloom filter is to brighten up the colors within the image, enhancing its vividness.
Elements
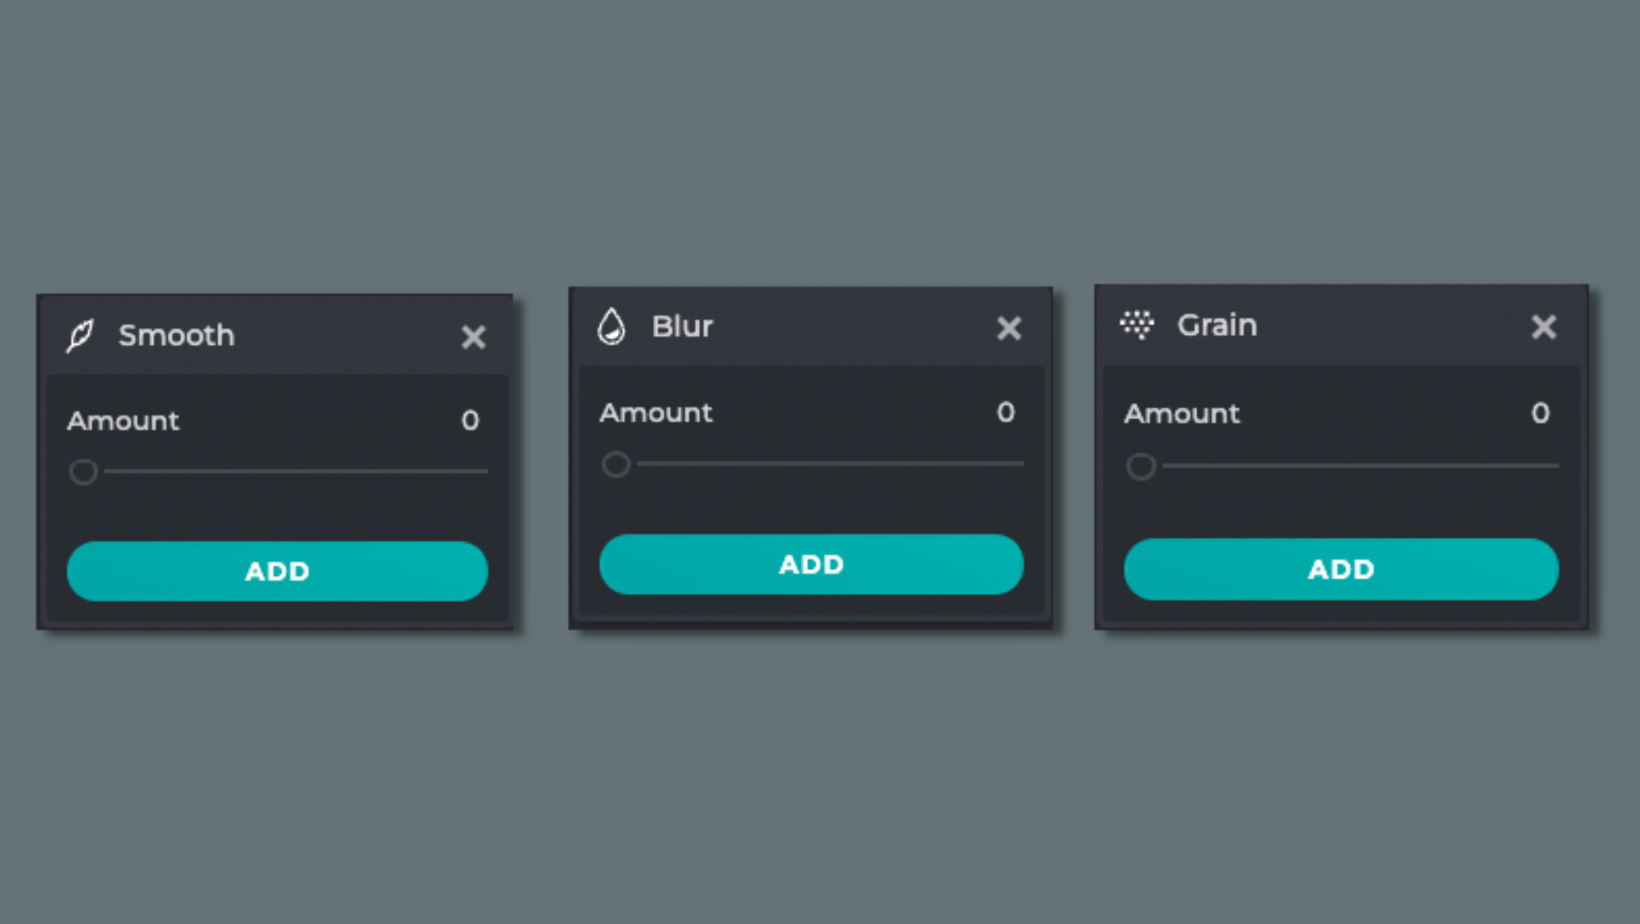
If you’d like to give your images some additional elements or give them a certain look, why not rely on these functions by Pixlr too? If you’d like the edges to be less rough, utilize the Smooth effect.
To achieve certain aesthetics, you may want to add some blurriness to the images. Hence, you can use the Blur tool and adjust it accordingly. As for a grainy look, to give the images more of a retro vibe, you can do so too by using the Gain function.
#Step 5: Export
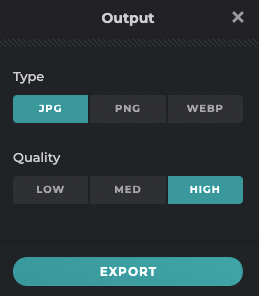 Once you are satisfied with your edits, go ahead and click on export. You can use the format that you desire too, ranging from JPG, PNG to WEBP. Once exported, a zip file containing the edited batch will be automatically downloaded.
Have your photos looking professional in no time with Pixlr’s Batch Edit and minimize the time and effort spent editing large amounts of images.
Batch editing is made easy with Pixlr, try it today