For those avid photo editors out there, we have come bearing good news! Pixlr has recently launched a new collection of Creative Filters in Pixlr E in which you can utilize it to realize your most imaginative visuals yet.
It goes without saying that these new filters can help ease your editing process. With Pixlr’s simple yet intuitive interface, we guarantee that any level of image editing experts can produce a professional looking result.
In this article, let us guide you in just how far you can go by using one the newly-introduced creative filters, Polar Coordinates.
What is the Polar Coordinates filter?
If you are just starting your journey in photo editing, this particular filter may come off as daunting at first. You may even struggle in finding the perfect image that would suit it. Not to worry! We are here to provide you with the most effective solution.
With the Polar Coordinates filter in Pixlr, you can create “little planets”. This edit is pretty self-explanatory based on its name. The idea is to select a horizontal panoramic image and transform it into a sphere using the Polar Coordinates filter.
As a result, you would create your very own tiny planet (or miniature globes, if you will) with the landscape of your choice. This new filter makes it easy for you to achieve this cool effect, as it only takes a few steps to create this personalized small world of your own. Here’s how;
Step #1: Start with the right image
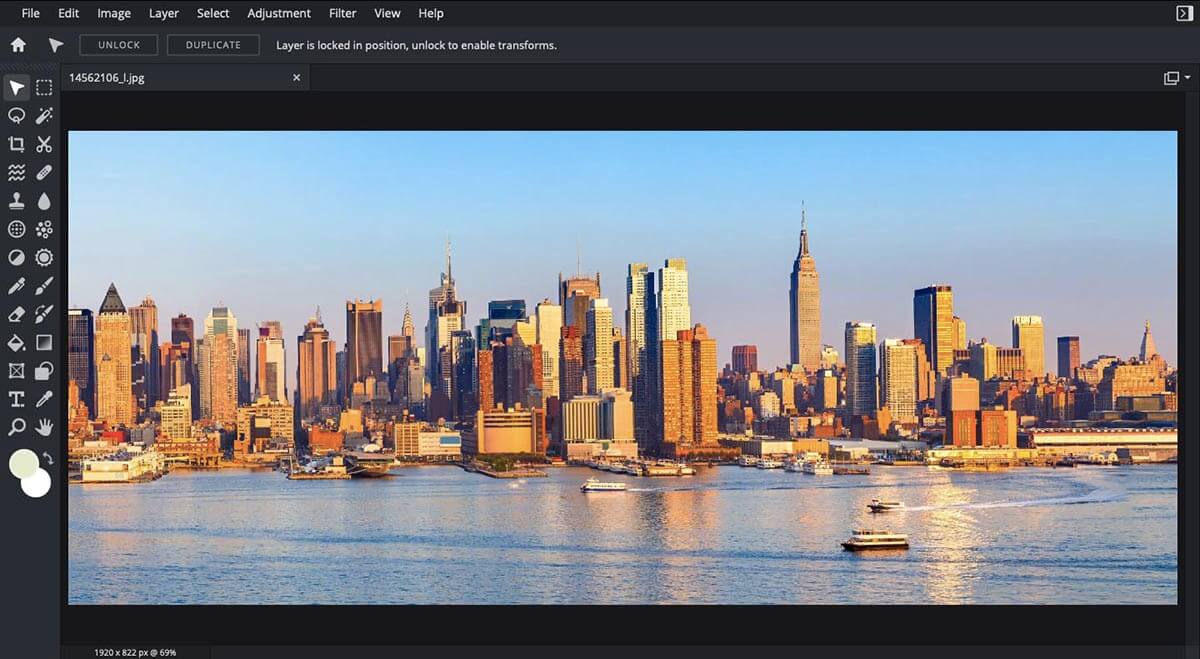
Example of a selected image.
To ensure your editing journey goes smooth-sailing, it is imperative to start by choosing the right image. This image must be able to illustrate its potential, preferably panoramic and has clean edges. You can choose from cityscapes, mountains or even trees.
Though there is no specific formula as to know exactly which image will work, we can tell you for sure that practice makes perfect, and that the more editing you do with this filter, the more you can gauge which types of images produces the best result.
Once you find one, open up Pixlr E and upload it onto the platform by clicking ‘Open Image’. If you would like to select one from our vast collection of premium stock images, you can do so too. Simply upgrade your plan to Creative Pack to remove the images’ watermarks.
Step #2: Find the Polar Coordinates filter
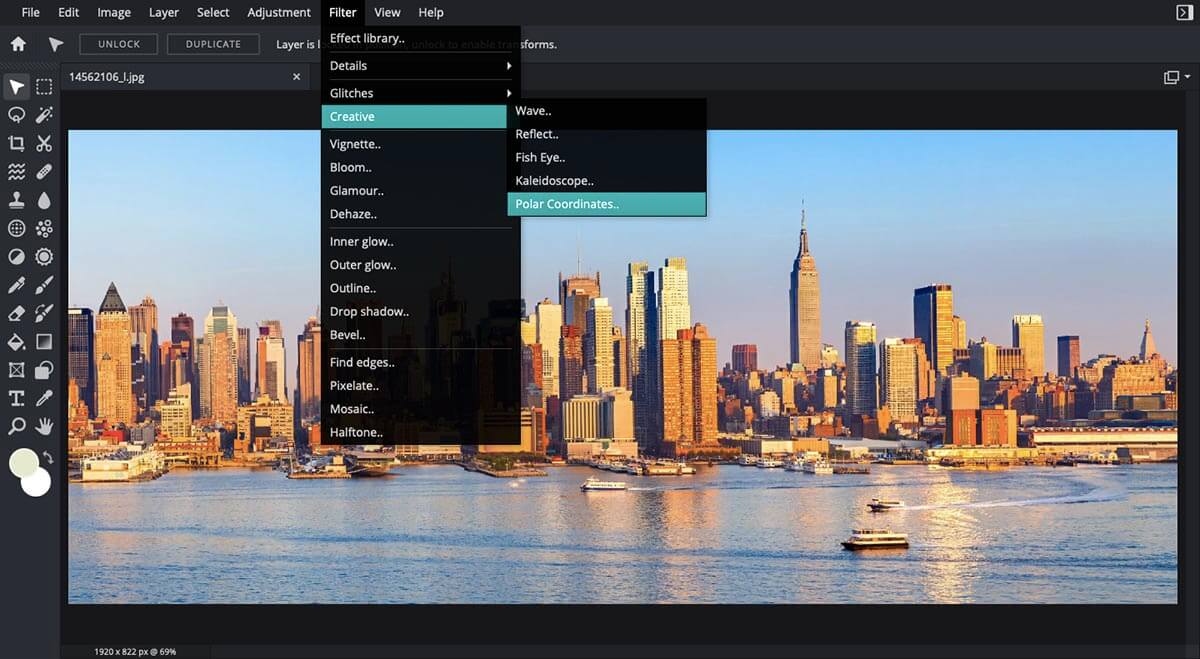
Finding the Polar Coordinates filter.
Finding our new set of creative filters is fairly easy. All you have to do is go to the topbar and click ‘Filter’. Then, you would notice ‘Creative’ listed among the under types of effects under it. Hover your mouse on the word ‘Creative’ and you can then spot ‘Polar Coordinates’ being placed to its right.
Step #3: Personalize the effect
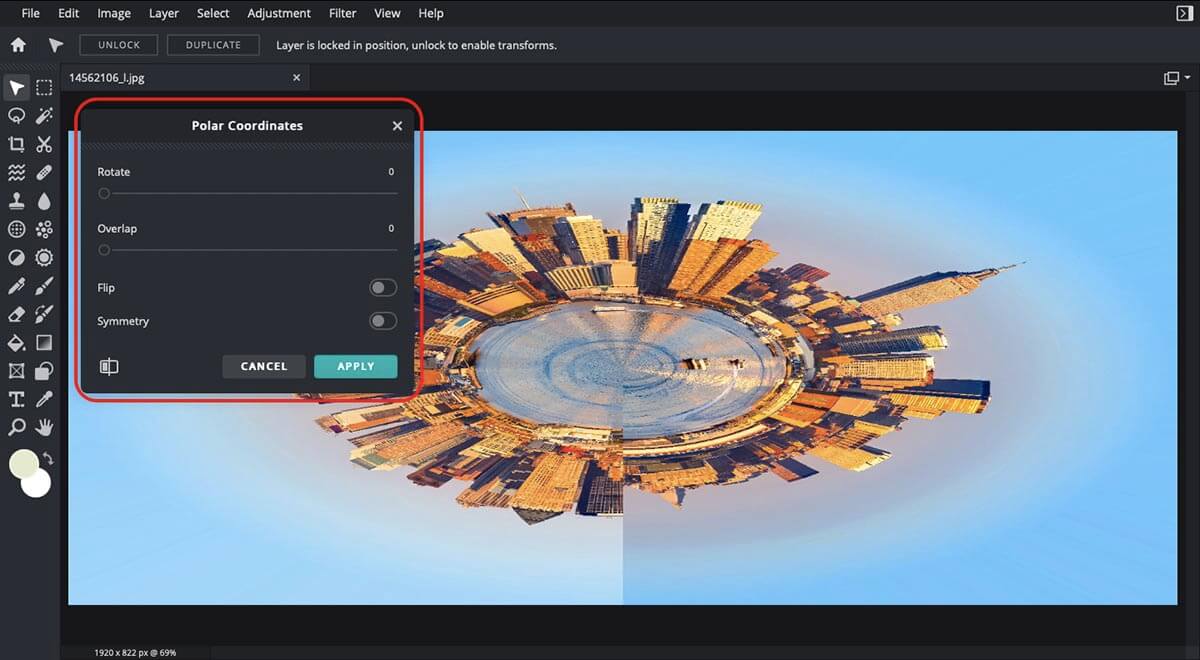
The toolbar for Polar Coordinates filter
Once you click on the filter, your image would look something like this. Admittedly, it’s not that appealing at first glance. However, you can customize and tweak it to your liking using the few options highlighted in the square above.
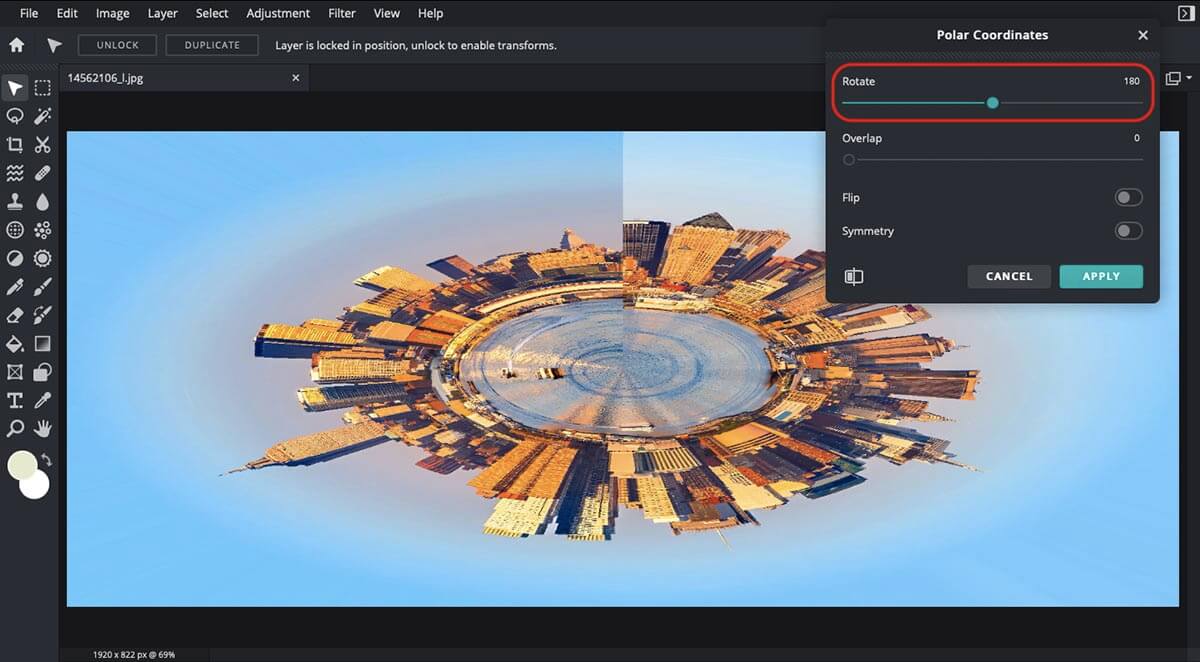
Rotating the tiny planet edit.
The ‘Rotate’ option here allows you to give the little planet you have made a spin. Simply adjust the degree of rotation by dragging the green dot back and forth. You can see then the position of the buildings would differ from the one pictured before this.
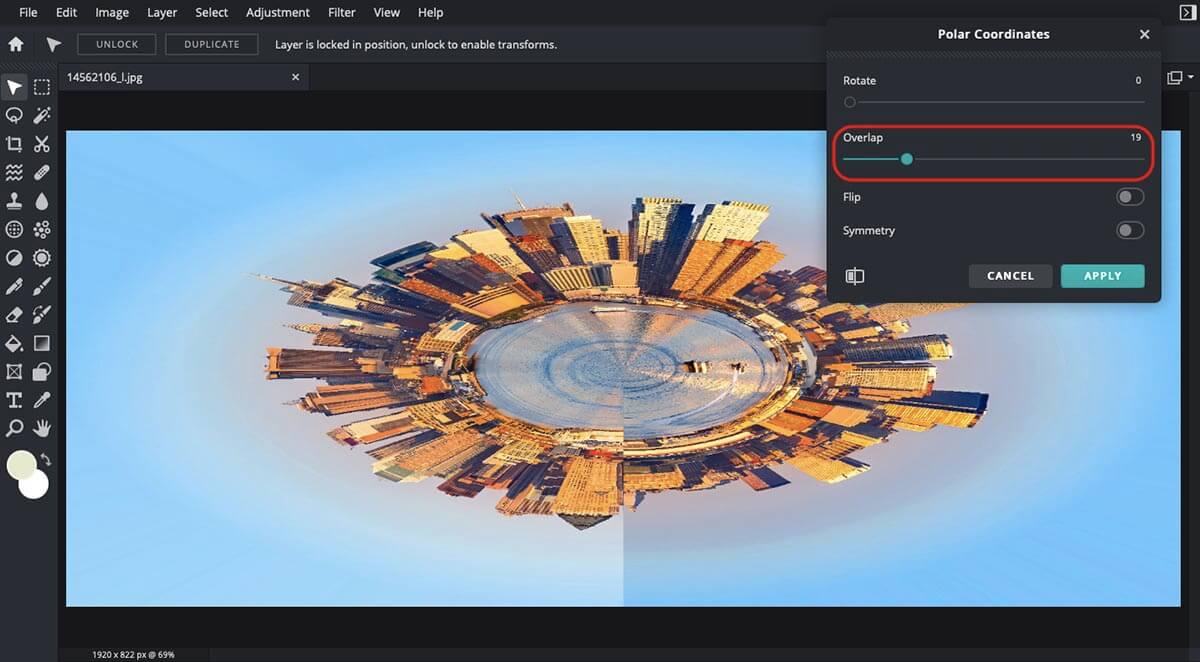
Overlapping the image.
Whereas the ‘Overlap’ tool lets you adjust whether or not to make the ends where this image meet overlap with each or not. This option is, well, not mandatory and is highly dependent on the types of image you chose.
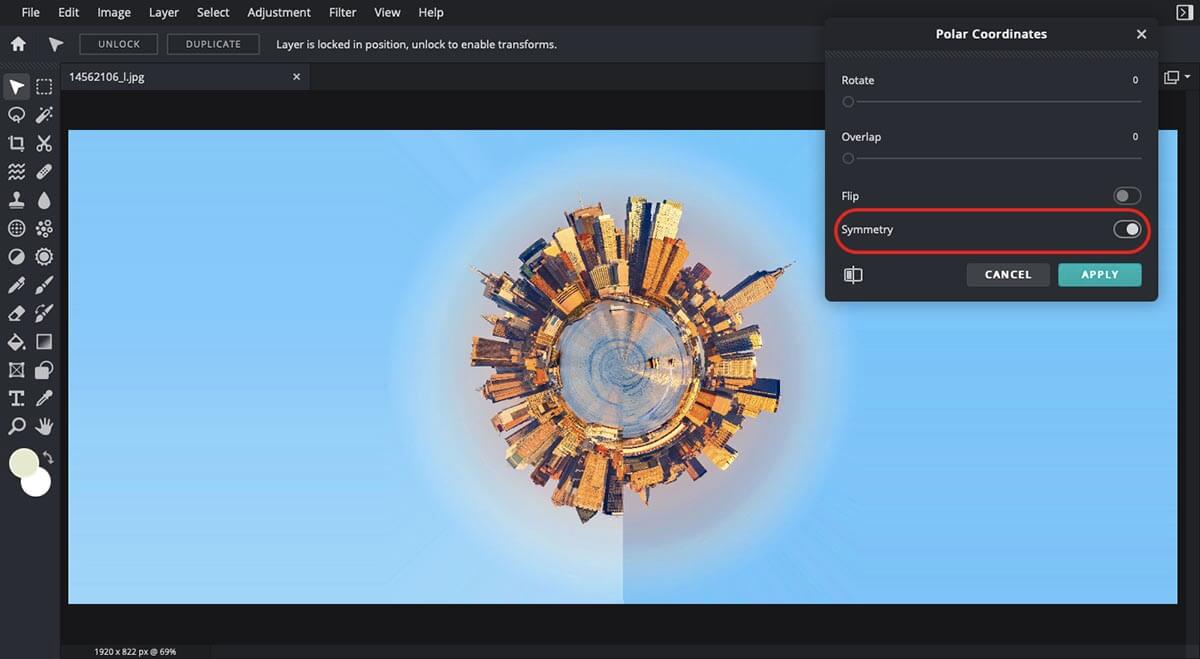
Making the planet symmetrical.
To accentuate the roundness of your tiny planet edit, simply click on the ‘Symmetry’ button and voila! You’ll get yourself your very own miniature globe. Once you are satisfied with your adjustment, go ahead and click the ‘Apply’ button.
Step #4: Finalize your edit
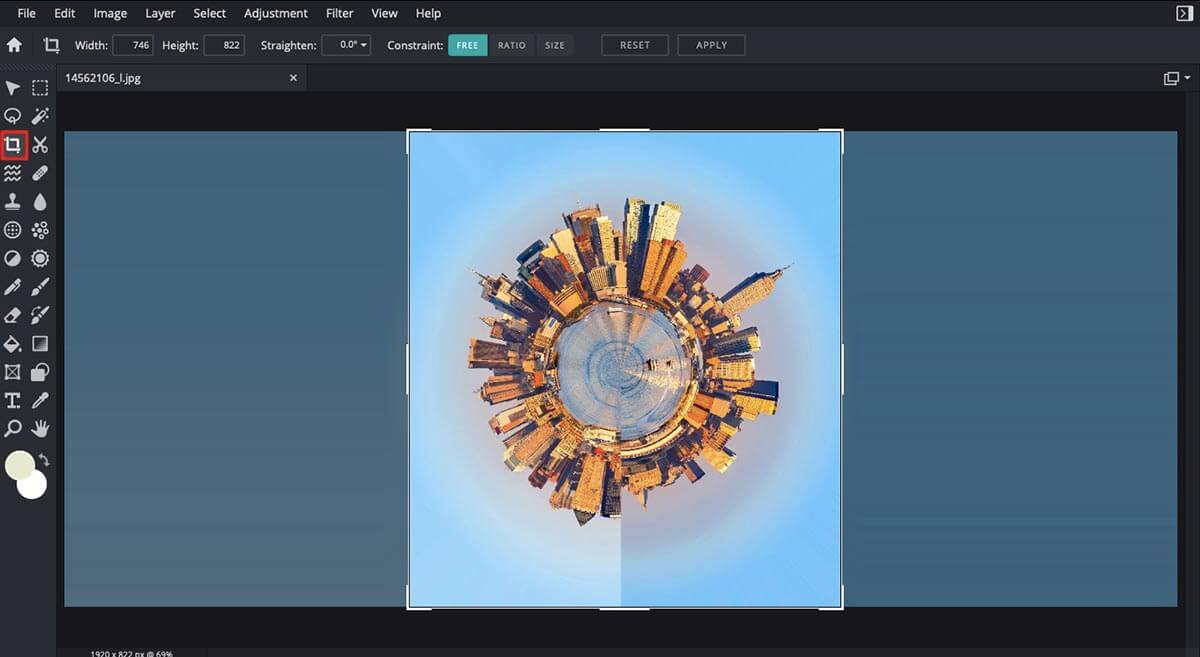
Cropping the edited image

For the final touch-ups, you can start by cropping the image to avoid the overwhelming amount of negative space you gained from the previous edit. You can crop your image using the cropping tool marked red on the upper left of your vertical toolbar (see above).
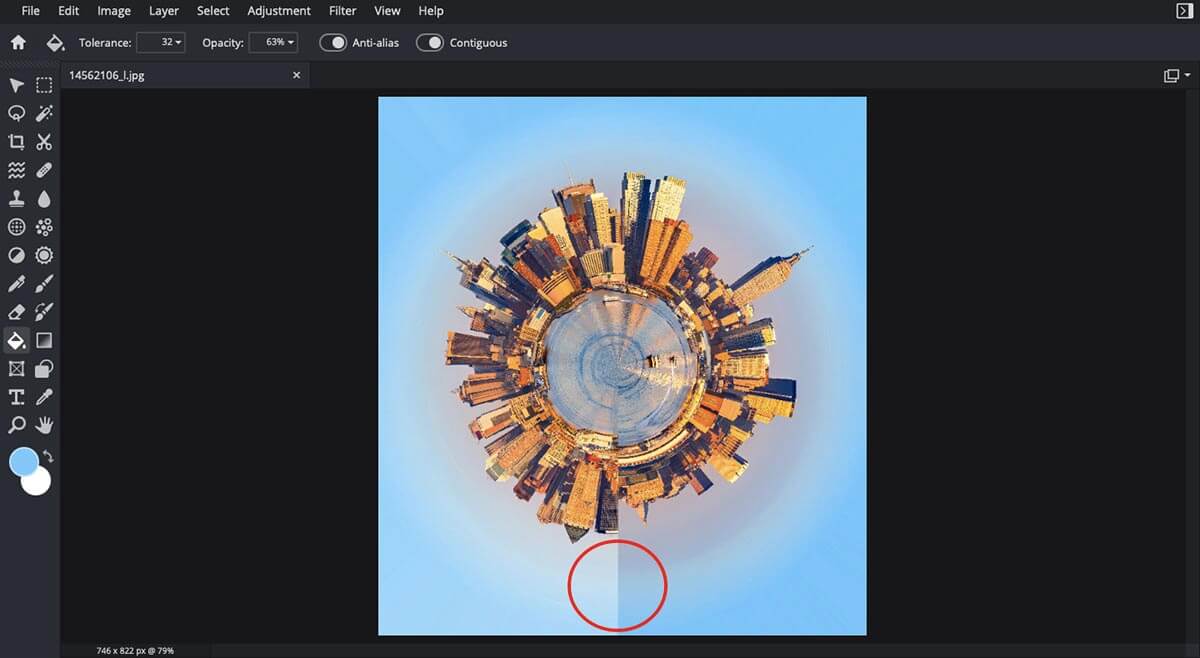
Spotting the apparent discolored areas.
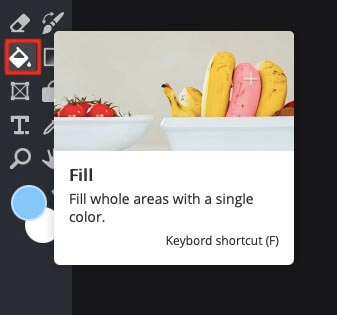
‘Fill tool’.
Next, you may notice the apparent dissonance of colors when the ends of your images meet. The easiest and quickest way to fix this is to use our ‘Fill’ tool symbolized by the bucket of paint icon.
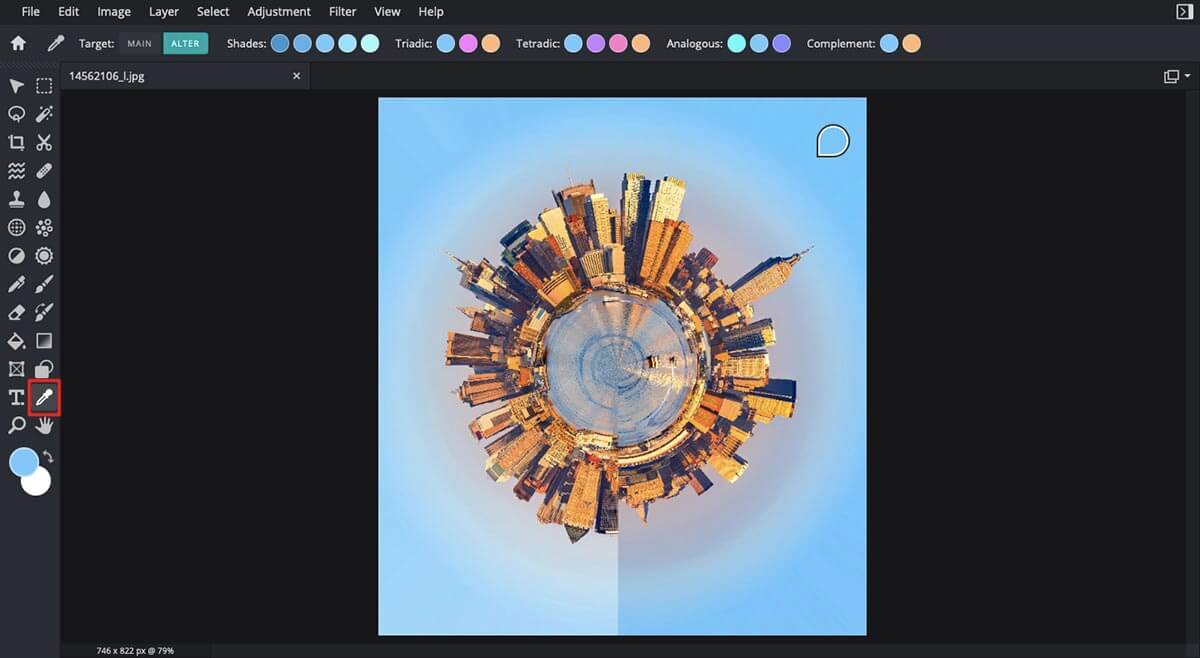
Utilizing the ‘Eyedrop’ tool to find the dominant shade of the background.
To utilize this ’Fill’ tool, you need to first choose a color that matches the overall hue of your image’s background. In this case, I would use the ‘Eyedrop’ tool to pick out the shade of blue that dominates the sky pictured.
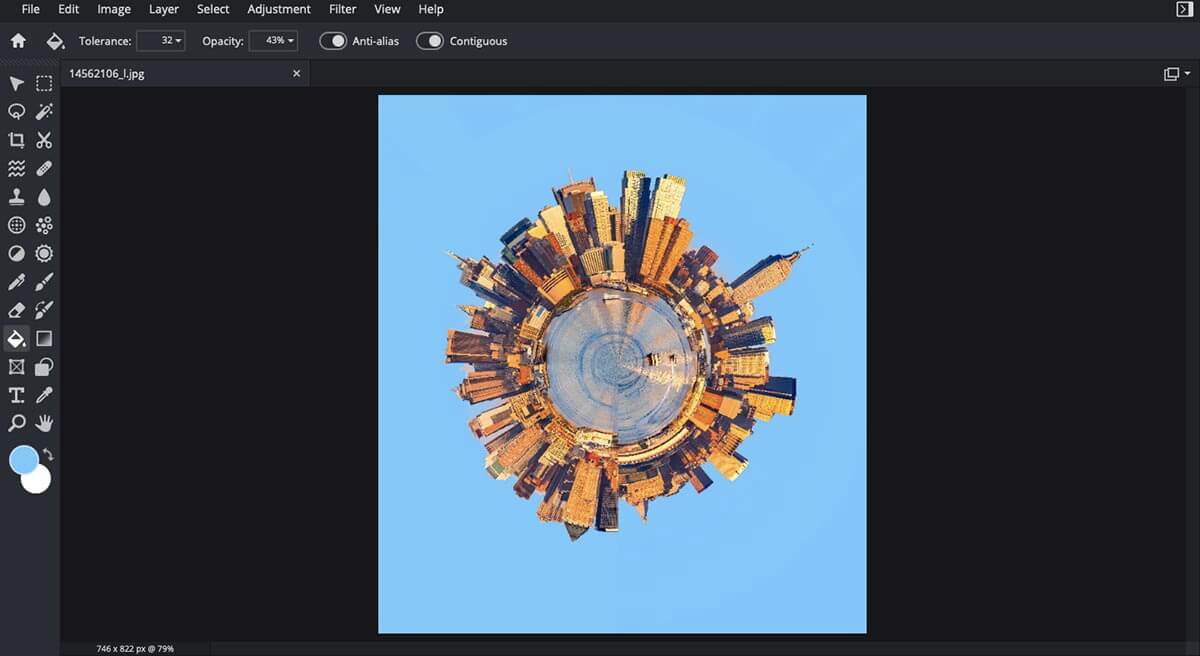
Fixing the areas with the ‘Fill’ tool.
Once the proper shade is selected. We can go back to the ‘Fill’ tool and click the areas that we want to change into the shade of blue that we have chosen. The image would then end up looking something like above.
Step #5: Save your creation!
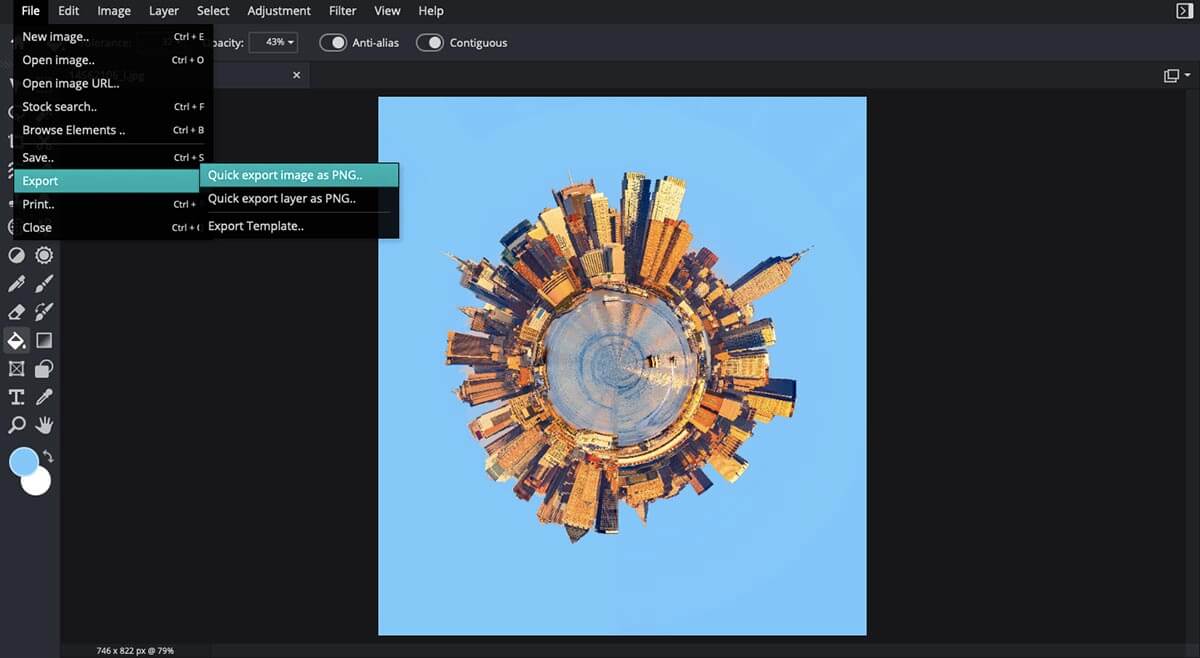
Saving your edit.
Once you are satisfied with your edit, you can download it with just a few clicks! All you have to do is head over to the ‘File’ tab on the top panel, choose ‘Export’ and click the option titled ‘Quick export image as PNG’ to save it onto your device.
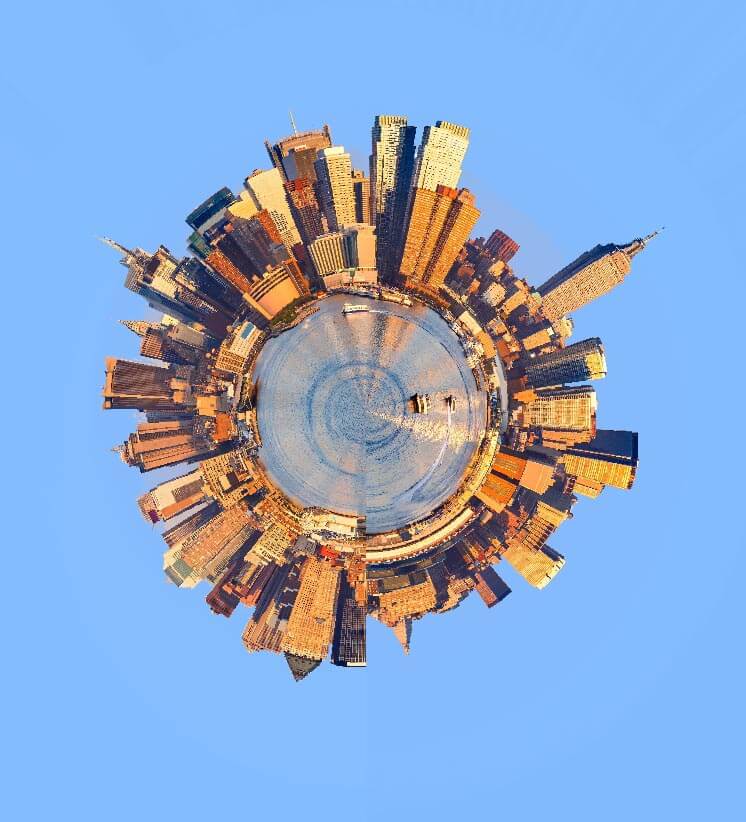
End result.
Experiment with our latest features
Granted, creating tiny planets is not the only use of this Polar Coordinates filter. Feel free to explore other types of images and our wide range of editing tools to see just how far you can take image editing to the next level using this creative filter.
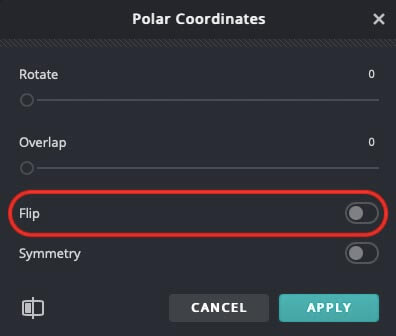
Utilizing the ‘Flip’ tool under Polar Coordinates.
For instance, using the ‘Flip’ option here, you can invert your image to produce an even more intriguing composition such as this;

Different results achieved using the same filter.
All in all, it’s important to not limit your creativity and be experimental with the means you possess. Explore our vast range of AI-powered editing tools and find out just how unique of a composition you can achieve with our new selection of creative filters now!
Article written by Annisa Sharfina Akhmad