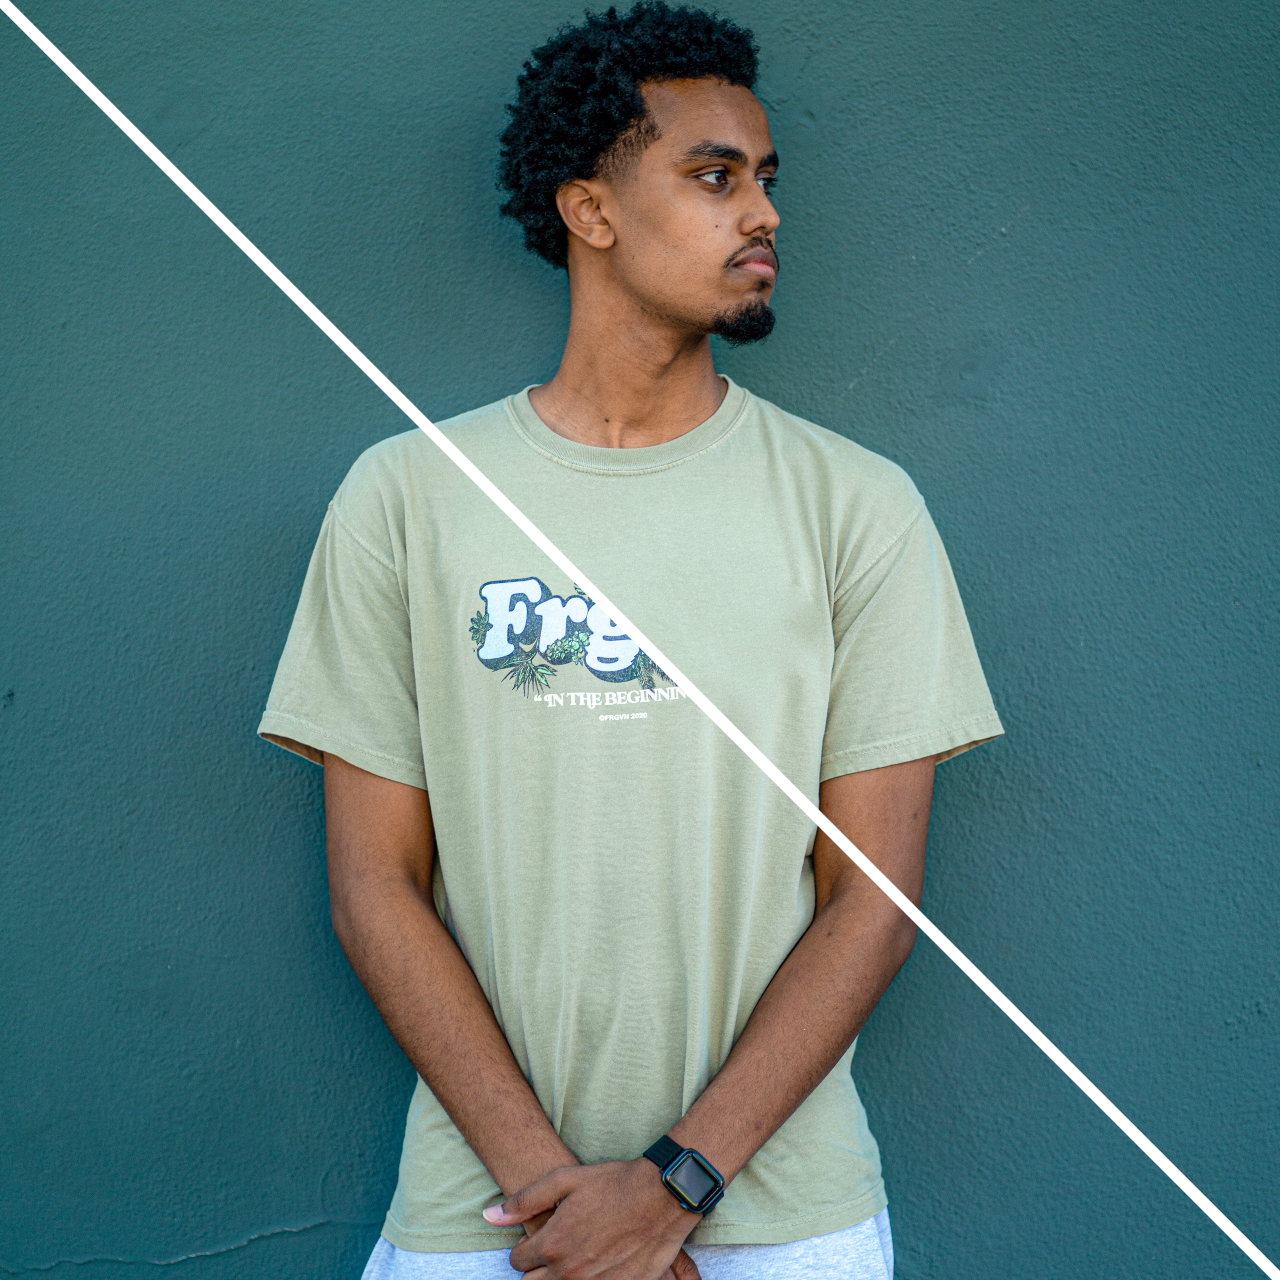
Have you ever taken that almost perfect shot, but there’s just that one annoying little flaw that’s bugging you?
Fear not! In this blog, we’re going to explore the magic of Pixlr’s Heal Tool, a simple yet powerful photo editing feature that will help you turn those imperfect shots into flawless masterpieces. So, grab a cup of coffee, sit back, and let’s dive into the world of effortless photo retouching!
The Magic of Pixlr’s Heal Tool
Remember when we mentioned turning the imperfect into perfect? That’s exactly what Pixlr’s Heal Tool does. This user-friendly tool allows you to remove any unwanted objects or imperfections from your images, without damaging the overall quality. And the best part? You don’t need to be a professional photo editor to use it! With just a few clicks, the Heal Tool can create stunning results that’ll make it seem like that unwanted object was never there in the first place!
Clone Stamp, Sharpen, and Blur – Oh My!

In addition to the Heal Tool, Pixlr offers a variety of other handy features to enhance your photos. The Clone Stamp lets you erase defects by painting over them with a replicated pattern, giving you even more control over your image editing. Additionally, the Sharpen and Blur effects can help you make certain elements of your photo pop, while softening others for a more balanced composition.
Spot and Soft Heal Tools for the Win
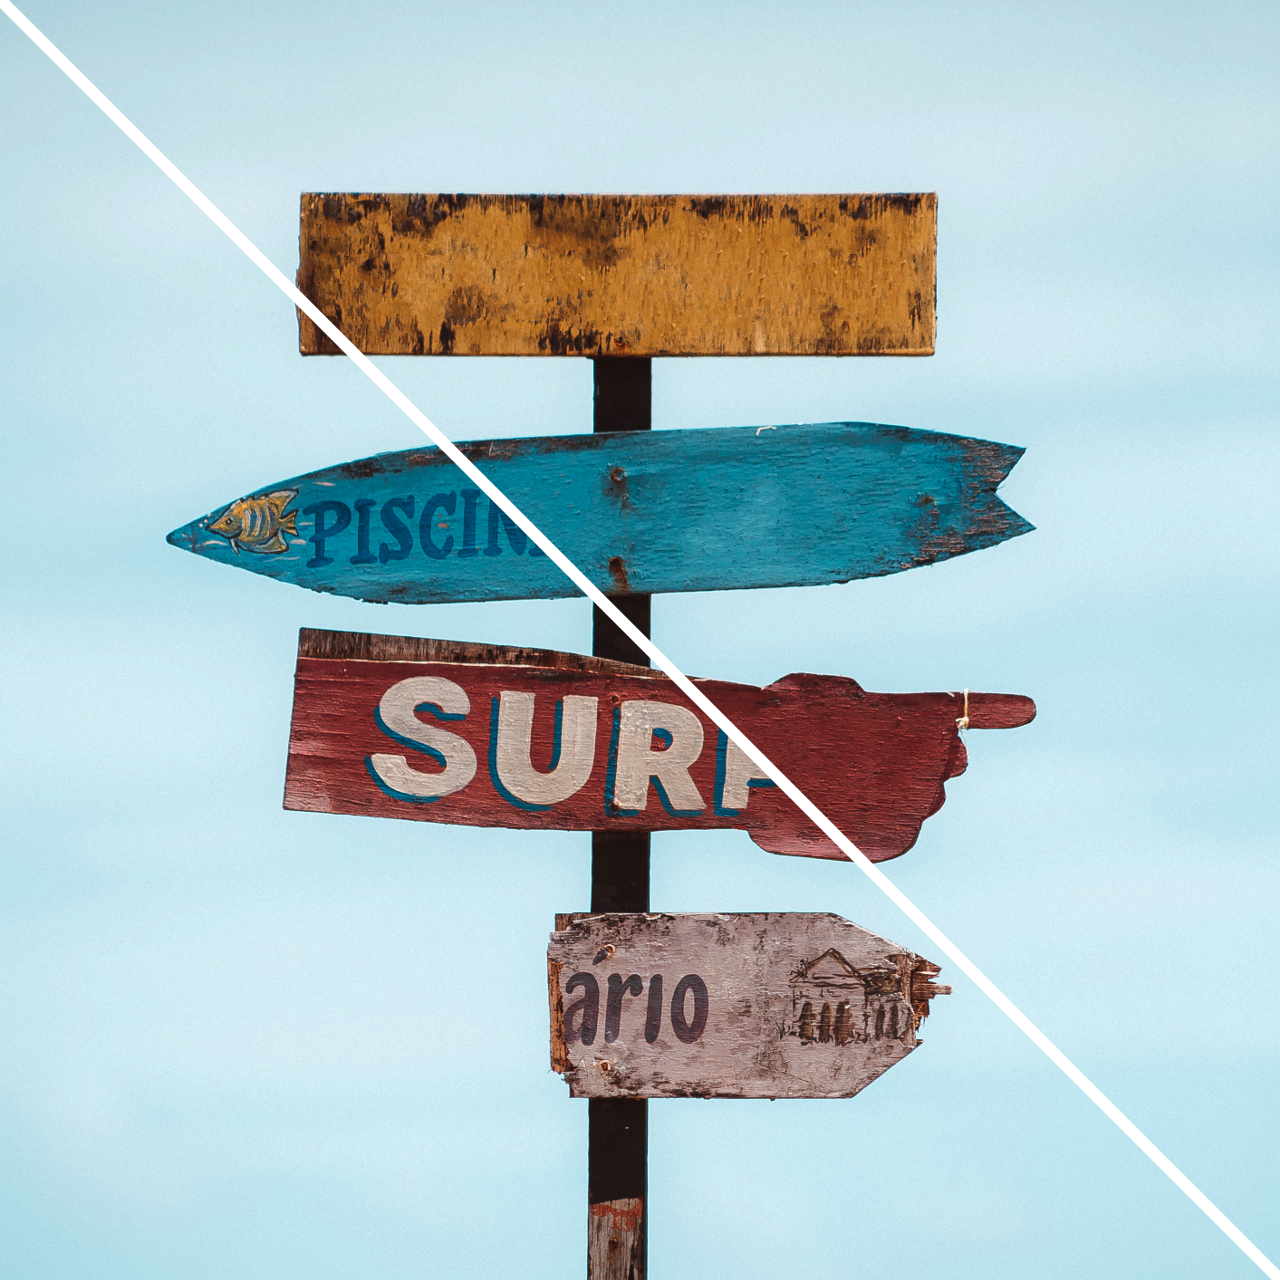
Don’t forget to explore Pixlr’s Spot Heal and Soft Heal tools for even more image-editing power. The Spot Heal tool is perfect for removing blemishes or scratches, while the Soft Heal tool can help you blur out any unnecessary areas of your photo without sacrificing its overall integrity.
The Object function also makes it super easy to remove unwanted objects from your photos. Just highlight the object, and watch it magically disappear before your eyes!
A Step-By-Step Guide to Pixlr’s Heal Tool
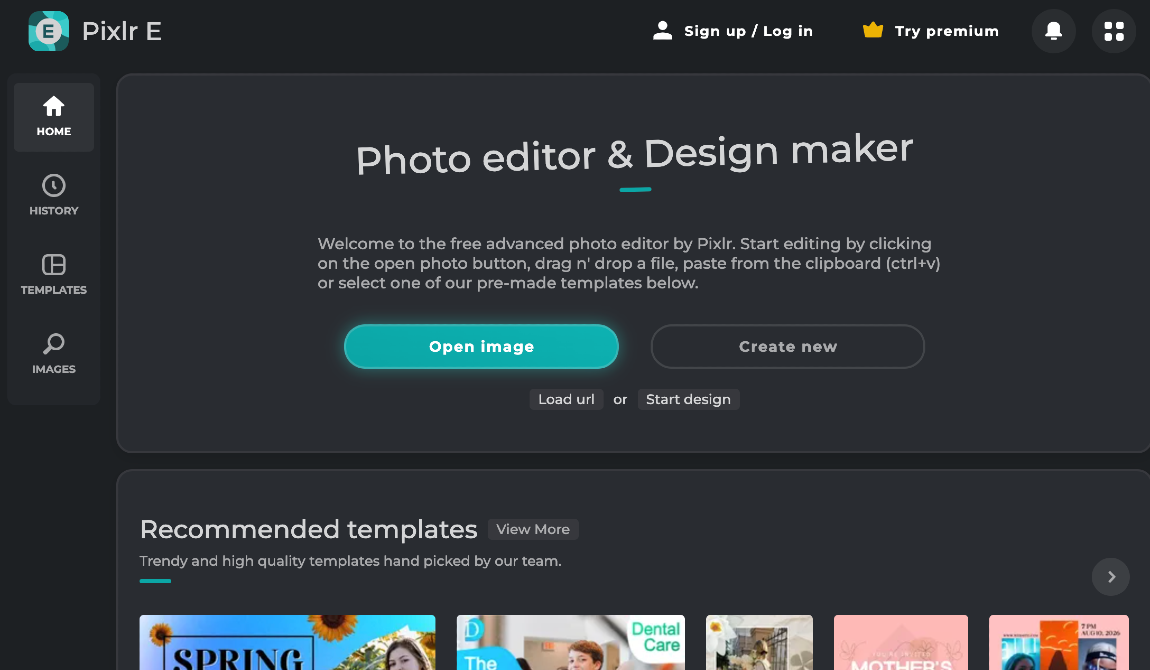
1. Open Pixlr editor and import your image by clicking “Open Image.”
2. Locate the Heal Tool (band-aid icon) in the toolbar and click to activate it.
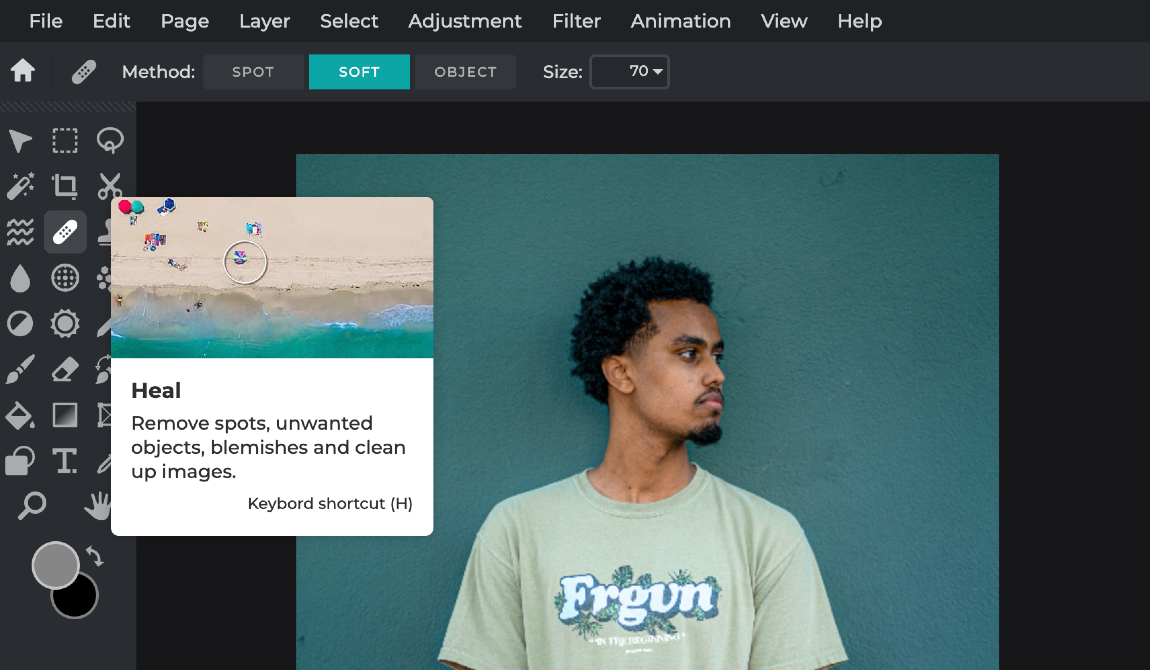
3. Adjust the Heal Tool settings (brush size, hardness, spacing) in the top bar as needed.
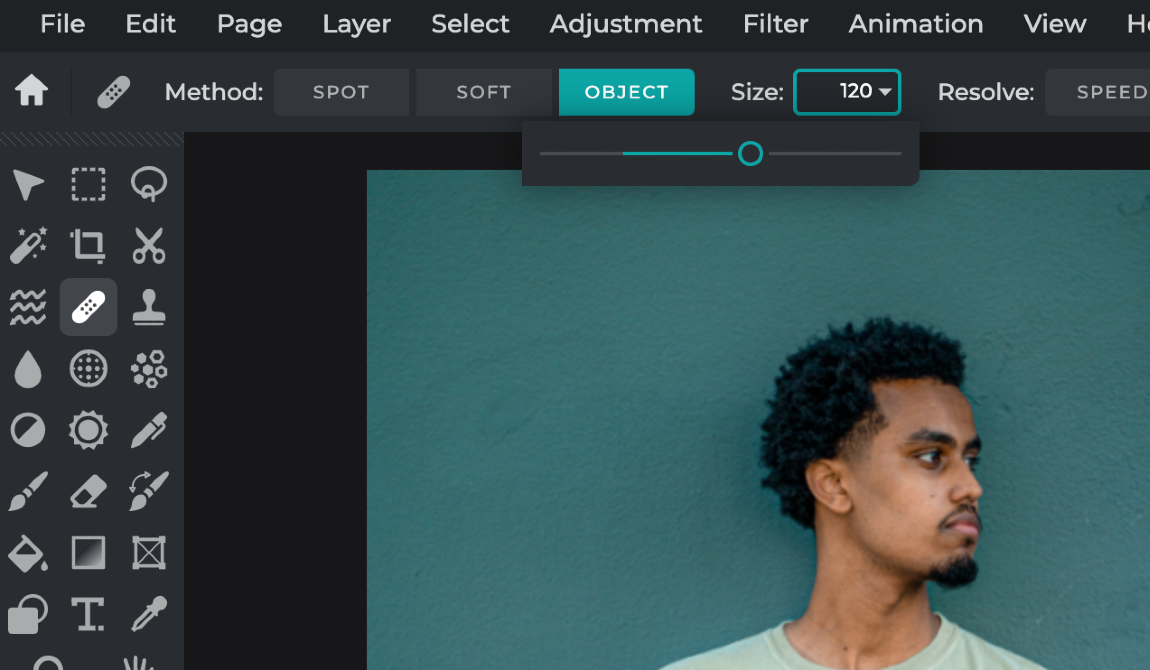
4. Click and drag the Heal Tool over the area you want to correct. Use the Alt/Option key to select a source area manually if desired.

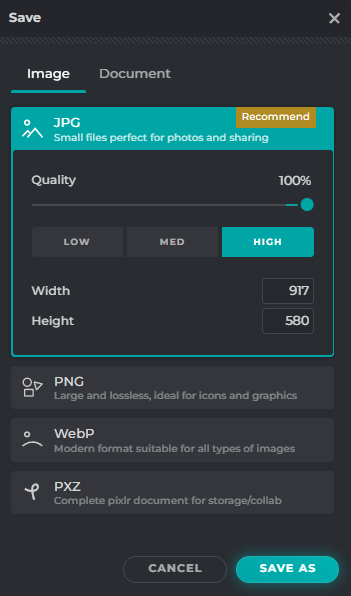
5. Save your edited masterpiece by clicking “File,” then “Save,” and selecting your preferred format, quality, and destination.
Achieve a flawless masterpiece with Pixlr, today!
With Pixlr‘s Heal Tool and its suite of additional features, you can effortlessly turn your good photos into amazing ones. So, go ahead and unleash your creativity, erase those imperfections, and create stunning images that you’ll be proud to share with the world! Check out your YouTube channel for more handy tips and tricks on creating effortlessly with Pixlr.
Share your flaw-free photos and creations with us by tagging @pixlr on Facebook and Instagram – we’d love to see what you can create with Pixlr!